8
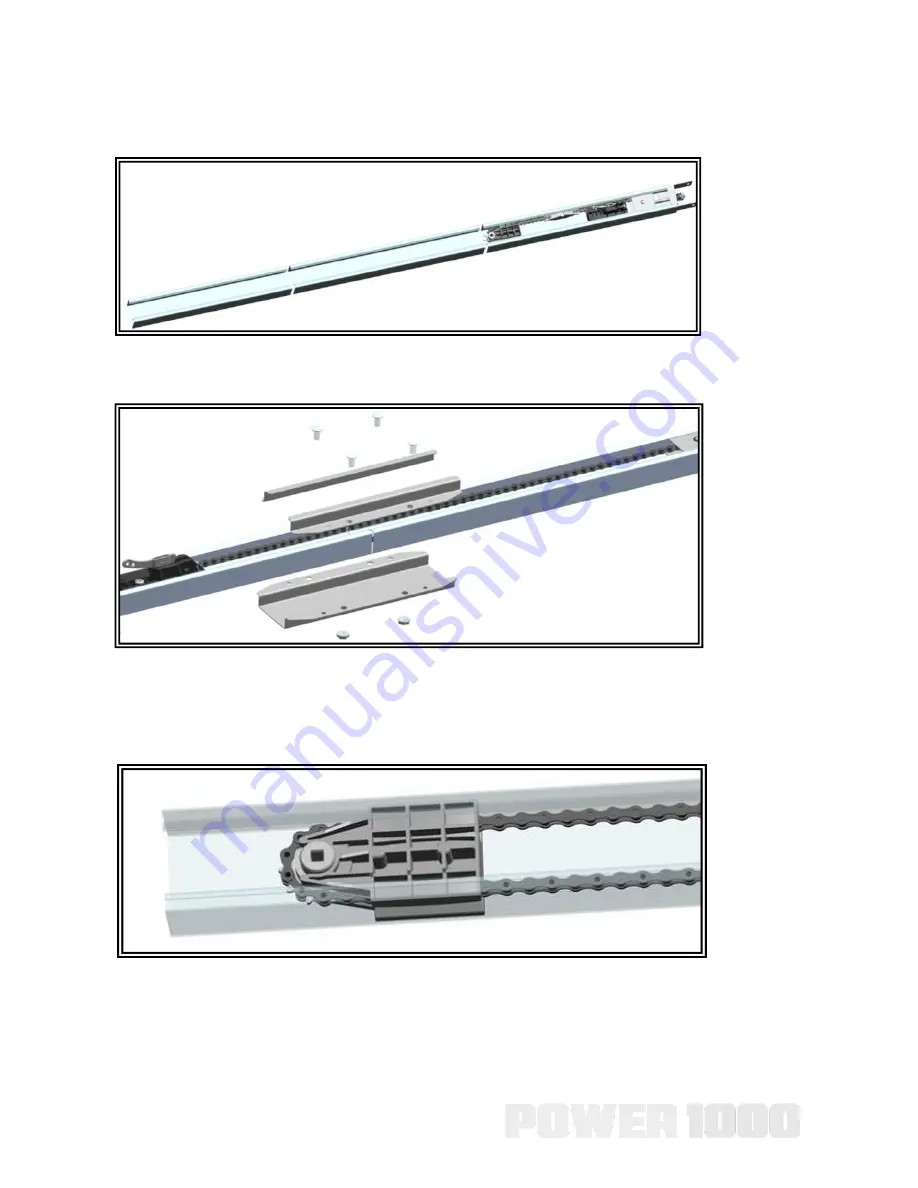
Assemble the Rail
1.1
、
Remove the three rail sections and place them on
1.2
、
Rail connectors installation.
1.3
、
Spread carefully the chain/belt straight inside the rail.
Check to be sure the chain is not twisted. Note:
Make sure the
chain engage the 10-tooth sprocket as shown.
Rail Assembly
1.1
、
Remove the three rail sections and place them on
floor.
Seven holes rail
Center rail
1.2
、
Rail connectors installation.
1.3
、
Spread carefully the chain/belt straight inside the rail. Check
to be sure the chain is not twisted.
Note:
Make sure the chain engage the 10-tooth sprocket as shown.
Three holes rail
A1
A2
A4
A3
6
Summary of Contents for power 1000
Page 7: ...7 Assemble the Rail...
Page 10: ...10 Garage door opener assembly Hardware...
Page 11: ...11 Garage door opener assembly...
Page 14: ...14 Garage door opener assembly...
Page 19: ...19 6 Hang the garage door opener...
Page 26: ...26 a b c...
Page 27: ...27 WALL CONTROL BATTERY REPLACEMENT c a a a b a...
Page 33: ...33 Power Connect power...
Page 34: ...34 Adjustments...
Page 39: ...39 g The adjustment of reverse force The CLOSE position force sensitivity...
Page 41: ...41 h Circuit board...
Page 45: ...45 Trouble shooting...


