


Chapter 4:
Designing Wings
VSP User Manual
24
Version 1.7.92
Exercises
In order to show the capabilities of a Multi-section Wing, the following complex
geometries are given as exercises for the reader.
Ring Wing
1.
Open the Geom Browser and
Add
an MS Wing part.
2.
Open the MS Wing Part Window and select the
Section (Sect) tab
.
3.
Start with 3 sections (0,1,2) in the
Total Num Secs
box. Access each section by
using the arrows next to Section ID. Set each section’s “Span”, “TC” (tip chord)
and “RC” (root chord) to 2.0 by manually inputting the numbers next to the
sliders.
4.
Set the sweeps of each section to zero.
5.
Access Section 1 and set the “Span” to 4.0.
6.
Go into the Dihed tab. There are 2 joints (0 and 1).
7.
Select Joint 0 using the arrows next to “Joint ID”:
a.
set
Dihed 1
to 0, and
Dihed 2
to 90.
b.
Set
Attach 1
to 1, and
Attach 2
to 0.5.
c.
Set both
Tangent Strengths
to 0.5.
8.
Select Joint 1 using the arrows next to “Joint ID”:
a.
Set
Dihed 1
to 90, and
Dihed 2
to 180.
b.
Set
Attach 1
to 0.5, and
Attach 2
to 1.
c.
Set both
Tangent Strengths
to 0.5.
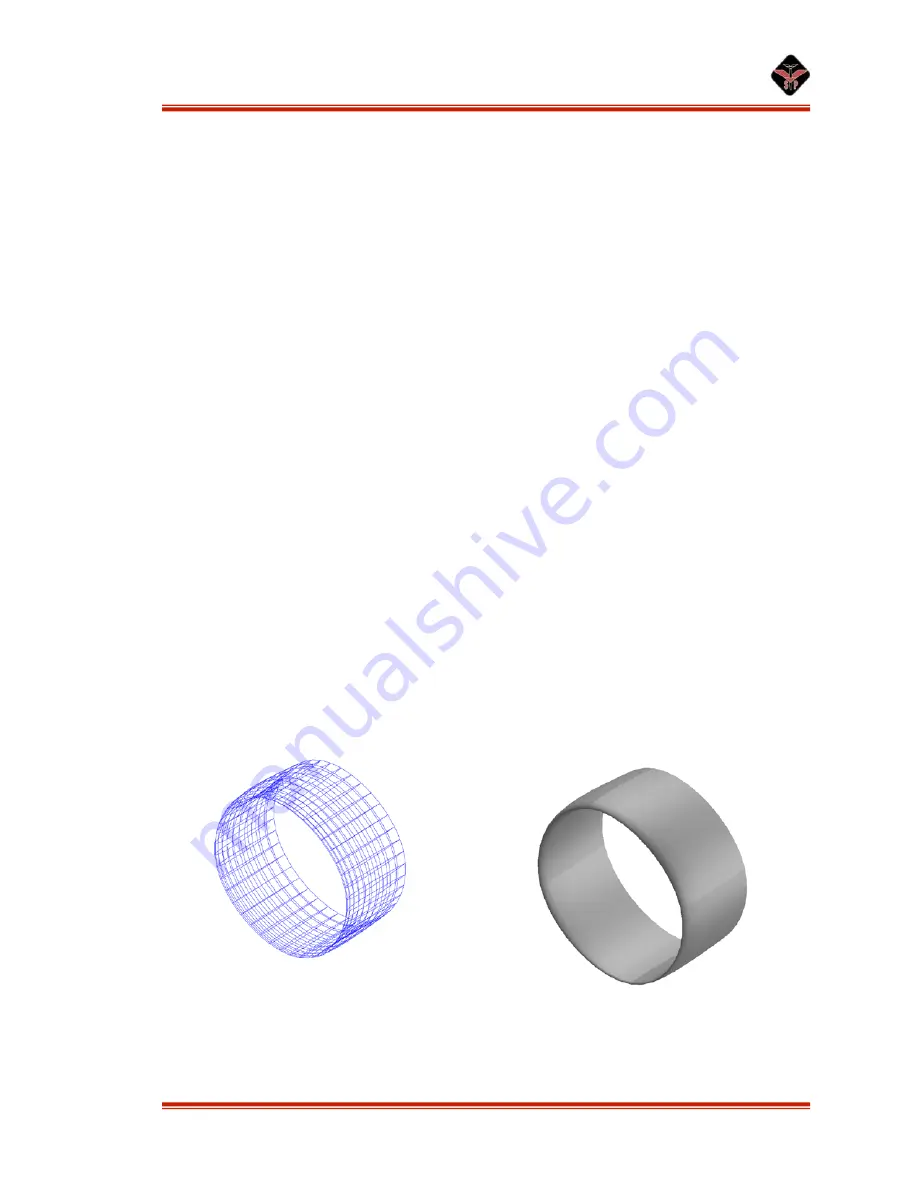
Result:
Inside the main window, there should now be a Ring Wing similar to the one
shown below. This actually is how the Duct part works inside of the program.
Figure 14: Ring wing example, wireframe and shaded view.


