National Electronics & Watch Co, Ltd.
BC10
•
Select
GPS
or
MANUAL
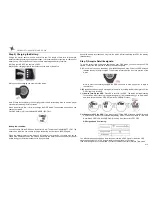
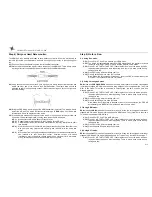
setting by pressing S1 or S5 and then press S3 to enter.
GPS
setting:
¾
Select
TIME ZONE
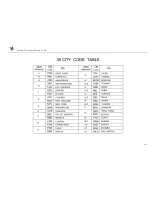
by pressing S1 or S5 and then press S3 to enter. There are 36
cities to select in this time zone setting.
¾
Select
DST ON
or
OFF
by pressing S1 or S5 and then press S3 to enter.
¾
Select
12H or 24H
format setting by pressing S1 or S5. Press S3 to enter.
¾
Select
M-D or D-M
(Month/Day or Day/Month) format setting by pressing S1/S5. Press
S3 to enter and the watch will go back to Time.
MANUAL
setting:
¾
Set the
HOUR
by pressing S1 or S5 and then press S3 to enter.
¾
Set the
Minute
by pressing S1 or S5 and then press S3 to enter.
¾
Set the
SECOND
by pressing S1 or S5 and then press S3 to enter.
¾
Set the
YEAR
by pressing S1 or S5 and then press S3 to enter.
¾
Set the
MONTH
by pressing S1 or S5 and then press S3 to enter.
¾
Set the
DATE
by pressing S1 or S5 and then press S3 to enter.
¾
Set the
12/24H
by pressing S1 or S5 and then press S3 to enter.
¾
Select
M-D or D-M
(Month/Day or Day/Month) format setting by pressing S1/S5. Press
S3 to enter and the watch will go back to Time.
TIME 2 setting in SET mode:
You have two options in setting the watch,
GPS
or
MANUAL
. In manual setting, you can
manually set the time. If you select the GPS option, the watch will be automatically set base
on the data and time data from GPS satellites.
The procedure in setting time 2 is the same with time 1 setting.
12H/24H format setting:
You can select
12H
or
24H
format. Press S3 to enter setting mode. Press S1 or S5 to select
12H or 24H format. Press S3 to confirm and exit.
EXERCISE MODES
The watch has the following major exercise modes:
RUN
,
CHRONOGRAPH and
HRM
modes. After setting the watch and wearing your HRM belt (optional) the user can now start
doing the various exercise modes.
RUN mode:
Press S9 or S7 or S1 from
TIME
mode to enter
RUN
mode.
Also note that if the GPS is already
ON
when you enter the RUN mode, the watch will prompt
“GPS GO, PACE and the CHRONO time blinks.
The power level is displayed from10% to 100%. In Memory display, the watch will display
the remaining hours available in Track memory.
If the power level of the battery is low, the GPS cannot be turned on. The watch will display
BATT. LOW.
AUTO LAP/UNIT/USER setting in RUN mode:
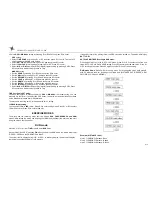
Press and hold S11 until the “AUTO LAP” blinks. Press S1 or S5 to select any of the sub
views: AUTO LAP, UNIT and USER setting. Press S3 to enter selected sub-views. Press S1
or S5 to change the value. Press S3 again to confirm. Press S7 to exit setting.
RUN
mode Views:
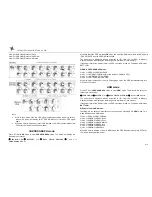
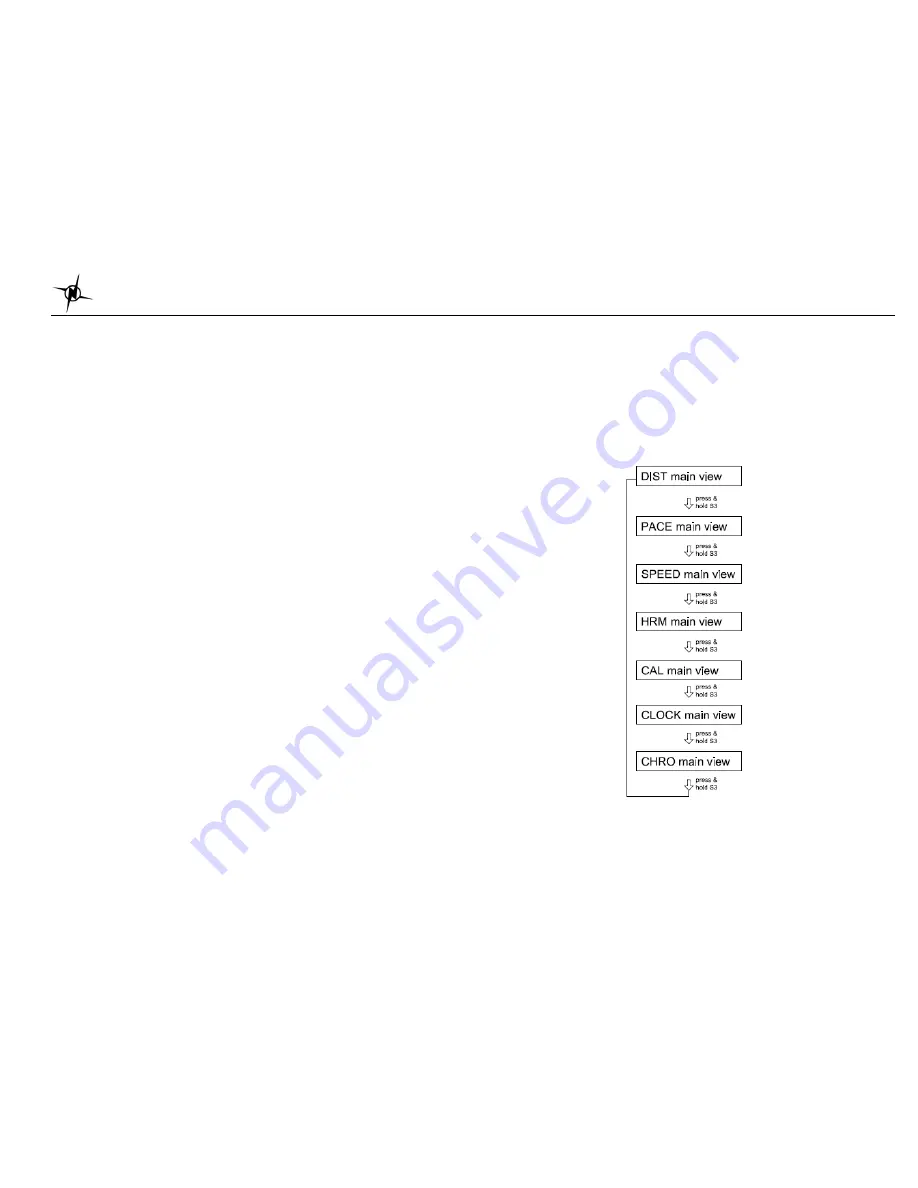
While CHRO is running, press S3 to change the views while press &
hold S3 will allow the User to change the middle view (DISTANCE, PACE, SPEED, HRM,
CALORIE, CLOCK and CHRONO).
Example (DISTANCE views):
View 1
Æ
CHRONO/ Distance / Pace
View 2
Æ
CHRONO/ Distance / Speed
View 3
Æ
CHRONO/ Distance / Calorie


