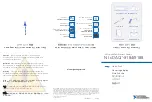
NI 9146 Operating Instructions and Specifications
6
ni.com
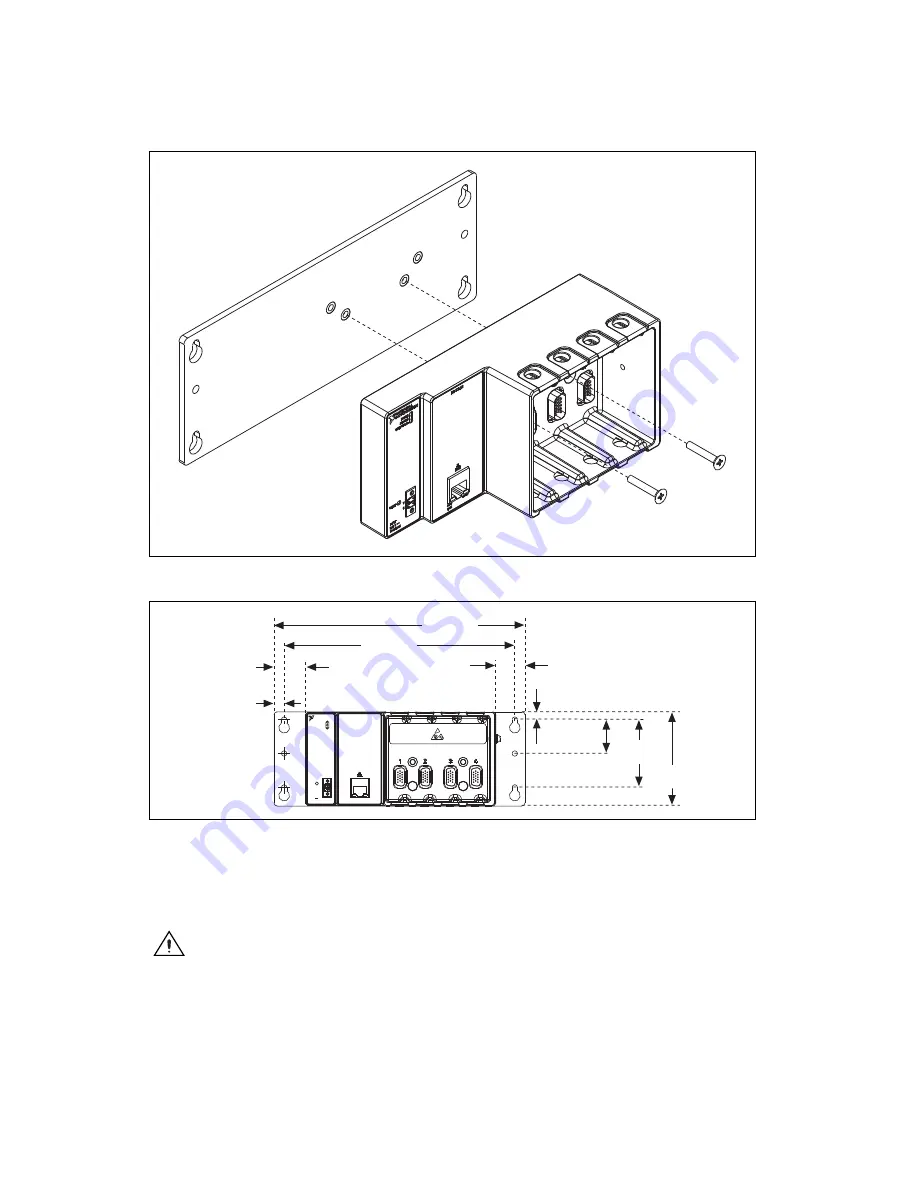
Figure 6.
Installing the Panel Mount Accessory on the NI 9146
Figure 7.
Dimensions of NI 9146 with Panel Mount Accessory Installed
2.
Fasten the NI 9904 panel to the wall using the screwdriver and screws
that are appropriate for the wall surface. The maximum screw size is
M4 or number 8.
Caution
Make sure that no I/O modules are in the chassis before removing it from the
panel.
C
V
RESET
POWER
POWER
POWER
STATUS
STATUS
USER FPGA1
USER FPGA1
NI 9146
INPUT
9-30 V
15 W MAX
M
N
S
A
N
N
I
TIO
R
T U
T
L
A
EN S
ACT/
LINK
10/100
29.5 mm
(1.16 in.)
9.5 mm
(0.
3
8 in.)
27.
3
mm
(1.08 in.)
215.9 mm
(8.5 in.)
2
3
5.0 mm
(9.25 in.)
3
1.7 mm
(1.25 in.)
6
3
.5 mm
(2.50 in.)
88.1 mm
(
3
.47 in.)
7.2 mm
(0.29 in.)


