©
National Instruments Corporation
5-1
IMAQ Vision for LabWindows/CVI User Manual
5
Performing Machine Vision
Tasks
This chapter describes how to perform many common machine vision
inspection tasks. The most common inspection tasks are detecting the
presence or absence of parts in an image and measuring the dimensions
of parts to see if they meet specifications.
Measurements are based on characteristic features of the object represented
in the image. Image processing algorithms traditionally classify the type
of information contained in an image as edges, surfaces and textures, or
patterns. Different types of machine vision algorithms leverage and extract
one or more types of information.
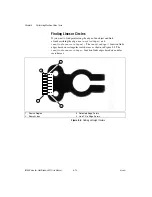
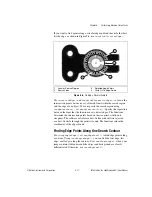
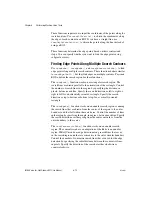
Edge detectors and derivative techniques—such as rakes, concentric rakes,
and spokes—use edges represented in the image. They locate, with high
accuracy, the position of the edge of an object in the image. For example,
a technique called clamping uses edge locations to measure the width of a
part. You can combine multiple edge locations to compute intersection
points, projections, circles, or ellipse fits.
Pattern matching algorithms use edges and patterns. Pattern matching can
locate, with very high accuracy, the position of fiducials or characteristic
features of the part under inspection. Those locations can then be combined
to compute lengths, angles, and other object measurements.
The robustness of your measurement relies on the stability of your image
acquisition conditions. Sensor resolution, lighting, optics, vibration
control, part fixture, and general environment are key components of the
imaging setup. All the elements of the image acquisition chain directly
affect the accuracy of the measurements.

