6
|
ni.com
|
NI PXIe-1086 Getting Started Guide
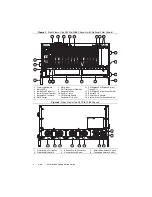
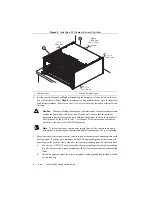
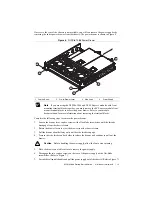
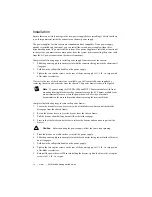
Figure 3.
Installing a PXI Express System Controller
4.
Set the chassis fan speed to
High
or
Auto
using the fan-speed selector switch on the rear
panel of the chassis. Select
High
for maximum cooling performance or Auto for improved
acoustic performance. Refer to the
section for the fan-speed selector switch
location.
Caution
When set to
Auto
, the fan speed is determined by the ambient temperature
outside the fan intake vents on the rear of the chassis. Ensure that this ambient
temperature does not exceed the rated ambient temperature as stated in Appendix A,
Specifications,
of the
NI PXIe-1086 User Manual
. If the temperature exceeds the
stated spec, the power switch LED blinks green.
Note
If two system fans or both power supply fans fail, the chassis shuts down
automatically, protecting the chassis and modules from damage due to overheating.
5.
Make sure the electrical power outlet you use to power the chassis has an appropriate earth
safety ground. If your power outlet does not have an appropriate ground connection, you
must connect the premise safety ground to the chassis grounding screw on the rear panel:
a.
Connect a 16 AWG (1.3 mm) wire to the chassis grounding screw using a grounding
lug. The wire must have green insulation with a yellow stripe or must be noninsulated
(bare).
b.
Attach the opposite end of the wire to permanent earth ground using toothed washers
or a toothed lug.
1
Air Exhaust Vent
2
Primary Air Intake Vents
3
.00 in.
(76.20 mm)
from
a
ir filter
ret
a
iner
1.75 in.
(44.45 mm)
1.75 in.
(44.45 mm)
1.75 in.
(44.45 mm)
1
2
NI
PX
Ie-1
086


