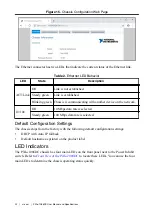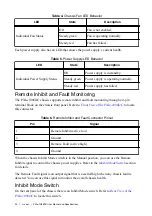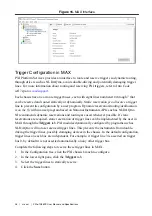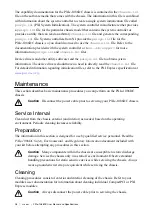
Figure 20. PXIe-1086DC Chassis with Fan Assembly Removed
NI PXIe-1
086
2
3
1
1. Modular Fan Assembly
2. Fan Latch
3. Fan Door
Complete the following steps to remove a fan assembly:
1.
Open the fan door by sliding the door latches inward and rotating the door down.
2.
Locate the fan to be removed. A red LED indicates a failed fan.
Caution
If the fan is still spinning, allow the fan to stop before handling. (The
fan will not stop as long as it is in the airflow path.)
3.
Slide the fan latch until it disengages and allows removal by pulling the fan module
forward.
Installation
Ensure there is no visible damage to the new fan assembly before installing it. Verify that there
is no foreign material inside the connector on the new fan assembly.
The fans for this chassis are redundant and hot swappable. You can install any fan with main
AC power connected to the system.
Complete the following steps to install a fan assembly:
1.
Open the fan door by sliding the door latches inward and rotating the door down.
2.
Slide the fan module into an empty fan slot with the connector facing the chassis until it
latches.
34
|
ni.com
|
PXIe-1086DC User Manual and Specifications


