68OM-06/03
22
MAINTENANCE
To assure safety, disengage the
engine clutch lever, remove the
ignition key, and disconnect the engine spark plug
wire prior to making any of the following adjustments.
Handle reel assemblies carefully
with protective gloves. Reels are
very sharp. Reels rotate freely and rotating one reel
can cause other reels to rotate. Special care should be
taken in the area where the reel contacts the bed knife.
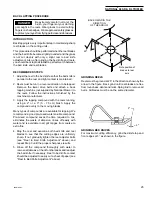
REEL TO BED KNIFE ADJUSTMENT
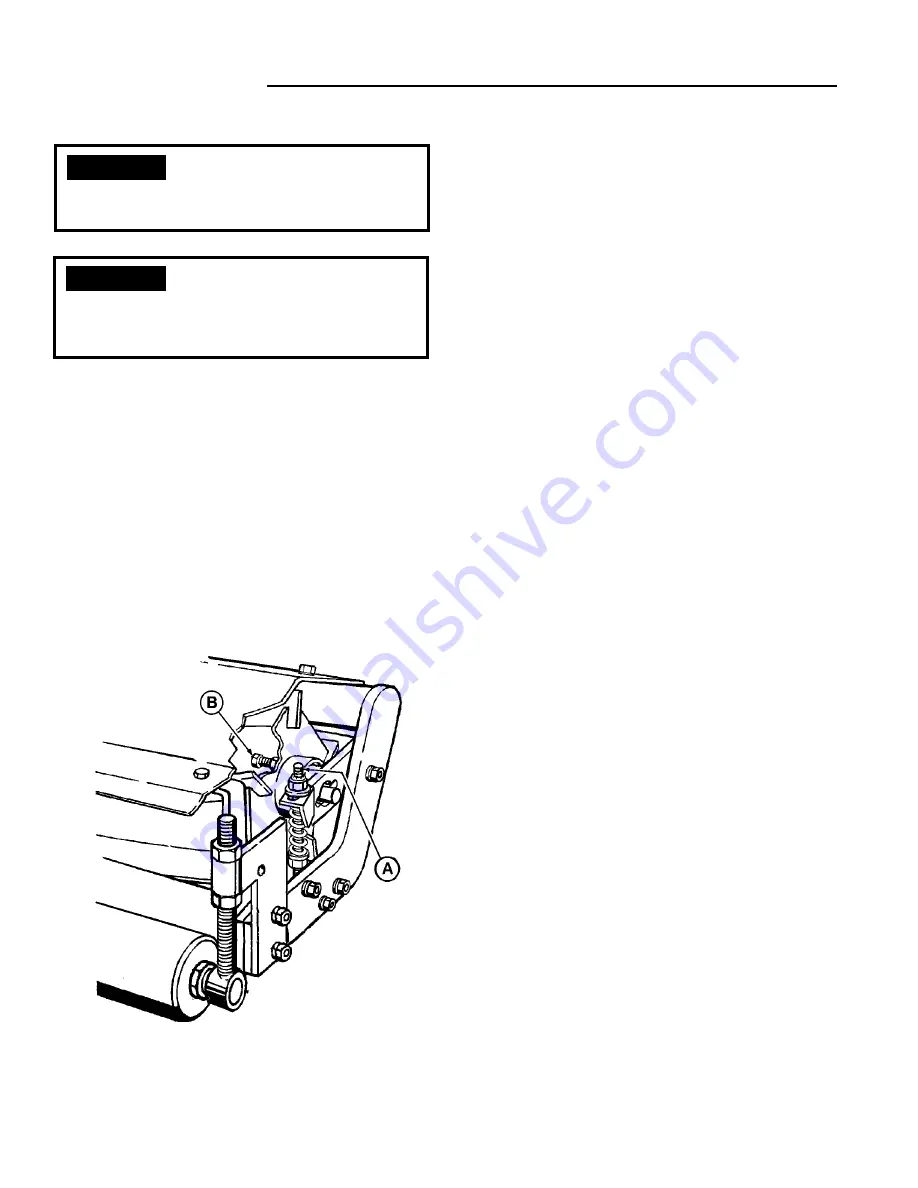
The reel is adjusted to a fixed position bed knife. This
construction allows a more rugged and durable frame and
retains the proper adjustment longer. The Reel Adjuster
Bolt (A) regulates reel distance from the bed knife.
To reduce the distance, turn the upper hex adjuster nut on
each side of the reel down. Proceed slowly and do not
over-adjust -- use about 1/8 of a turn on each side at first.
REEL ADJUSTMENTS
Do not adjust one side more than the other unless the reel
is obviously out of alignment. Do not get the reel so tight
that it is hard to turn by hand. A too tight reel will wear
faster.
Ideally, the reel should “wipe” or lightly touch the bed
knife. It is not necessary to adjust or change the position
of the lower adjustment nut.
Proper cutting action may be tested by holding paper
strips between the reel and the bed knife. Turn the reel by
hand and check to see if the assembly cuts the paper all
the way across the width of the bed knife. Make sure that
the adjusting and the locking nuts on both side are
tightened securely.
REEL END PLAY ADJUSTMENT
Test for end play periodically by trying to move the reel
from side to side in the frame. If there is ANY movement,
adjust the bearings by loosening the lock nut on the
adjustment bolt (B) which is located on the inside right end
of the reels, and turning the adjustment bolt IN one half
turn or less. Do not overtighten. An overtightened bearing
will cause excessive bearing wear. Test again for end
play and if reel is rotating freely and end play is not
noticeable, tighten the lock nut.
HEIGHT OF CUT ADJUSTMENT
Refer to "Height of Cut Adjustment" in the Operation
section of this manual.
BRAKE ADJUSTMENT
The foot brake is properly adjusted if it slows the machine
when depressed and can be locked when the pedal is
depressed fully.
Adjust brake tension by removing cotter pin and brake
pedal pin and turning brake clevis located under pedal on
brake rod. When adjustment is complete, attach clevis to
pedal with pin and cotter pin.
NOTE: Guards removed or cut away to show detail
DANGER
DANGER
Summary of Contents for 68 DL TRIPLEX
Page 26: ...68OM 06 03 26 MAINTENANCE RECORD e t a D k s a T e c n a n e t n i a M n o s r e P ...
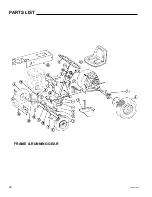
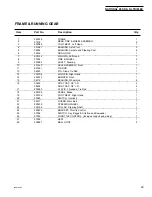
Page 28: ...68OM 06 03 28 FRAME RUNNING GEAR PARTS LIST ...
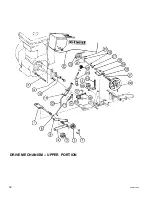
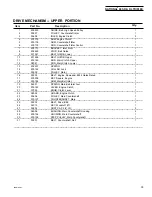
Page 32: ...68OM 06 03 32 DRIVE MECHANISM UPPER PORTION ...
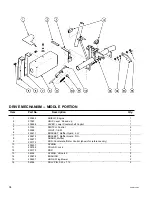
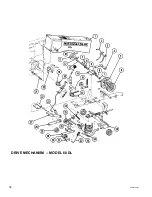
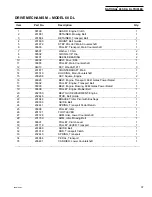
Page 36: ...68OM 06 03 36 DRIVE MECHANISM MODEL 68 DL ...


