Page 4
5. There are three rocker type light controls located on top surface of microscope base.
MAIN = Turns power on and off
“I”
= Turns incidental light on (top illumination)
“T”
= Turns transmitted light on (substage illumination)
REMEMBER to never operate bottom (transmitted) light with plastic stage plate in use.
6. Place object to be viewed on center of stage surface.
7. Turn objective turret until smaller number (lowest magnification) is towards front of microscope (away
from post), making certain that turret “clicks” into indexed position.
Magnification is determined by multiplying the number on the eyepieces times the number on the
objective turret. For example, if your microscope is equipped with 10x eyepieces and the turret is
positioned so that a 3 is indexed at the front of the microscope, the magnification resulting will be 30
times.
To change magnification, turn objective turret 90
º
until it “clicks” into position with another number on
turret facing to the front of the microscope. Your microscope is parfocalled, and only slight adjustment
of the focusing knobs may be required after changing from one magnification to the other.
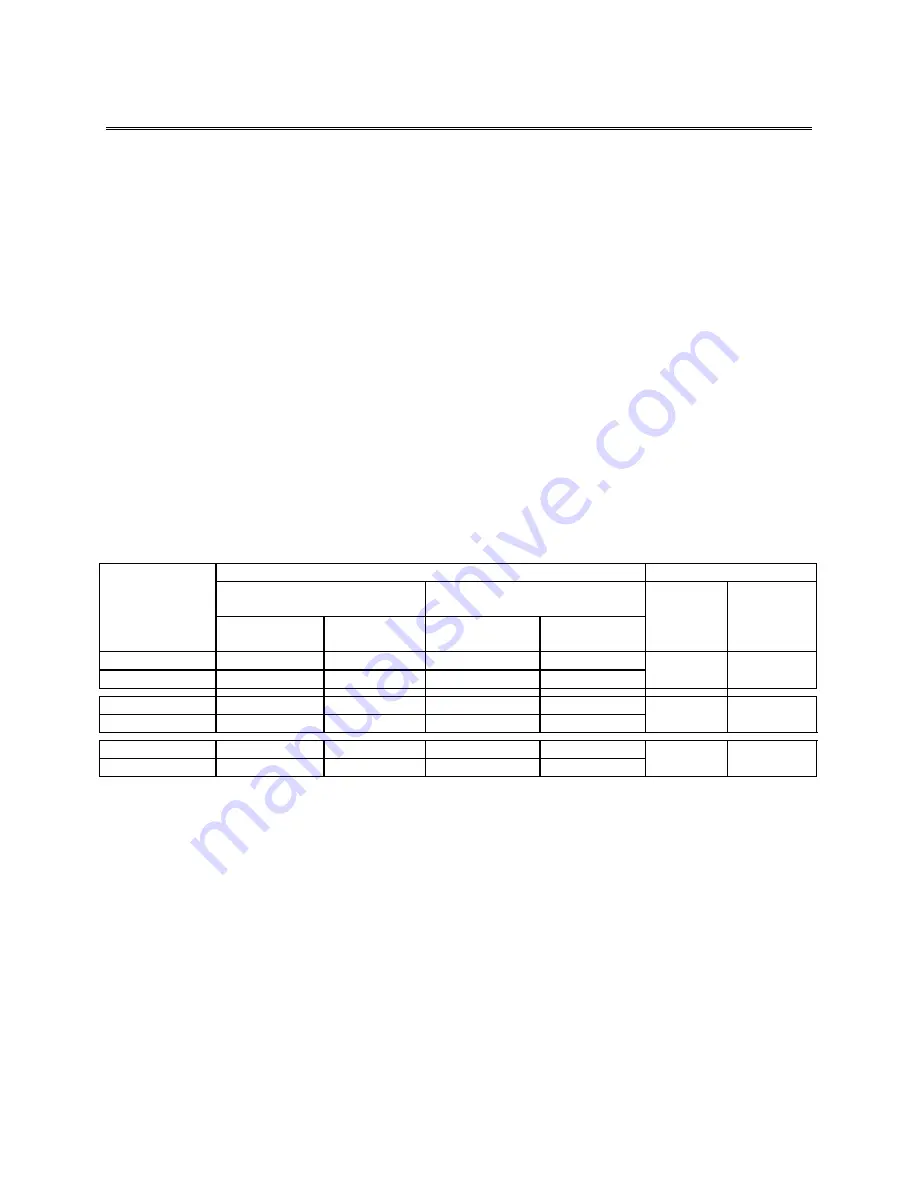
Specification Chart
Eyepiece
Objective
WF10X
(supplied)
WF15X
(optional)
Maximum
Total
Magnification
Field
Size
Total
Magnification
Field
Size
Working
Distance
Specimen
Height
1X
10X
20mm
15X
13mm
75mm
60mm
3X
30X
6.6mm
45X
4.3mm
2X
20X
10mm
30X
6.5mm
75mm
60mm
4X
40X
5mm
60X
3.2mm
1X
10X
20mm
15X
13mm
75mm
60mm
2X
20X
10mm
30X
4.5mm
8. Before making close observations, the following steps should be taken to adjust the microscope for
your particular eyesight and for specimen size. Note that all stereo microscopes permit you to
examine opaque, 3-dimensional objectives. Stereo models having substage (transmitted) illumination
permit you to also view transparent specimen or prepared slides when the glass stage plate is in
place.
A. Turn the focusing knobs until they are positioned in the middle of their range of travel.
B. Holding the microscope head with one hand, loosen locking knob at back of post to permit the
head to move up and down on post until specimen comes into approximate focus. Retighten
locking knob.
C. Looking through microscope with both eyes, grasp both sides of microscope head and gently
push eyepiece tubes together or pull apart until the two images blend together into one image.
This adjusts the interpupillary distance between eyepieces to match that of your own eyes.
D. Looking through right side of microscope with right eye, adjust image sharpness by turning the
focusing knobs.


