Selecting a Plug-in
1.
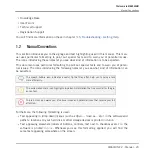
At the far left of the Control area, click the little Plug-in icon to display the Plug-ins:
The icon lights up. The Plug-in List appears in the left part of the Control area, showing a
stack of all Plug-ins loaded in the selected Sound, Group or the Master:
2.
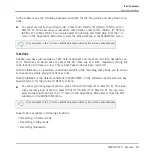
Click the desired Plug-in slot in the Plug-in List to select that Plug-in.
→
The parameters of the selected Plug-in appear in the Parameter area (the right and big-
gest part of the Control area).
If the Plug-in List only shows a “
+
” sign, it means that there are no Plug-ins loaded in
this Sound, Group or the Master. Clicking the “
+
” sign allows you to load a new Plug-in:
see section
5.1.3, Loading, Removing, and Replacing a Plug-in
Navigating Parameter Pages
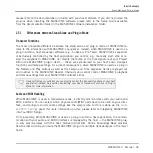
In some situations, the selected Plug-in or Channel properties provide more parameters than
the display(s) of your controller and the Parameter area in the software can show at once. Ex-
amples of this are the parameters for the Groups’ or Sounds’ Output properties and those for
the Sampler Plug-in. In these cases, the parameters are divided into several Parameter pages
that you can easily navigate with the hardware and software.
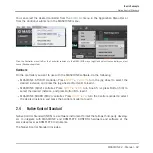
In the software the names of the available pages are displayed at the top of the Parameter
area. The name of the page currently displayed is highlighted.
►
Click the desired page name at the top of the Parameter area to show the corresponding
Parameter page.
Basic Concepts
Common Operations
MASCHINE 2 - Manual - 37

