24
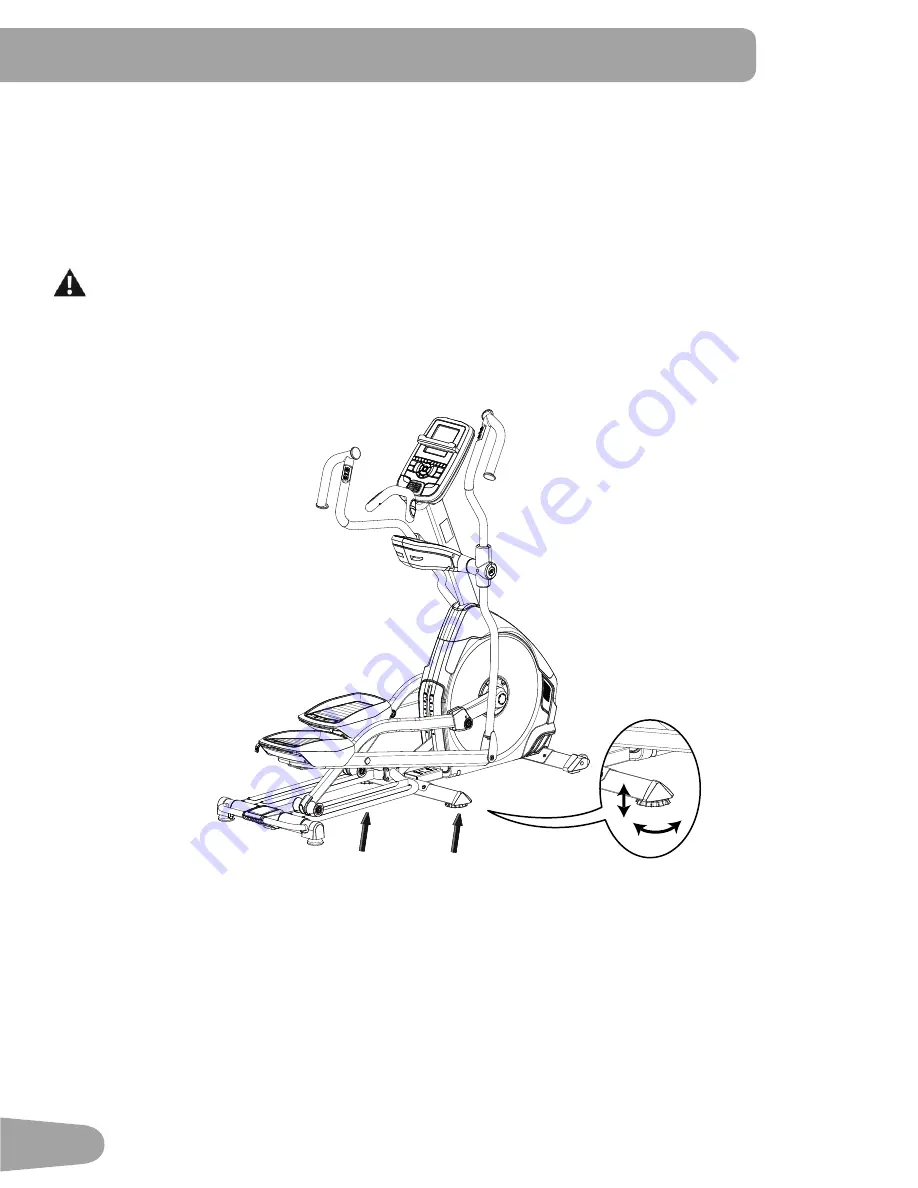
Leveling the Machine
7KHPDFKLQHQHHGVWREHOHYHOHGLI\RXUZRUNRXWDUHDLVXQHYHQRULIWKH5DLO$VVHPEO\LVVOLJKWO\RႇWKHÀRRU7RDGMXVW
1.
Place the machine in your workout area.
6DIHO\VWDQGRQWKHEDFNRIWKH5DLO$VVHPEO\IRUDSSUR[LPDWHO\VHFRQGV
6WHSRႇWKHPDFKLQH
/RRVHQWKHORFNLQJQXWVDQGDGMXVWWKHOHYHOHUVXQWLOWKH\DOOFRQWDFWWKHÀRRU
Do not adjust the levelers to such a height that they detach or unscrew from the machine. Injury to you or
damage to the machine can occur.
5.
Adjust until the machine is level. Tighten the locking nuts.
0DNHVXUHWKHPDFKLQHLVOHYHODQGVWDEOHEHIRUH\RXH[HUFLVH
Summary of Contents for E618
Page 1: ...ASSEMBLY MANUAL OWNER S MANUAL E618 E628 ...
Page 13: ...13 4 Attach Legs to Frame Assembly F X2 22 13 A C G X2 6mm ...
Page 21: ...21 14 Attach Front Handlebar Shrouds and Install Screws NOTICE Do not crimp cables J 2X J 2X ...
Page 53: ...53 ...
Page 54: ...54 ...
Page 56: ... Nautilus RZÀH Schwinn EN ...


