27
2.EXWWRQ6WDUWVD3URJUDPZRUNRXWFRQ¿UPVLQIRUPDWLRQRUUHVXPHVDSDXVHGZRUNRXW
Right (
f
EXWWRQ'LVSOD\VGLႇHUHQWZRUNRXWYDOXHVGXULQJDZRUNRXWDQGPRYHVWKURXJKRSWLRQV
Decrease (
d
) button- Decreases a value (age, time, distance, or calories) or moves through options
FAN button- Controls 3-speed fan
Resistance Level Quick Buttons- Shifts the resistance levels to the setting quickly during a workout
Incline Level Quick Buttons- Shifts the incline level to the setting quickly during a workout
Achievement Indicator Lights- when an achievement level is reached or a result is reviewed, the achievement indicator
light will activate
Nautilus DualTrack
™
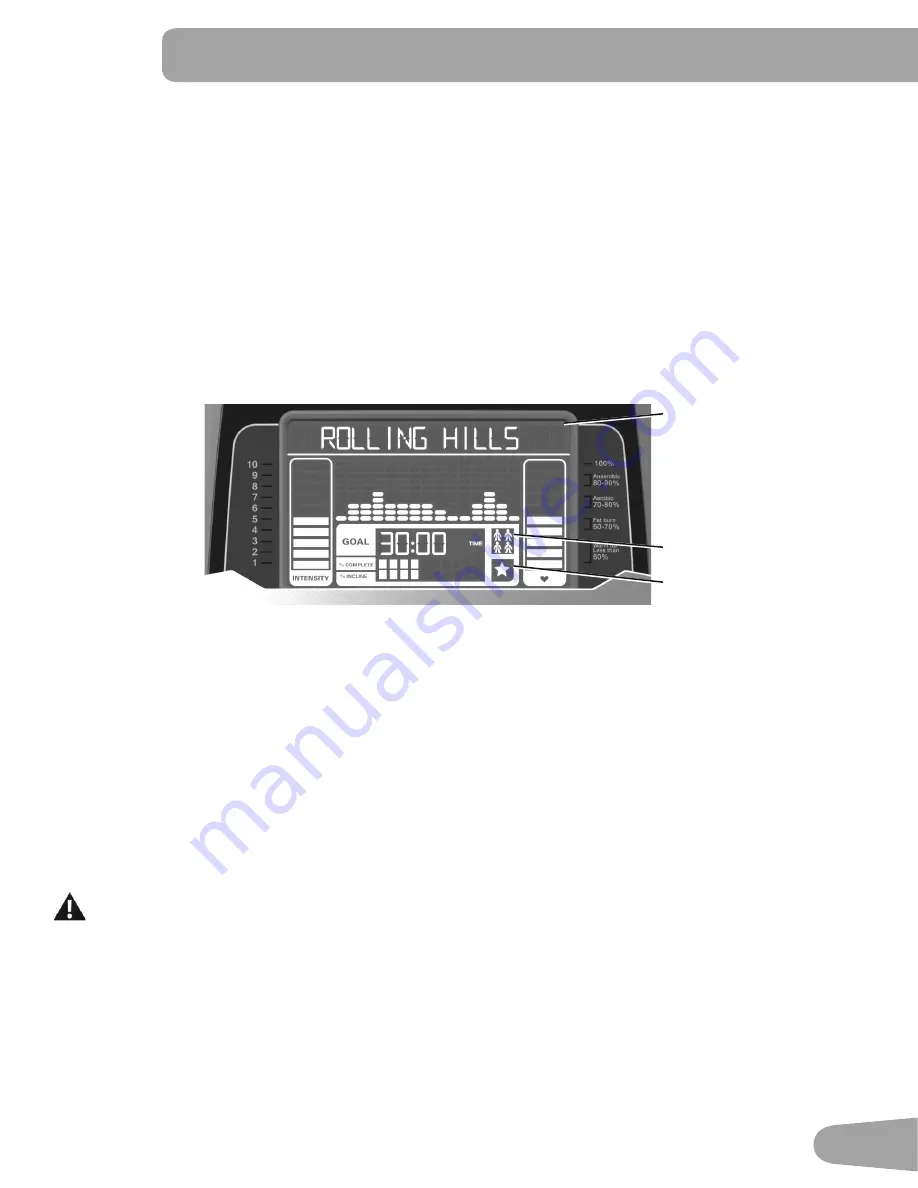
Display
Upper Display Data
Program Display
7KH3URJUDP'LVSOD\VKRZVLQIRUPDWLRQWRWKH8VHUDQGWKHJULGGLVSOD\DUHDVKRZVWKHFRXUVHSUR¿OHIRUWKHSURJUDP
(DFKFROXPQLQWKHSUR¿OHVKRZVRQHLQWHUYDOZRUNRXWVHJPHQW7KHKLJKHUWKHFROXPQWKHKLJKHUWKHUHVLVWDQFHOHYHO
7KHÀDVKLQJFROXPQVKRZV\RXUFXUUHQWLQWHUYDO
Intensity Display
The Intensity Display shows the level of work at that moment based on the current resistance level.
Heart Rate Zone Display
The Heart Rate Zone shows which zone the current heart rate value falls into for the current User. These Heart Rate
Zones can be used as a workout guide for a certain target zone (anaerobic, aerobic, or fat burn).
Consult a physician before you start an exercise program. Stop exercising if you feel pain or tightness in
your chest, become short of breath, or feel faint. Contact your doctor before you use the machine again.
The heart rate displayed is an approximation and should be used for reference only.
Note:
If no heart rate is detected, the display will be blank.
NOTICE:
To prevent interference with the telemetry HR receiver, do not place any personal electronic devices in the left
side of the media tray.
Goal Display
The Goal Display shows the currently selected type of goal (Distance, Time or Calories), the current value to achieve the
goal, and the percent completed toward the goal.
User Display
Achievement Display
Program Display
Summary of Contents for E618
Page 1: ...ASSEMBLY MANUAL OWNER S MANUAL E618 E628 ...
Page 13: ...13 4 Attach Legs to Frame Assembly F X2 22 13 A C G X2 6mm ...
Page 21: ...21 14 Attach Front Handlebar Shrouds and Install Screws NOTICE Do not crimp cables J 2X J 2X ...
Page 53: ...53 ...
Page 54: ...54 ...
Page 56: ... Nautilus RZÀH Schwinn EN ...


