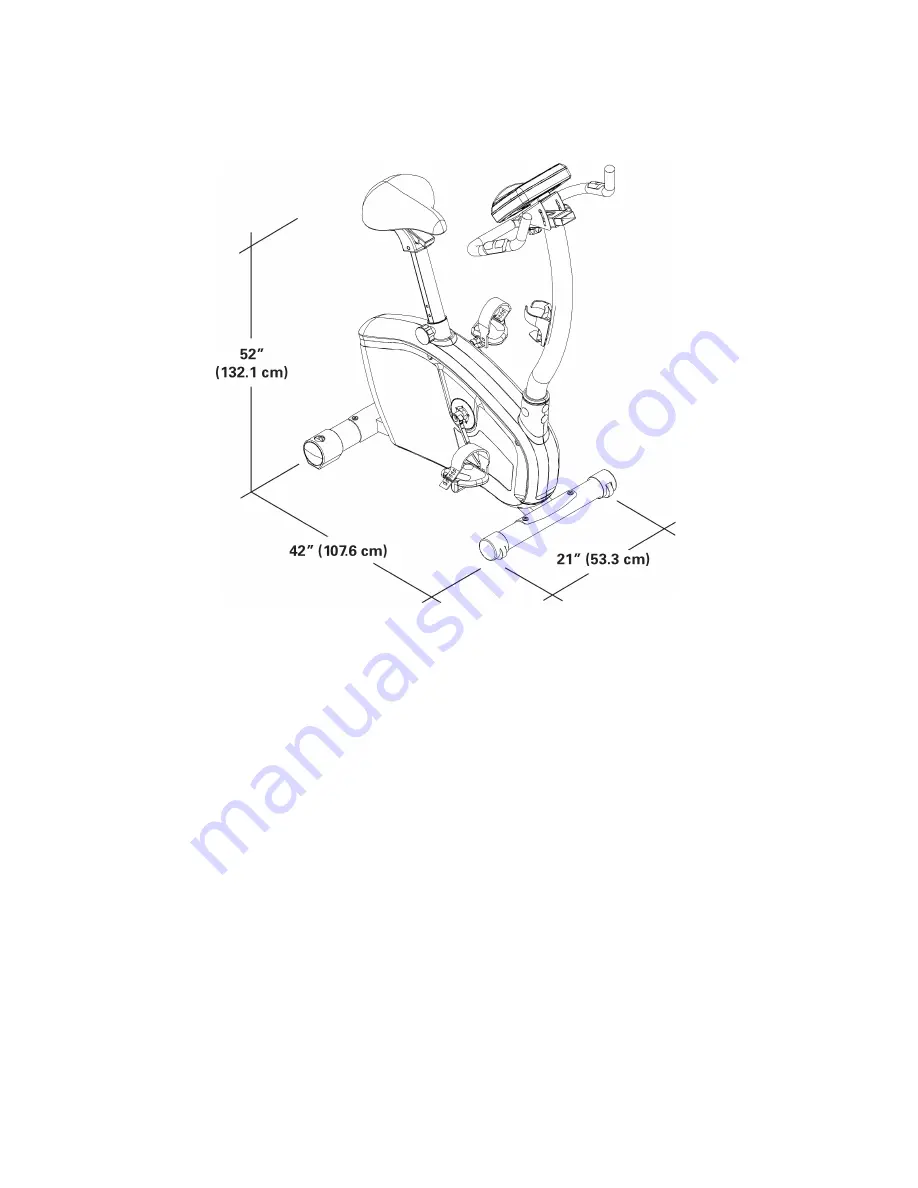
Specifications
Before Assembly
Select the area where you are going to set up and operate your machine. For safe operation, the location must be on a hard, level
surface. Allow a workout area of minimum 82” x 61” (2.1m x 1.5m).
Follow these basic points when you assemble your machine:
1. Read and understand the “Important Safety Instructions” before assembly.
2. Collect all the pieces necessary for each assembly step.
3. Using the recommended wrenches, turn the bolts and nuts to the right (clockwise) to tighten, and the left
(counterclockwise) to loosen, unless instructed otherwise.
4. When attaching 2 pieces, lightly lift and look through the bolt holes to help insert the bolt through
the holes.
5. The assembly requires 2 people.
444
Summary of Contents for U514
Page 7: ...Assembly 1 Install Front and Rear Stabilizers 7 7 7...
Page 8: ...2 Install Pedals 8 8 8...
Page 9: ...3 Install Seat Post 9 9 9...
Page 10: ...4 Install Seat 10 10 10...
Page 11: ...5 Connect Console Mast Cable to Frame Assembly Cable 11 11 11...
Page 12: ...6 Attach Console Mast NOTICE Do not crimp Console Cable 12 12 12...
Page 14: ...8 Install Console Bracket NOTICE Do not crimp the cables 14 14 14...
Page 15: ...9 Connect Console Mast Cable and Heart Rate Cable to Console 15 15 15...
Page 17: ...11 Adjust and Tighten the Console Mast 17 17 17...
Page 21: ...21 21 21...
Page 22: ...Printed in China...
Page 29: ...Montage 1 Installez les stabilisateurs avant et arri re 29 29 29...
Page 30: ...2 Installez les p dales 30 30 30...
Page 31: ...3 Installez la tige du si ge 31 31 31...
Page 32: ...4 Installez le si ge 32 32 32...
Page 33: ...5 Branchez le c ble du m t de la console au c ble du cadre 33 33 33...
Page 34: ...6 Fixez le m t de la console REMARQUE Ne tordez pas le c ble de la console 34 34 34...
Page 36: ...8 Installez le support de la console REMARQUE Ne tordez pas le c ble de la console 36 36 36...
Page 39: ...11 R glez et serrez le m t de la console 39 39 39...
Page 43: ...43 43 43...
Page 44: ...Imprim en Chine...


