Installation | Device Installation
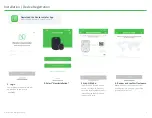
1. Connect the Nauto 3 Device to power.
Insert the power cable end that extends from under the headliner
into the device’s power port. The Nauto 3 Device will now boot up.
2. Check for green lights on the device.
This can take up to one minute. Blue lights will appear on the device
first, meaning the device is updating software, followed by flashing
green lights indicating that it is in install mode.
3. Fit the windshield mount to the back of the Nauto 3 Device.
Select the appropriate angled mount that provides the best viewing
angle. Do not remove the adhesive backing at this time.
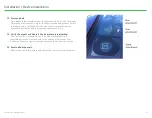
4. Locate the small screw on the accessible side of the device.
Find
this on the opposite side from the rearview mirror. Rotate the T5
screw clockwise to lock the Nauto 3 Device into place. The other screw
will not be tightened.
5. Determine the optimal mounting location.
With the driver’s side sun visor in the down position, locate an
unobstructed location on the windshield away from any sensors,
metallic surfaces, or tint.
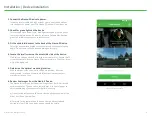
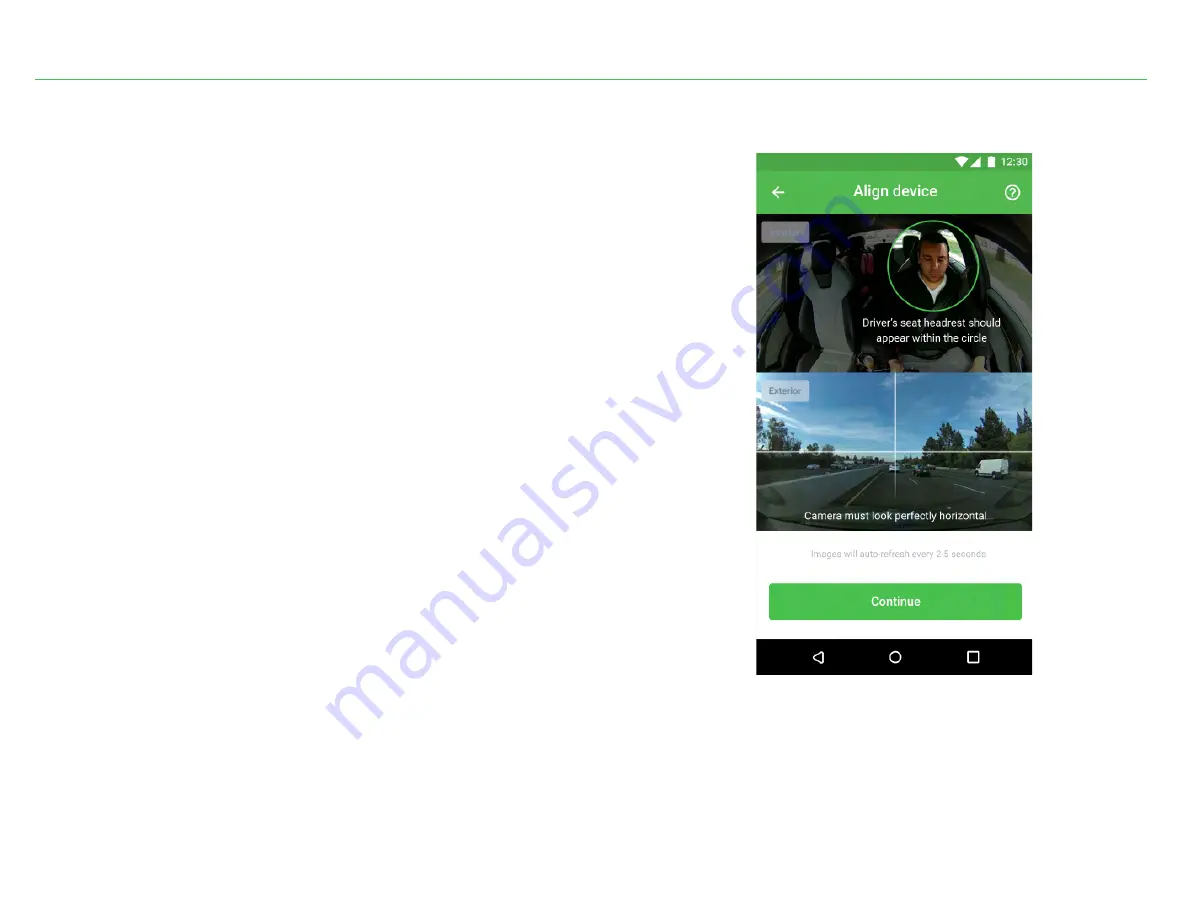
6. Review live images from the Nauto 3 Device.
The Nauto Installer app will show live images from both interior and
exterior cameras. This can take a few minutes. Use these images to
adjust positioning of the camera for optimal viewing.
a) Driver facing camera should have a clear unobstructed view of the
driver from head to waistline.
b) Forward facing camera should have a clear unobstructed and
horizontal view. Little to no body panels should be visible.
9
Camera views during installation
© Nauto 2020. All RightsReserved.


