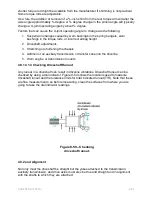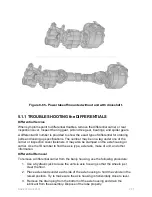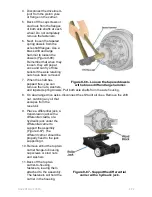
Figure 8-75 -
Removing the A input flange or B yoke.
3.
Remove the yoke or flange from the drive
pinion. If the yoke or flange is tight on the
pinion, use a puller to remove it.
4.
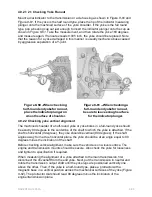
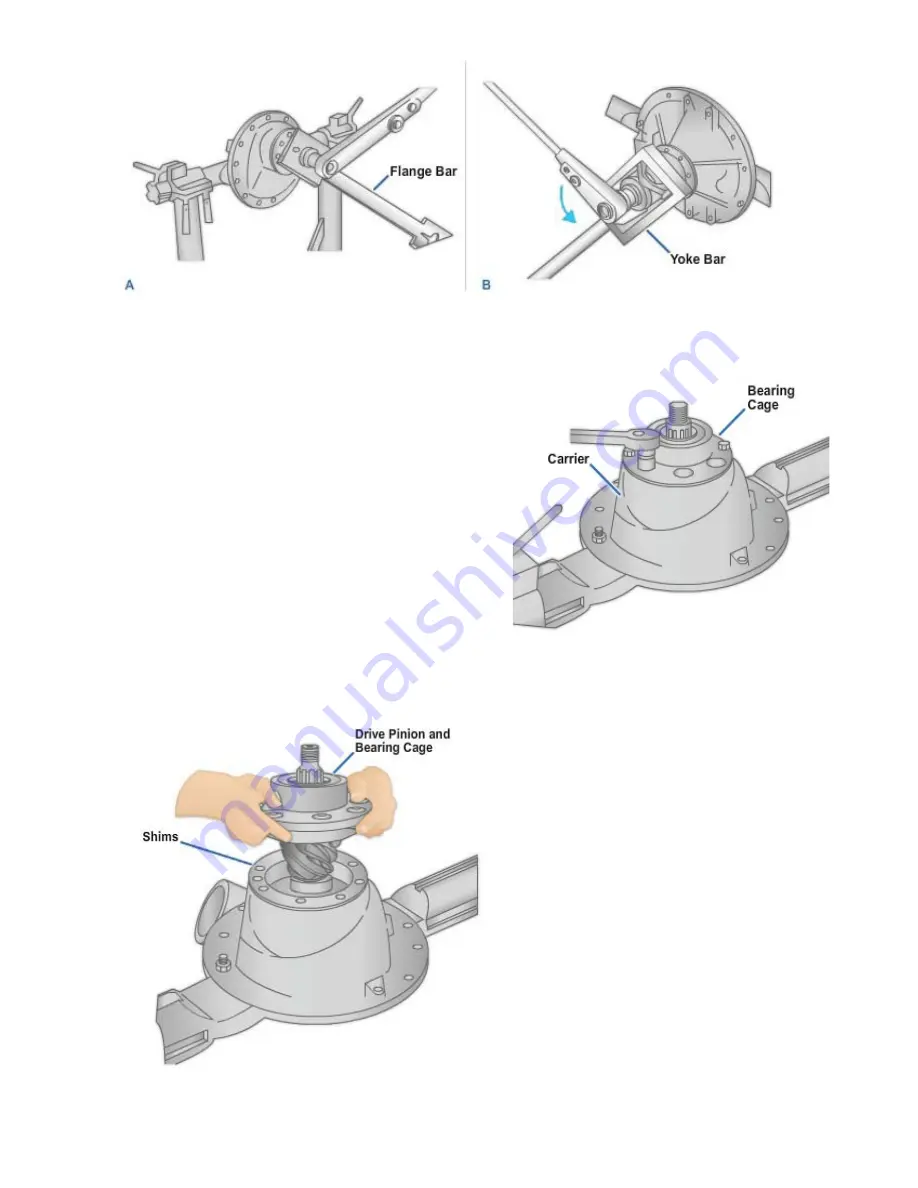
Remove the fasteners that retain the
bearing cage in the center in the carrier
(
Figure 8-76
).
5.
Remove the cover and seal assembly and
the gasket from the bearing cage. If the
cover is tight on the bearing cage, use a
brass drift and hammer for removal.
6.
If the pinion seal is damaged, remove the
seal driver. If a press is not available, use
a screwdriver or small pry bar for removal.
Discard the pinion seal.
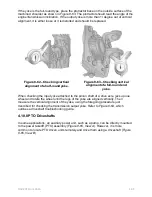
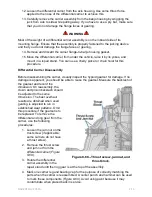
Figure 8-77 - Removing the drive pinion
and bearing cage.
Figure 8-76 -
Bearing cap
removal.
7.
Remove the drive pinion
and bearing cage, plus the
shims from the carrier
(
Figure 8-77
).
8.
If the shims are in good
condition, keep them and
use them for reassembly
of the carrier.
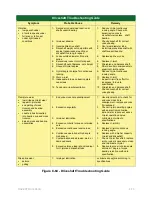
9.
If the shims are to be
discarded because of
damage, measure the
shim pack total thickness
with a micrometer. Record
the dimension. You will
need it to calculate the
depth of the drive pinion in
the carrier when the
gearset is installed.
NAVEDTRA 14050A
8-77

