


4.
Install the bearing cups
over the bearing cones
that are assembled on the
case halves.
5.
Safely lift the differential
and ring gear assembly
and install it into the
carrier.
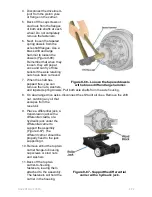
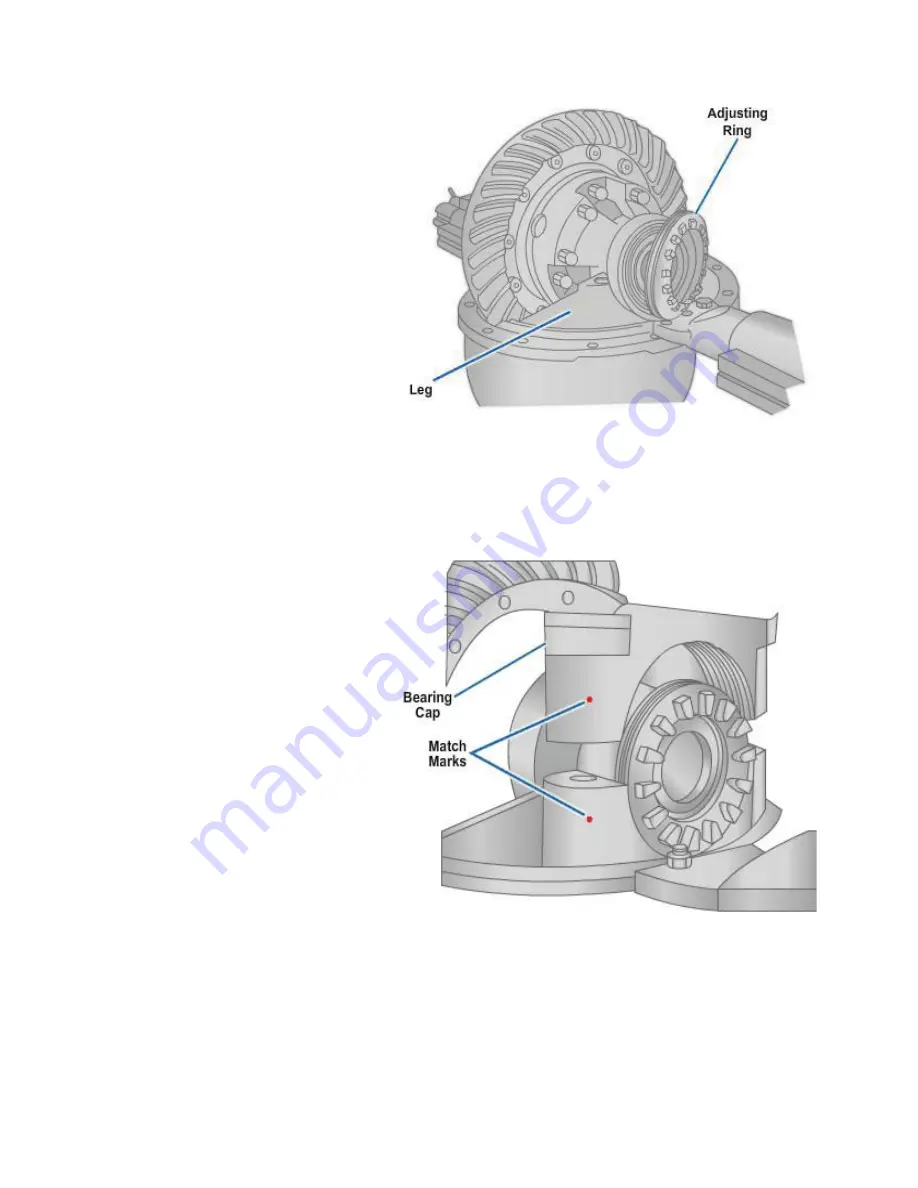
6.
Install both of the bearing
adjusting rings into
position between the
carrier legs (
Figure 8-88
).
Turn each adjusting ring
hand-tight against the
bearing cup.
7.
Install the bearing caps
over the bearings and
adjusting rings in the
correct location as marked
before removal (
Figure 8-
89
).
8.
Tap each bearing cap into
position with a light
leather, plastic, or rubber
mallet. The caps must fit
easily against the
bearings, adjusting rings,
and carrier.
9.
Install the hardware that
holds the bearing caps to
the carrier. Tighten all
hardware by hand first
and then torque to the
correct values.
10.
Do not install the cotter
keys or lock plates that
hold the bearing adjusting
rings in position.
Continue the overall procedure
by performing the following
checks or adjustment:
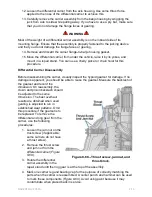
1.
Adjust preload of
differential bearing.
2.
Check runout of ring gear.
3.
Adjust backlash of ring gear.
Figure 8-88 - Installation of adjusting
rings.
Figure 8-89 - Installation of bearing caps
using match marks.
4.
Check and adjust tooth contact pattern.
NAVEDTRA 14050A
8-84


