5.
Adjust the thrust screw.
Installing the Differential Carrier into the Banjo Housing
Now that the differential carrier has been assembled, you can install it into the axle
banjo housing using the following procedure:
1.
Clean the inside of the
axle housing and the
carrier mounting flange.
Use cleaning solvent and
clean shop cloths to
remove dirt and foreign
matter. Blow dry the
cleaned areas with air. Be
sure to wear appropriate
eye protection when using
compressed air.
2.
Inspect the axle housing
for damage. Repair or
replace if necessary.
3.
Check for loose studs in
the mounting surface of
the housing where the
carrier fasteners connect.
Remove and clean the
studs that are loose.
4.
Apply liquid adhesive such
as Loctite
TM
to the
threaded holes and install
the studs into the axle
housing. Tighten the studs
to the correct torque
value.
5.
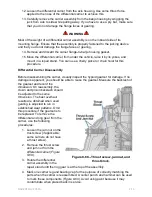
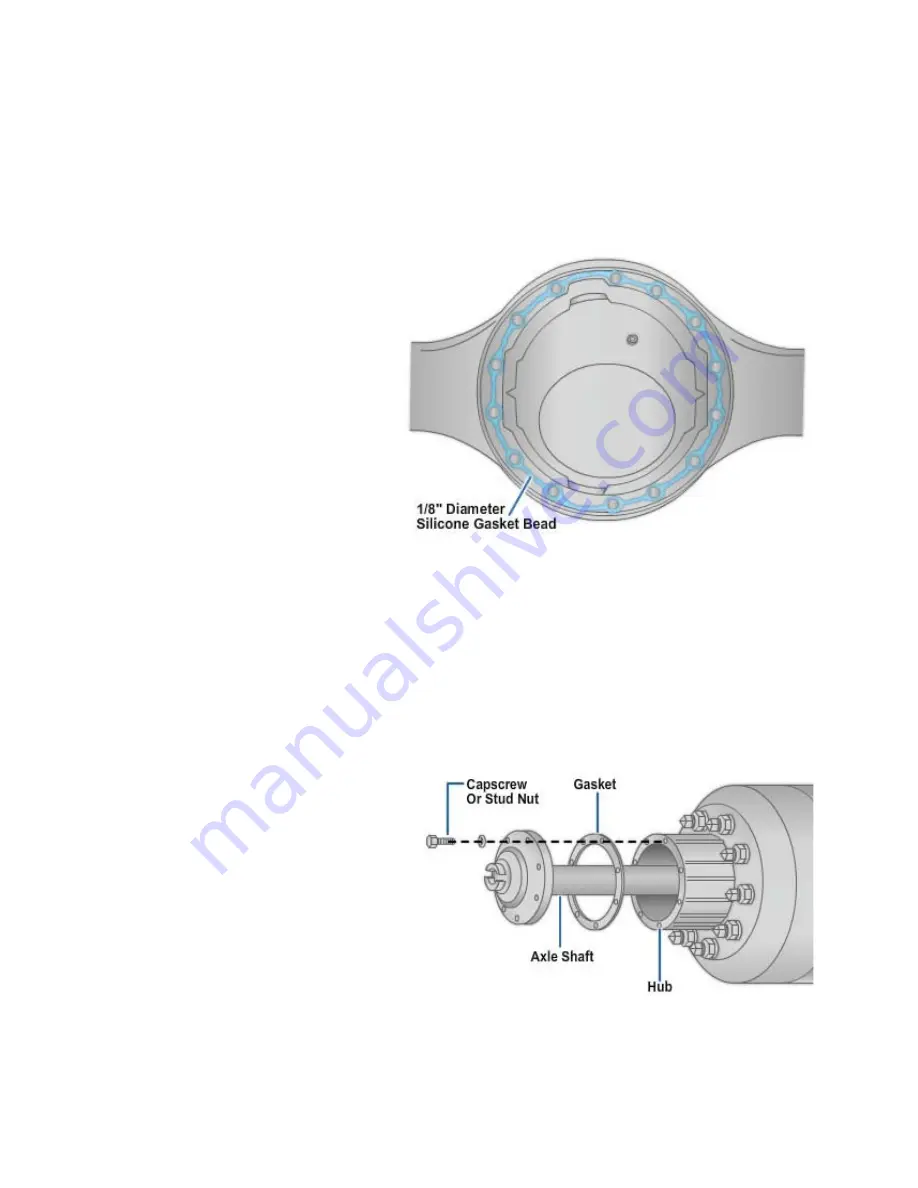
Apply silicone or a gasket
(depending on OEM
recommendation) to the
mounting flange of the
banjo housing, as shown
in
Figure 8-90
.
6.
Install hardware in the
four corner locations
around the carrier and
axle housing. Hand-
tighten the fasteners.
7.
Carefully push the carrier
into position. Tighten the
four fasteners two or three
turns each in a pattern
opposite each other.
Figure 8-90 - Application of silicone
gasket material to the mounting surface of
the axle housing.
Figure 8-91 - Installing the gaskets and
NAVEDTRA 14050A
axle shafts into the axle housing and
carrier.
8-85

