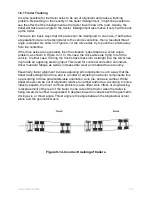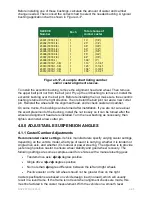
angle. If the axle pad surface is
level/parallel with the floor, the
caster angle is zero. If it tilts toward
the front of the vehicle, the caster is
negative; toward the rear, it is
positive.
4.
Repeat the preceding procedure on
the opposite side of the vehicle. If
the caster difference on each side
exceeds
�
degree, the axle is
probably twisted. Also, remember that
the right side should not have less
positive caster than the left. If the right
side is less, it will tend to lead the
vehicle to the right, particularly on
crowned roads.
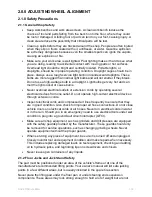
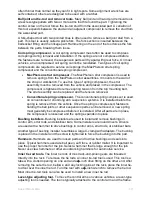
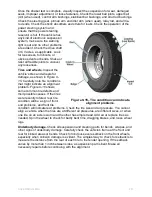
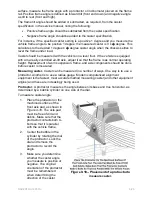
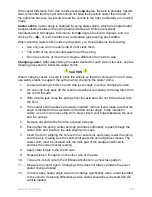
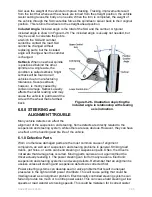
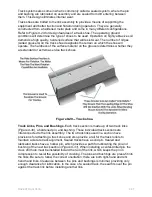
There are digital protractors or inclinometers
(
Figure 9-19
) available that will do the same
as the bubble protractor. The angle is
displayed on a LCD screen and indicates
whether negative or positive.
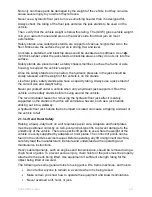
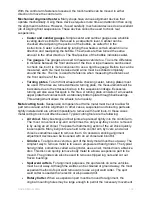
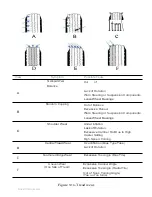
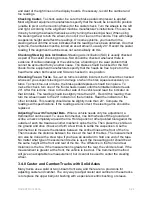
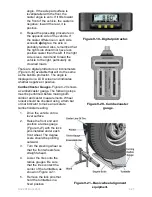
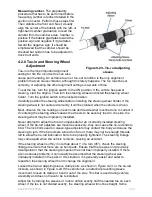
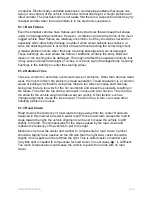
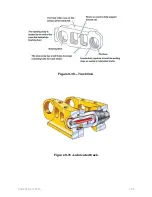
Camber/Caster Gauges. Figure 9-20
shows
a camber/caster gauge. The following steps
must be performed before making both
camber and caster measurements. Wheel
runout should be checked using a tram bar
or dial indicator to make an accurate
camber/caster reading.
1.
Drive the vehicle onto a
level surface.
2.
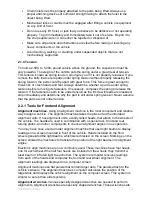
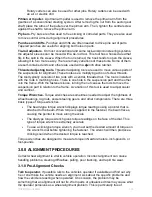
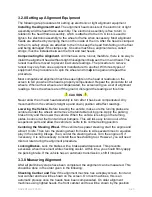
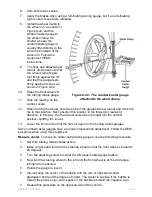
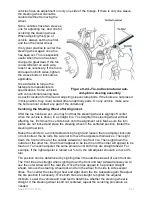
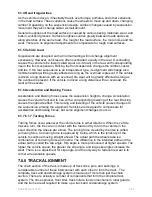
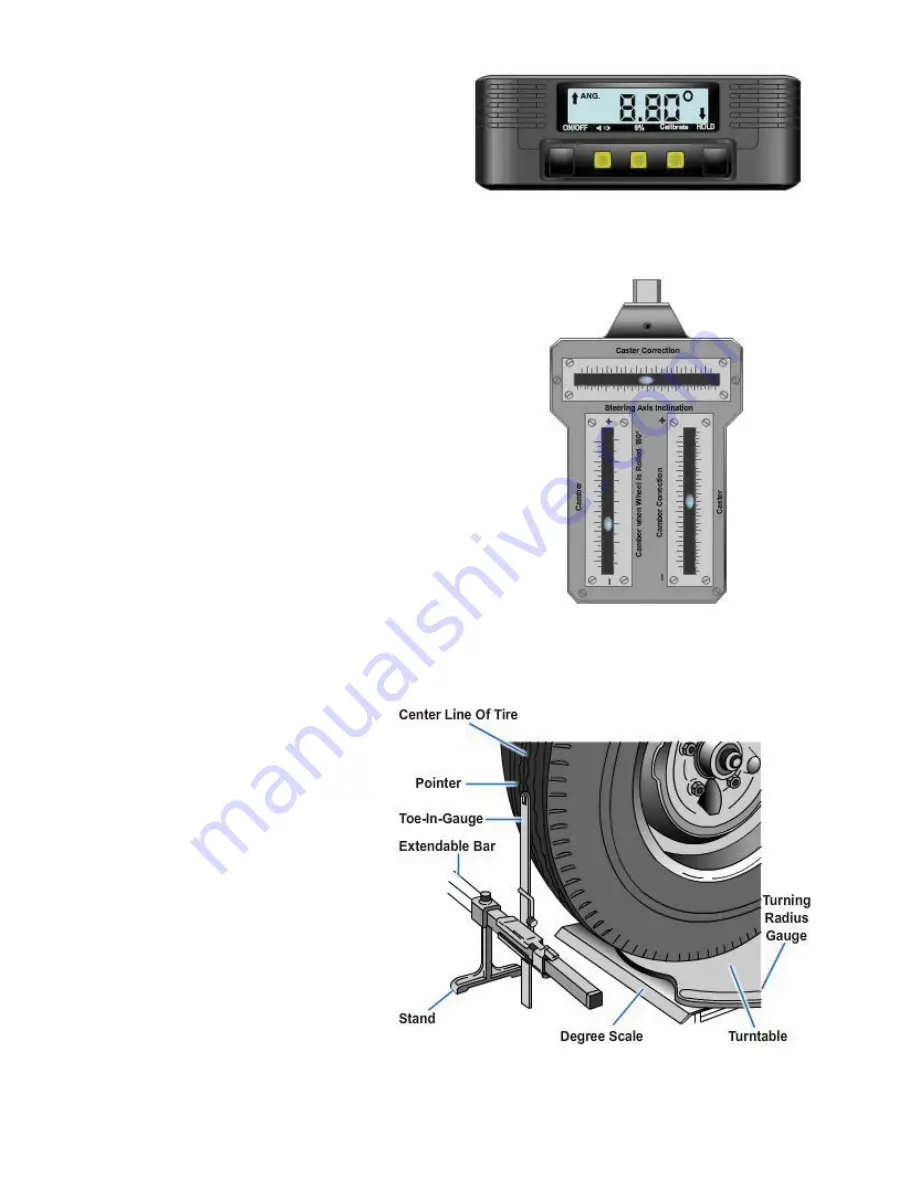
Raise the front end and
position a radius gauge
(
Figure 9-21
) with the lock
pins installed under each
front wheel. The degree
scale should be pointing
outward.
3.
Turn the steering wheel so
that the front wheels face
straight ahead.
4.
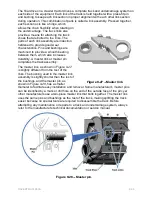
Lower the tires onto the
radius gauges. Be sure
that the tires contact the
center of the turntables, as
shown in
Figure 9-21
.
5.
Remove the lock pins that
hold the turntables in a
Figure 9-19 - Digital protractor.
Figure 9-20 - Camber/caster
gauge.
fixed position.
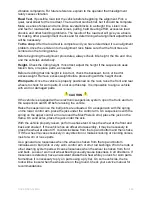
Figure 9-21 - Basic wheel alignment
equipment.
NAVEDTRA 14050A
9-27

