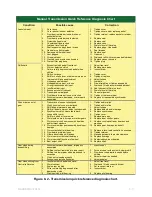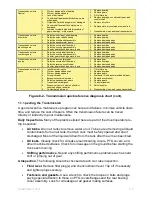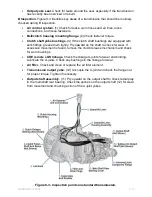
Next, use a dummy shaft or
arbor shaft (shaft tool designed
for driving) to drive out the
counter shaft and reverse idler
shaft.
Now you can remove the input
shaft and the output shaft
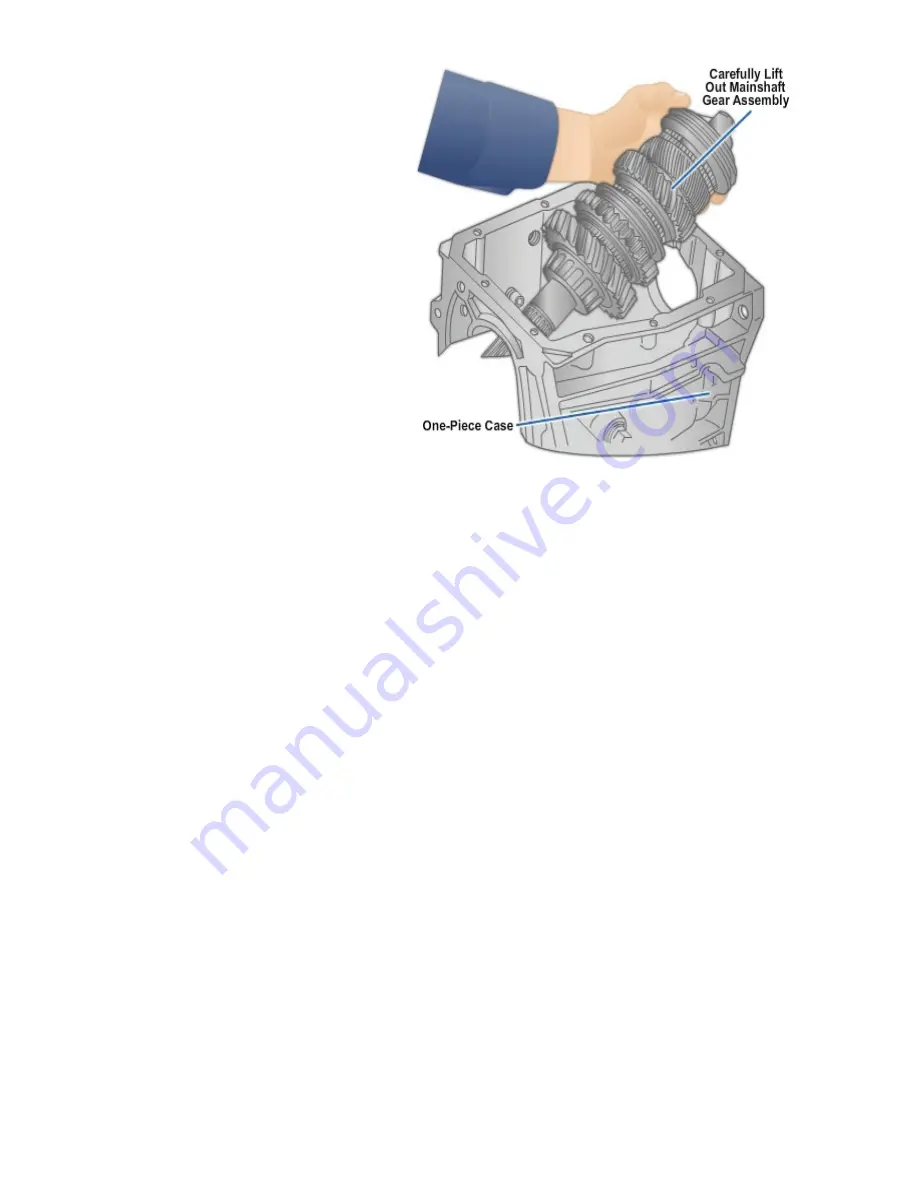
assemblies. Slide the output
shaft and gears out of the back
or top of the transmission as a
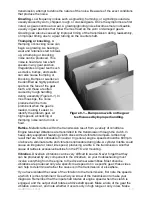
unit. Be careful not to nick the
gears on the case (
Figure 8-10
)
.
1.3.4 Cleaning and Inspecting
Disassembly
With all of the parts removed
from the case for metal shavings,
inspect them closely. First, check
inside the case for metal
shavings. If brass-colored
particles are found, one or more
of the synchronizers or thrust
Figure 8-10 - Removing the mainshaft
washers are damaged. These are normally the only parts in the transmission made of
this material.
If iron chips are found, the output drive gears are probably damaged. After checking the
case, clean the inside with solvent. Then blow it dry with compressed air while wearing
eye protection. Also clean the transmission mission bearings.
Next, inspect all of the output gears. Look for wear patterns or chips on the gear teeth.
The gears are usually case-hardened. If wear is more than a few thousandths of an
inch, the hard outer layer will be worn through, and the gear must be replaced.
Transmission shaft runout is the amount of wobble produced when a bent or worn shaft
is rotated. If gear tooth wear is uneven, check the shaft bearings and shafts. They may
be worn or bent. A dial indicator can be used to check the transmission shafts for
straightness. Refer to specifications for the amount of allowable runout.
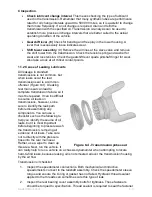
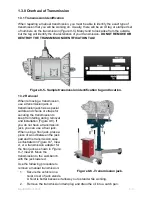
Inspect the synchronizer assemblies, especially if the transmission had gear shift
problems (
Figure 8-11
). Check the teeth, splines, and grooves on the synchronizers.
Replace parts as needed.
View A
shows all the components of the assembly.
View B
shows basic synchronizer components.
View C
shows checking shift forks and
synchronizers for wear.
View D
illustrates inspect ridges inside the blocking ring.
8-18
NAVEDTRA
14050A

