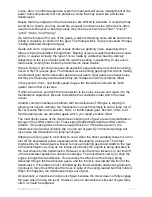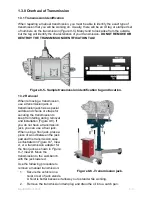
With the transmission bolted to the clutch cover, install the rear cross member and
motor mount.
Reinstall the clutch linkage and transmission linkage.
Reconnect electrical connectors. Install parking brake hardware and exhaust pipes (if
removed). Install the speedometer cable assembly.
Install the driveshaft assembly,
making sure to line up the marks
you made during removal.
Fill the transmission to the
proper level using specified
lubricant. Install the fill plug and
tighten.
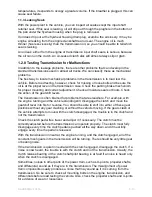
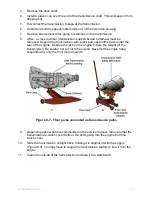
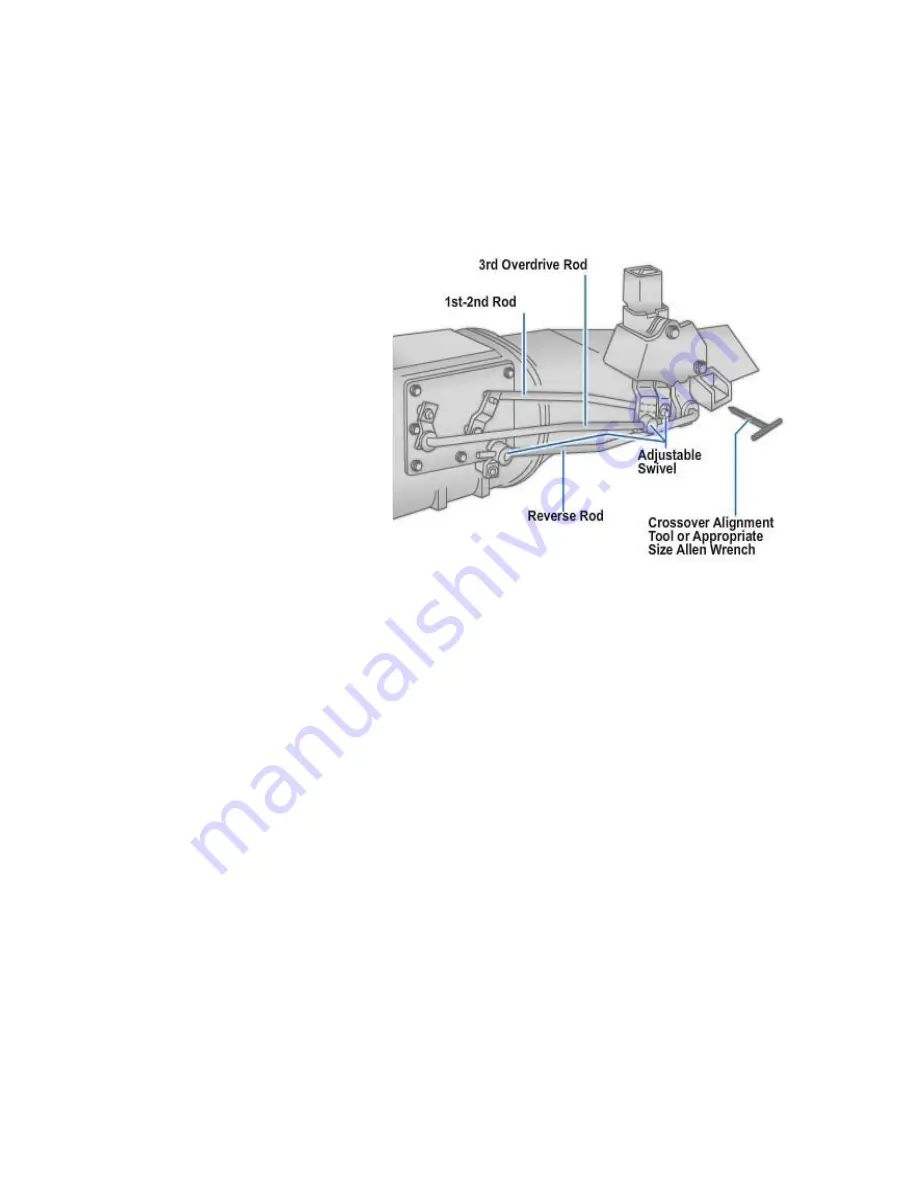
To adjust many types of
transmission linkage, place the
gearshift lever and transmission
levers in neutral. Then insert an
alignment pin (special diameter
tool or rod) through the linkage
arms. The pin must fit through
the holes in the shifter levers
(
Figure 8-18
).
If the pin will not fit through the
hole, lengthen or shorten the
linkage rods. Adjust the rods so
that the alignment pin fits easily
through the hole in the shifter
assembly and into the
corresponding hole in the housing.
Figure 8-18 - Adjust external linkage.
This basic procedure will vary with different types of gear shift mechanisms. When in
doubt, refer to the service manual for specific instructions for your particular condition.
After all the drivetrain parts are reinstalled, lower the vehicle and reconnect any
disconnected hardware under the hood, including the battery negative cable. Install the
boot to the floor inside the vehicle and screw the gear shift knob back if removed.
After everything has been reconnected, operate the clutch pedal a few times to see that
the clutch engages and disengages properly. Also, move the gearshift lever to check
operation of the shift linkage.
Carefully road test the vehicle, making sure the transmission and clutch operate
properly. If any problems are detected, correct them before releasing the vehicle. Make
any other adjustments as needed and recheck the oil level.
NAVEDTRA 14050A
8-27

