122 NCB Service Manual
Version 1.0
7.
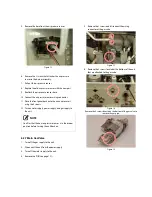
Remove the old PCB and replace it with the new part.
8.
Reattach all wiring connectors to the PCB.
9.
Set the proper DIP S/W settings on the PCB (refer to
page 121).
10.
Reinstall the PCB and Front Panel using the 7 screws
previously removed.
11.
Turn on the water and gas supplies, then reconnect the
power supply to the unit.
NOTE
All wiring harness connections to the PCB should match
in color and pintypes. Do not use excessive force when
removing the connectors as this may cause damage to
the PCB.
6.2.2 Fuse
1.
Turn off the gas supply to the unit.
2.
Disconnect the unit from the power supply.
3.
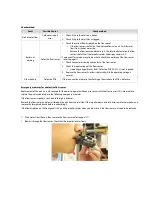
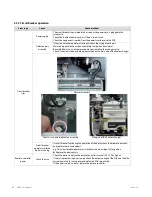
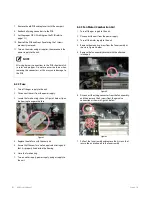
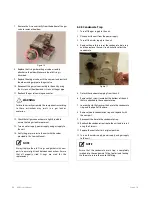
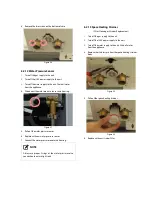
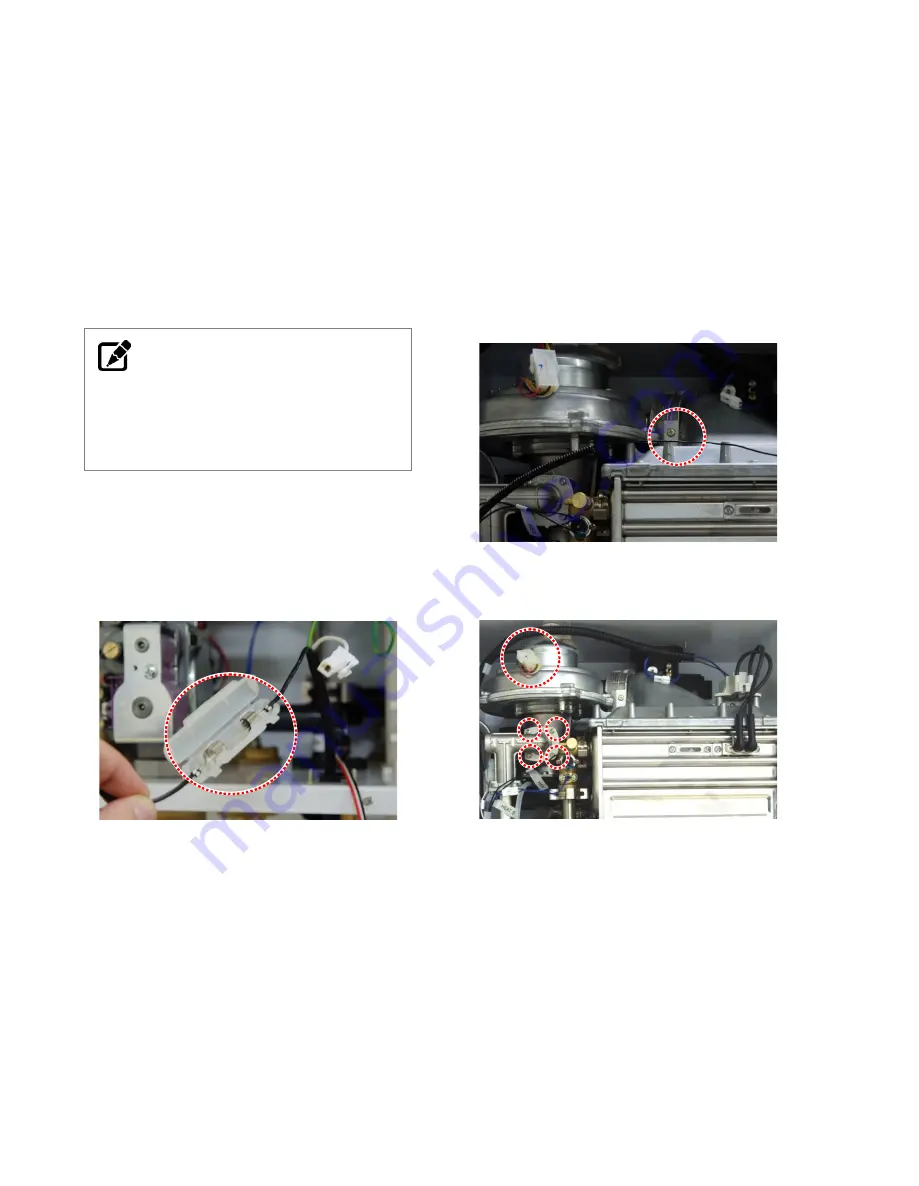
Locate the fuse housing shown in Figure 3 below. Open
the housing to expose the fuse.
Figure 3
4.
Replace the old fuse with the new part.
5.
Ensure that the new fuse is of an equivalent rating and
that it is properly fixed inside the housing.
6.
Close the fuse housing.
7.
Turn on water supply, power supply, and gas supply to
the unit.
6.2.3 Fan Motor (Combustion Air)
1.
Turn off the gas supply to the unit.
2.
Disconnect the unit from the power supply.
3.
Turn off the water supply to the unit.
4.
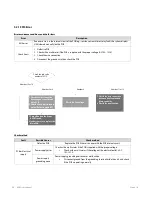
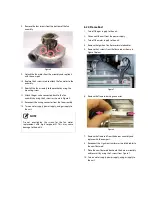
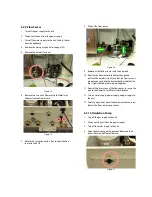
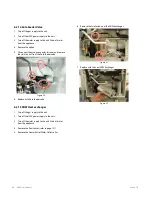
Remove the mounting screw from the fan assembly as
shown in Figure 4 below.
5.
Remove the fan assembly bracket with the attached
intake port.
Figure 4
6.
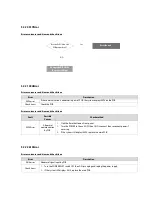
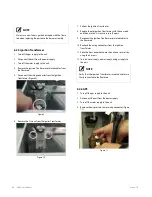
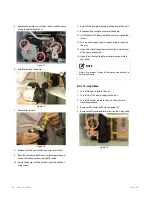
Disconnect the wiring connector from the fan assembly,
and then remove the 4 screws from the gas valve
connection as shown in Figure 5 below.
Figure 5
7.
Pull out the fan assembly and remove the 4 screws that
secure the air intake port to the fan assembly.
Summary of Contents for NCB-180
Page 3: ......
Page 16: ......
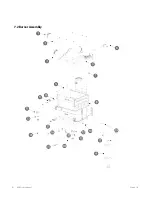
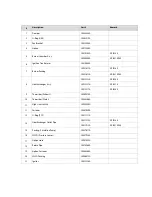
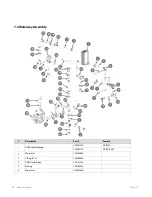
Page 135: ...132 NCB Service Manual Version 1 0 7 2 Burner Assembly...
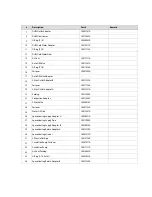
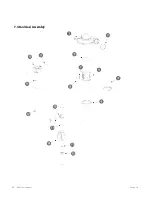
Page 139: ...136 NCB Service Manual Version 1 0 7 4 Fan Gas Assembly...
Page 142: ...Memo...
Page 143: ...140 NCB Service Manual Version 1 0 Memo...
Page 144: ...Memo...
Page 145: ...142 NCB Service Manual Version 1 0 Memo...
Page 146: ...Memo...
Page 147: ...144 NCB Service Manual Version 1 0 Memo...
Page 148: ...Memo...

