18
First Steps
19
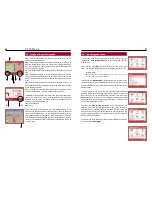
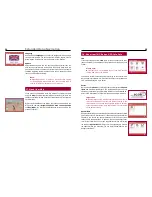
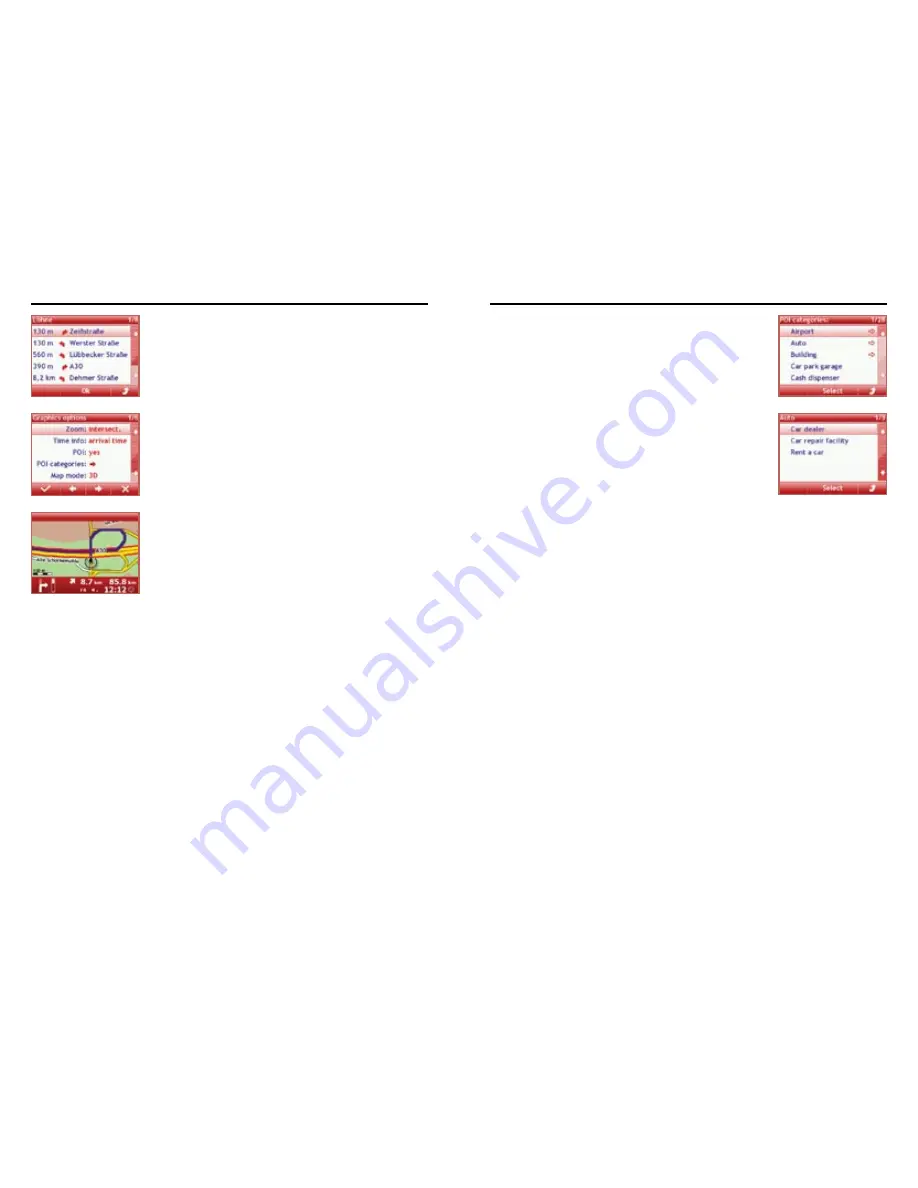
If you choose the item
Tour
, you can see how many meters you have
to travel on a certain road section to reach your destination. Likewise,
changes in direction are displayed. Road sections already traveled are
not displayed.
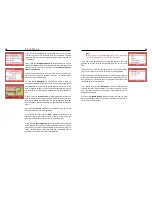
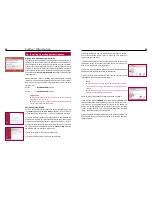
In the menu item
Graphics options
you can determine how the rep-
resentation /
Zoom
should be changed during route navigation with
the map view. You can choose from three options:
manual
,
intersec-
tions
and
automatic
.
a) If you choose manual, you can zoom in and out on a particular sec-
tion of the map by using the plus and minus icons. The display will then
remain on your selected setting.
b) If you choose
automatic
, the map section will zoom in when ap-
proaching an intersection where you have to turn or when approaching
a special destination. After having passed this point the section zooms
back to standard setting. If you have previously changed the scale via
the scroll keys, the map section will always return to the standard set-
ting.
c) With the setting
intersections
, the map section around your car is
zoomed in when approaching an intersection where you have to turn.
After having passed the intersection, the display returns to the maxi-
mum overview of the map representation. Special destinations are zoo-
med in.
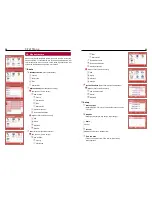
The sub-item
Time info
enables you to see the traveling time or the
arrival time during active route navigation.
If you choose yes in the sub-item
POI
, a number of recorded data of
the maps, such as gas stations and multi-story car parks, will be dis-
played in the map representation via a corresponding icon.
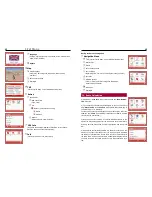
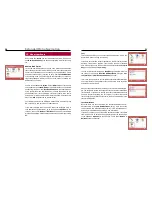
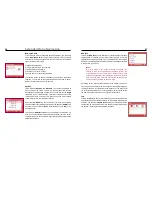
In the sub-item
POI categories
, you chose the data to be displayed.
Using ‘select’ in the display, you reach the category selection and their
POIs, which you can then select separately. If one category is fully se-
lected, the arrow symbol on the right hand side is completely filled in.
Otherwise this graphic only appears half complete.
Note:
The number of available categories can vary depending
on the town and country in which you are staying.
In the sub item map mode you can adjust the display of the route
guidance as regards the map presentation from the 2D to the 3D
view.
Using the next sub item you can set how many road / street names
(none at all, a few or a lot) should be shown on the map display.
If you activate the compass sub item, then a circular compass appears
in the lower left hand corner of the 2D and 3D map display which al-
ways points north. This means you are also able to orientate your trip
around the points on the compass.
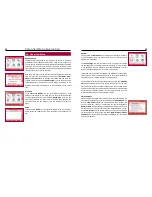
If you choose the menu item
Main menu
, you can go there without
canceling the active route navigation. If you then press ESC or call the
menu item Route, the previous view of the route navigation will be re-
activated automatically.
The menu item
Route options
complies with the one from the main
menu under settings. Here you can quickly activate or deactivate e.g.
the dynamic route navigation.


