6
Mounting of navigation system
7
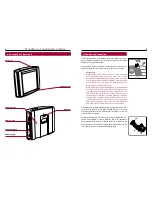
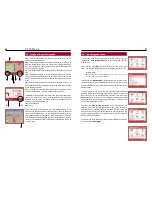
d) Now place the monitor onto the foot. If you hear it click into place,
then the monitor has been set in place correctly.
Please note:
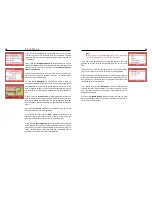
The swivel arm has a USB plug. This has to be inserted to
the right, on the underside of the monitor. Only then can the
navigation system receive and process TMC data.
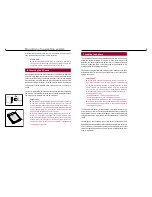
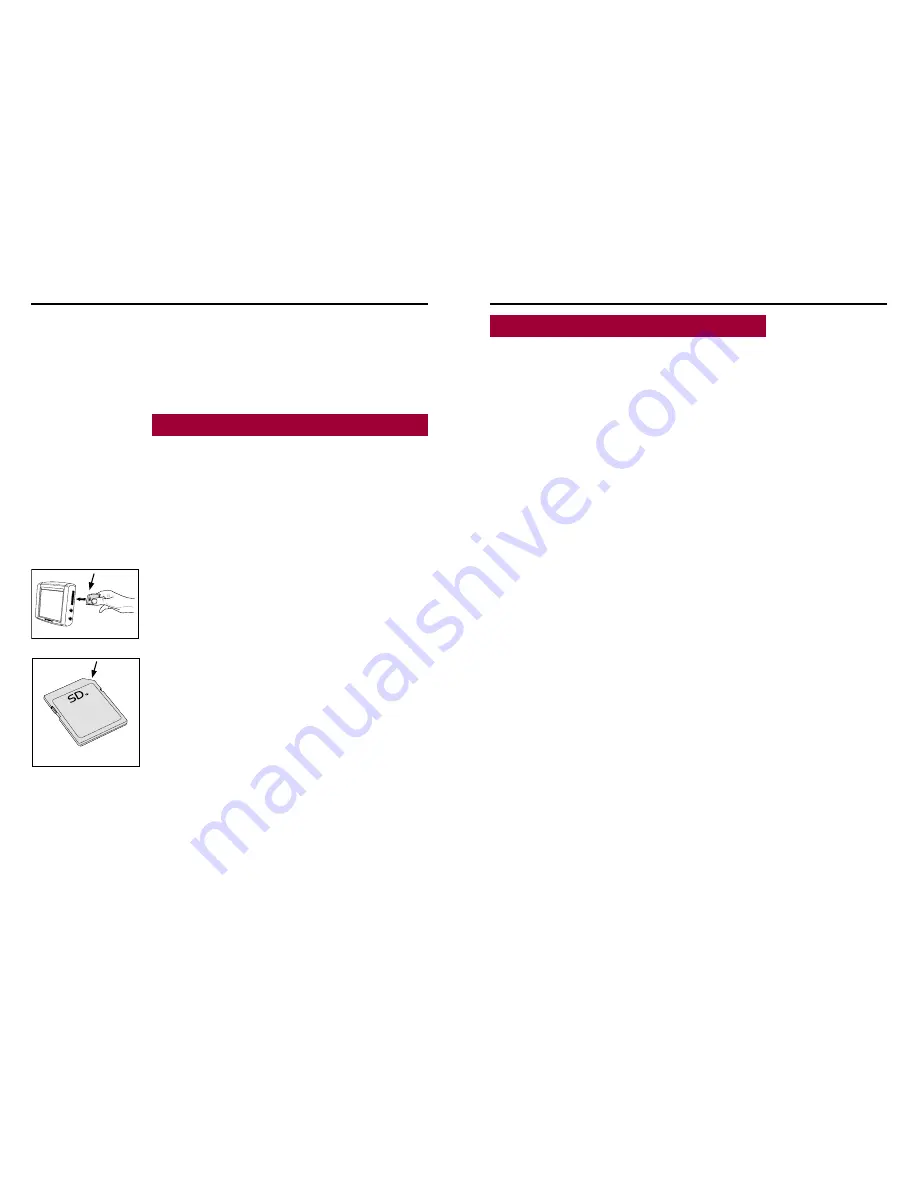
6. Inserting the SD card
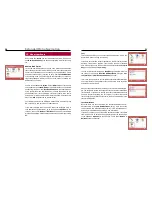
When placing the SD card, make sure that the side with the truncated
edge A is facing upwards and that this side is firstly inserted into the SD
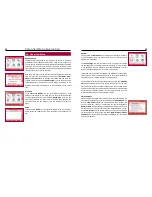
cards slot. When placing the SD card, make sure that the side with the
truncated edge A is facing upwards and left and that this side is firstly
inserted into the SD cards slot. If the SD card fits flush with the casing
and you hear it softly click into place, then the SD card is correctly in-
serted.
In order to remove the SD card from the SD card slot, press lightly on
the SD card. This unlocks the catch and the card is ejected far enough
for it to be easily removed from the SD cards slot.
Important:
The memory card supplied with the navigation system is
a new type of SD-HC memory card. Please note, that this
storage medium cannot be used by all SD card reading de-
vices. This is why it is important to check before purchasing
and/or before using SD-HC memory cards as to whether
your SD card reader supports this format.
If the message „Please insert the Navigation data“ ap-
pears on the display, although the correct memory card
with operational maps is inserted, then please restart the
system. Press the reset key on the back of the monitor. The
operating system software will be completely reloaded and
the message disappears.
7. Loading the battery
The navigation system has an integrated battery which, when loaded,
keeps the system activated for approx. 4 days. With active route
guidance, the battery guarantees up to 4 hours of navigation without
having to be charged again. These values can vary, depending on the
setting and use of the navigation system.
The battery can be charged in two different ways: either with the 230V
power cable via a plug at home / in your hotel room, or with the 12V/24V
cable in the vehicle.
Important:
Please avoid charging the battery inside the vehicle un-
der direct sunlight or with high internal temperatures,
which can be rapidly reached in parked vehicles. In such
cases, remove the navigation device from the cradle and
put it in the car glove pocket or glove box for instance.
Please comply with the following temperature levels for
the navigation system:
- Storage between -20 and +45 degrees Celsius
- Charging between -10 and +45 degrees Celsius
- Charging and use between -10 and + 60 degrees Celsius
If you do not comply with these levels, then the battery
can be damaged, possibly leading to the complete failure of
the navigation system.
To charge the fully battery for the first time, you should connect it to a
power source via one of the charging cables and allow it to charge for
approximately 6 hours without interruption. Connect the appropriate
charging cable to the lower box on the right hand side of the monitor
casing.
You are shown the charging status of the battery at the upper right
hand side of the display. When fully charged, the battery symbol is full,
if not, it is empty. If the battery capacity is nearing empty, the symbol
flashes increasingly quickly and you will receive a corresponding mes-
sage on the display.
A
A


