11
3.2
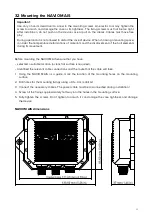
Mounting the NAVIOM AIS
Before mounting the NAVIOM AIS ensure that you have:
• selected a suitable location (a clear, flat surface is required).
• Identified the relevant cable connections and the route that the cable will take.
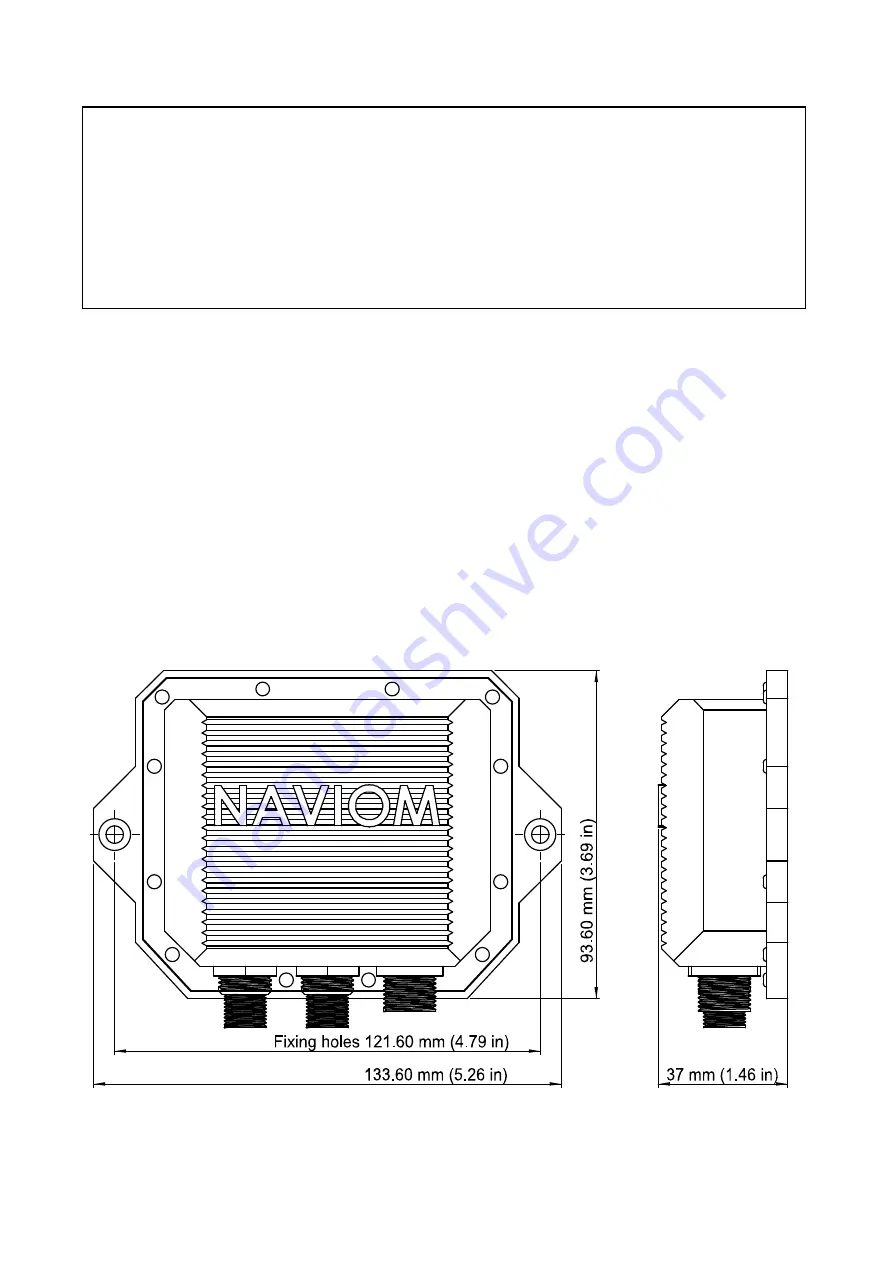
1. Using the NAVIOM AIS as a guide, mark the location of the mounting holes on the mounting
surface.
2. Drill holes for the mounting fixings using a 3.5 - 4 mm drill bit.
3. Connect the necessary cables. The power cable must be disconnected during installation!
4. Screw all the fixings approximately half way into the holes in the mounting surface.
5. Fully tighten the screws. Don't tighten too much it can damage the case tightness and damage
the device.
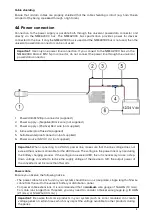
NAVIOM AIS dimensions
Important:
Use only a hand screwdriver to screw in the mounting screws. An electric tool may tighten the
screw too much and damage the case or its tightness. The fixing screws must not be too tight.
After installation, do not push on the device case or pull on the cables. Cables must have free
play.
During operation it is not allowed to distort the case of device. When choosing a mounting space,
consider the temperature deformations of materials and the displacement of the hull elements
during its movement.
Summary of Contents for AIS
Page 1: ......


