2.
DEVICE
CONNECTION
2.1 Installation
Before the system installation, first of all, it is necessary to determine the type and number of the connecting
sensors, the identification system and other additional equipment. It is also necessary to be sure that all the additional
equipment connected to the terminal are operable.
Immediately before installing the system and connecting the equipment, also make sure that the cellular
operator provides good communication quality in the intended location of the GSM antenna.
The navigation antenna should be installed in such a way as to ensure maximum "visibility" of navigation
satellites in the upper hemisphere.
Attention!
In order to avoid overheating of the device and failure of the Li-Po battery, it is prohibited to install the tracker
in places with an ambient temperature more than +60 ° C, for example, near heating systems, etc. It is also
prohibited to place the device in a sealed container without heat dissipation.
It is prohibited to install tracker in places with high humidity and in places where there is a risk of possible
ingress of liquid or large amount of dust into the case.
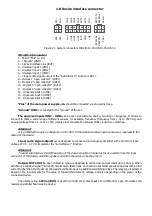
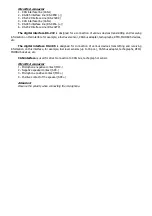
When the device is connected to the Microfit-14 connectors harnesses, the connectors themselves should not
be connected to the device. Each pin of this connector has a numeric code. The purpose of each is shown in Figure
16
At the stage of checking the correctness of the connection and settings of the device, it is not recommended
to directly include actuating devices in the output circuits. It is advisable to do this at the final stage of verification.
The power supply of digital and analogue fuel sensors must be connected through the fuses supplied with the
sensors directly to the power supply.
The power supply “-” (“ground”) of all connected external sensors must be combined with the power supply
“-” (contact “G”) of the device.
The interface lines of fuel sensors should be connected directly to the device without additional elements.
Switches must be made with the power off.
Connection to the car CAN bus should be carried out with the car ignition off.
2.2 SIM-card installation and operation
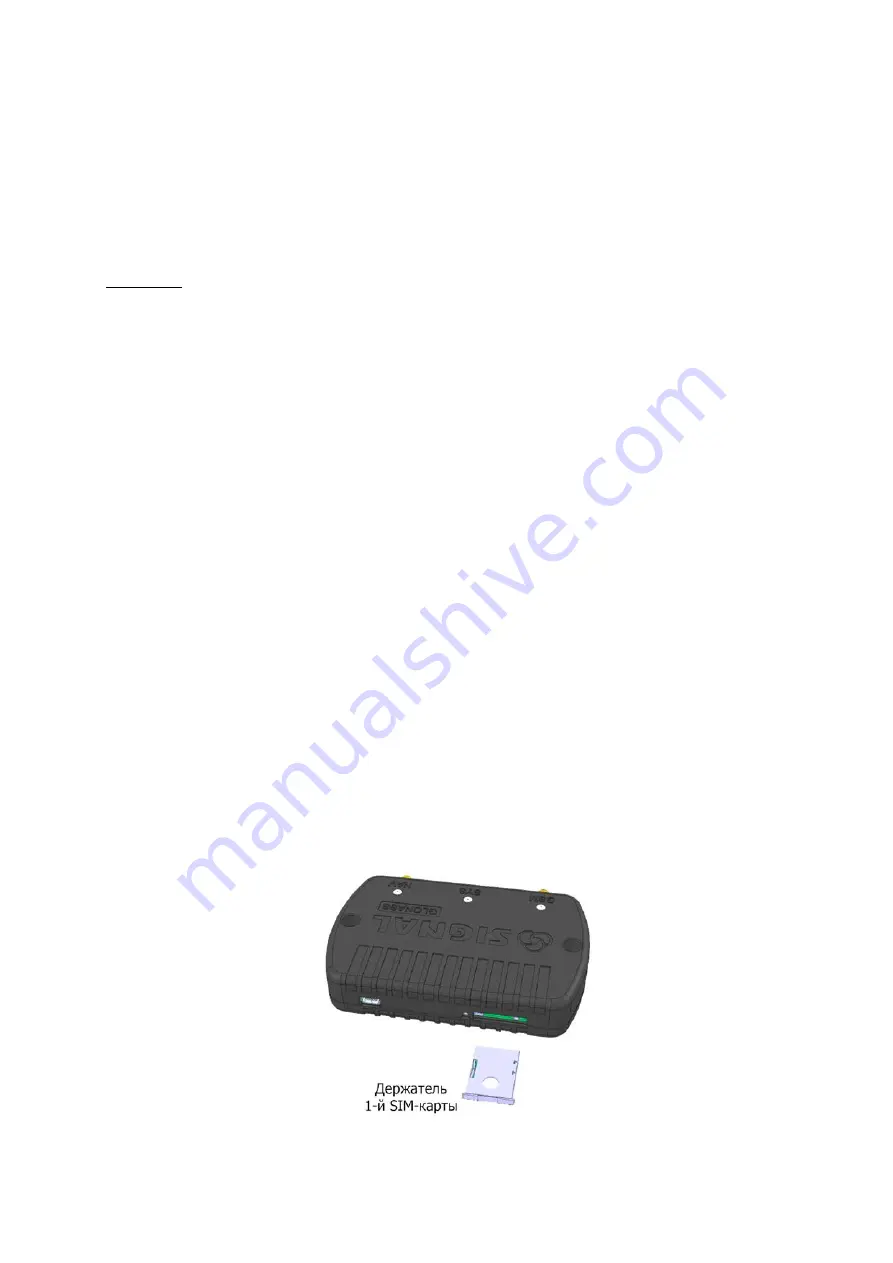
The device supports using of two SIM-cards. The first SIM card (external) is the main by default, and its
installation is carried out without the use of special tools. For installation of the second SIM-card (internal), it is
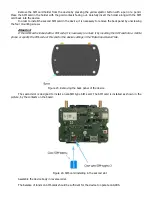
necessary to remove the back panel of the device using a screwdriver.
After turning-on or rebooting, the device starts operation with the main SIM - card. In the settings, either an
external or internal SIM card can be selected as the main one.
Switching to the second SIM-card occurs when registration on the first SIM-card is lost and there is no
registration after the next GSM modem rebooting. Also switching to the second SIM-card occurs after a series of
unsuccessful attempts to connect to the telematics server. When operating on a secondary SIM-card, a periodic
availability check can be performed.
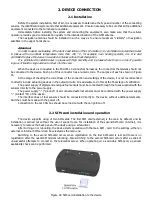
Figure 22. SIM-card installation to the device
Summary of Contents for SIGNAL S-2651
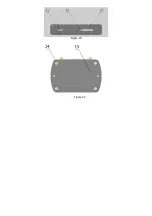
Page 16: ...Figure 19 Figure 20...

