background image


Betriebstemperatur / Operating Temp.:

 10 C - +70 C (+14 F - +158 F)  

Stromversorgung / Power Supply: 

12-15 Volt DC, 250mA 


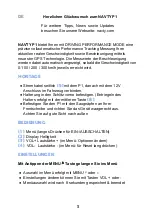
Konformitätserklärung:  Der Hersteller


NAVTY erklärt hiermit, dass sich das Gerät  

NAVTY P1 in Übereinstimmung mit den grundlegenden Anforderungen und den übrigen 

einschlägigen Bestimmungen der Richtlinie 1999/5/EG befindet. Die vollständige Erklärung 

kann hier herunter geladen werden: https://navty.com/ce 


Declaration of Conformity: 

NAVTY hereby declares that the device NAVTY P1 

is in compliance with the requirements of Directive 1999/5/EG. The full 

explanation can be downloaded here: https://navty.com/ce


Summary of Contents for P1

Page 1: ...P1 professional performance tracking DE Betriebsanleitung EN User manual FR Manuel utilisateur ES Manual de usuario 1 ...

Page 2: ...instimmung mit den grundlegenden Anforderungen und den übrigen einschlägigen Bestimmungen der Richtlinie 1999 5 EG befindet Die vollständige Erklärung kann hier herunter geladen werden https navty com ce Declaration of Conformity NAVTY hereby declares that the device NAVTY P1 is in compliance with the requirements of Directive 1999 5 EG The full explanation can be downloaded here https navty com ce...

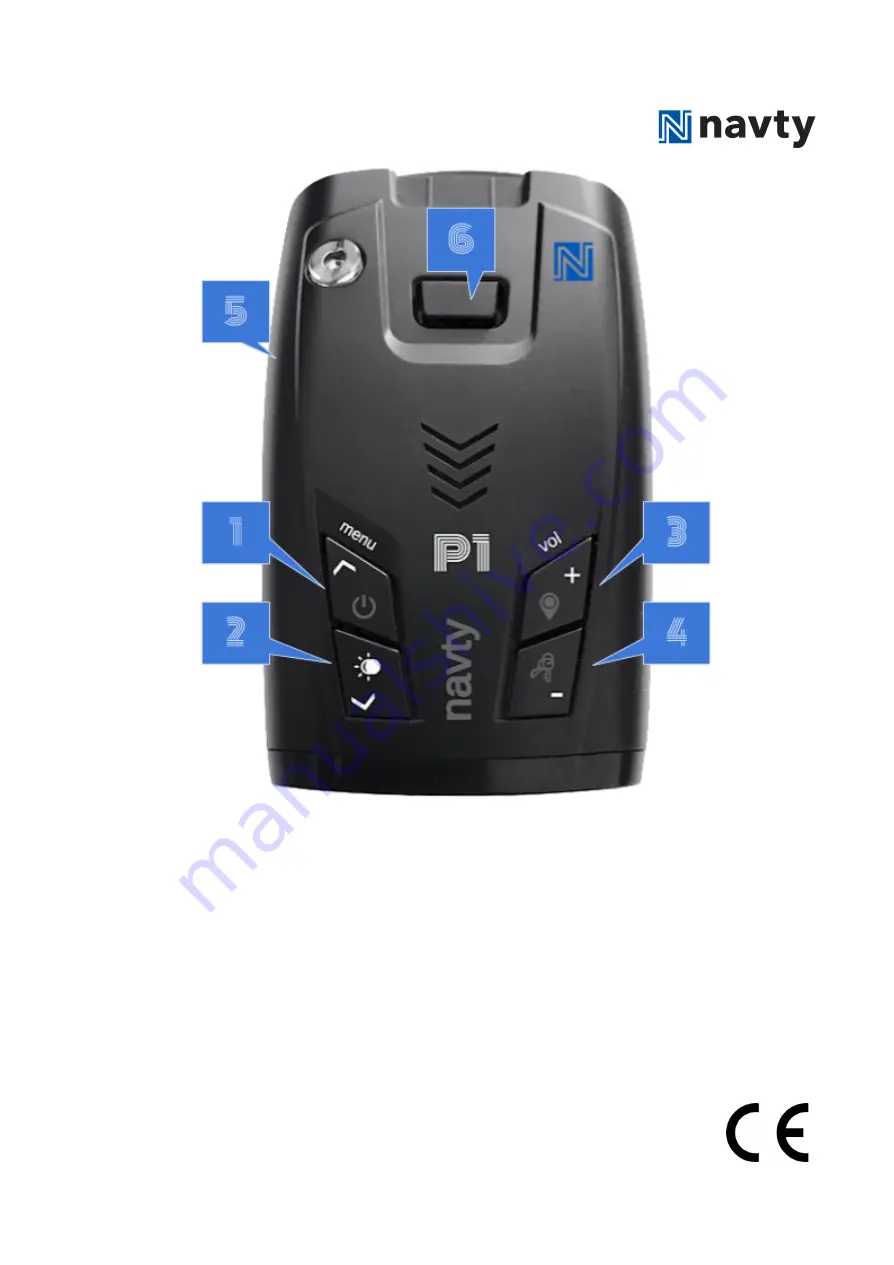
Page 3: ...itlich 5 mit dem P1 danach mit dem 12V Anschluss im Fahrzeug verbinden Halterung in den Schlitz vorne befestigen Entriegeln des Halters erfolgt mit der mittleren Taste 6 Befestigen Sie den P1 mit den Saugnäpfen an Ihrer Frontscheibe und richten Sie das Gerät waagerecht aus Achten Sie auf gute Sicht nach außen BEDIENUNG 1 Menü langes Drücken für EIN AUSSCHALTEN 2 Display Helligkeit 3 VOL Lautstärke...

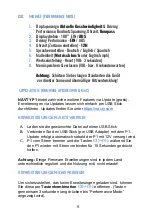
Page 4: ...s via Update gratis Erweiterungen via Updates lassen sich einfach per USB Stick durchführen Updates finden Sie unter https navty com ERWEITERUNGEN AKTIVIEREN A Laden sie die gewünschte Datei auf einen USB Stick B Verbinden Sie den USB Stick per USB Adapter mit dem P1 Update erfolgt automatisch sobald der P1 mit 12V versorgt wird C P1 vom Strom trennen und die Tasten 2 4 während Sie den P1 wieder m...

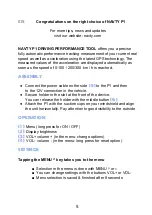
Page 5: ...the side 5 to the P1 and then to the 12V connection in the vehicle Secure holder in the slot at the front of the device You can release the holder with the middle button 6 Attach the P1 with the suction cups on your windshield and align the unit horizontally Pay attention to good visibility to the outside OPERATION 1 Menu long press for ON OFF 2 Display brightness 3 VOL volume in the menu change o...

Page 6: ...es via update free Extensions via updates can be carried out simply by USB stick Updates can be found at https navty com LOAD ADDONS A Download the desired file to a USB stick B Connect the USB stick via our USB adapter to the P1 Update takes place automatically as soon as the P1 is supplied with 12V C Disconnect then P1 from the power then press the buttons 2 4 while reconnecting the P1 for 10 se...

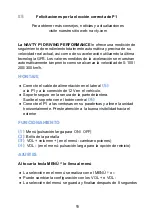
Page 7: ...teinte ENSEMBLE Branchez le câble d alimentation sur le côté 5 à la borne P1 et à la borne 12V du véhicule Fixer le support dans la fente à l avant Relâchez le support avec le bouton du milieu 6 Fixez le P1 au pare brise de votre pare brise et alignez l unité horizontalement FONCTIONNEMENT 1 Menu appui long sur ON OFF 2 Luminosité de l affichage 3 VOL volume dans le menu changer les options 4 VOL ...

Page 8: ...utres fonctionnalités via la mise à jour gratuite Les extensions via des mises à jour peuvent être effectuées simplement par clé USB Les mises à jour peuvent être trouvées sur https navty com ADDONSCHARGEMENT A Téléchargez le fichier désiré sur une clé USB B Connectez la clé USB via adaptateur USB au P1 La mise à jour s effectue automatiquement dès que le P1 est alimenté en 12V C Débrancher P1 de ...

Page 9: ...e de alimentación en el lateral 5 a la P1 y a la conexión de 12V en el vehículo Soporte seguro en la ranura de la parte delantera Suelte el soporte con el botón central 6 Conecte el P1 a las ventosas en su parabrisas y alinee la unidad horizontalmente Preste atención a la buena visibilidad hacia el exterior FUNCIONAMIENTO 1 Menú pulsación larga para ON OFF 2 Brillo de la pantalla 3 VOL volumen en ...

Page 10: ...diante actualizaciones se pueden llevar a cabo simplemente con un dispositivo USB Las actualizaciones se pueden encontrar en https navty com LOADADDONS A Descargue el archivo deseado a un dispositivo USB B Conecte la memoria USB a través de nuestro adaptador USB a la P1 La actualización se realiza automáticamente tan pronto como el P1 se suministra con 12V C Desconecte P1 de la alimentación y lueg...

Page 11: ... 260 EIN AUS KA 8 35 550 EIN AUS KA 9 35 715 EIN AUS KA10 35 915 EIN AUS POP EIN AUS BSM FILTER EIN AUS TSR FILTER EIN AUS ENGLISH P1 R FIRMWARE OPTIONAL DEFAULT OPTIONS 1 ALERT MINIMUM SPEED OFF 10 20 30 km h 2 AUTO CITY SPEED OFF 10 20 60 km h 3 CITY SENSITIVITY 10 20 70 90 4 AUTO MUTE ON OFF 5 DISPLAY SPEED TIME VOLTAGE COMPASS 6 RADAR INFO STANDARD FREQUENCY THREAT 7 DISPLAY ROTATE 180 ON OFF ...

Page 12: ... KA 9 35 715 ON OFF KA10 35 915 ON OFF POP ON OFF BSM FILTER ON OFF TSR FILTER ON OFF español P1 R FIRMWARE OPCIONAL CONFIGURACIÓN DE FÁBRICA Y OPCIONES 1 ALARMAS MINIMAS TEMPO 10 20 30 km h 2 MAX TEMPO CITY MODE OFF 10 20 60 km h 3 MODO CIUDAD 10 20 70 90 4 ALARMA INTELIGENTE ENCENDIDO APAGADO 5 PANTALLA VELOCIDAD RELOJ VOLTAJE COMPÁS 6 INFORMACIÓN DEL RADAR SENCILLO FRECUENCIA BANDAS 7 ROTATION ...

Reviews: