background image

www.naxa.com 

Page 17

Warnings and Precautions

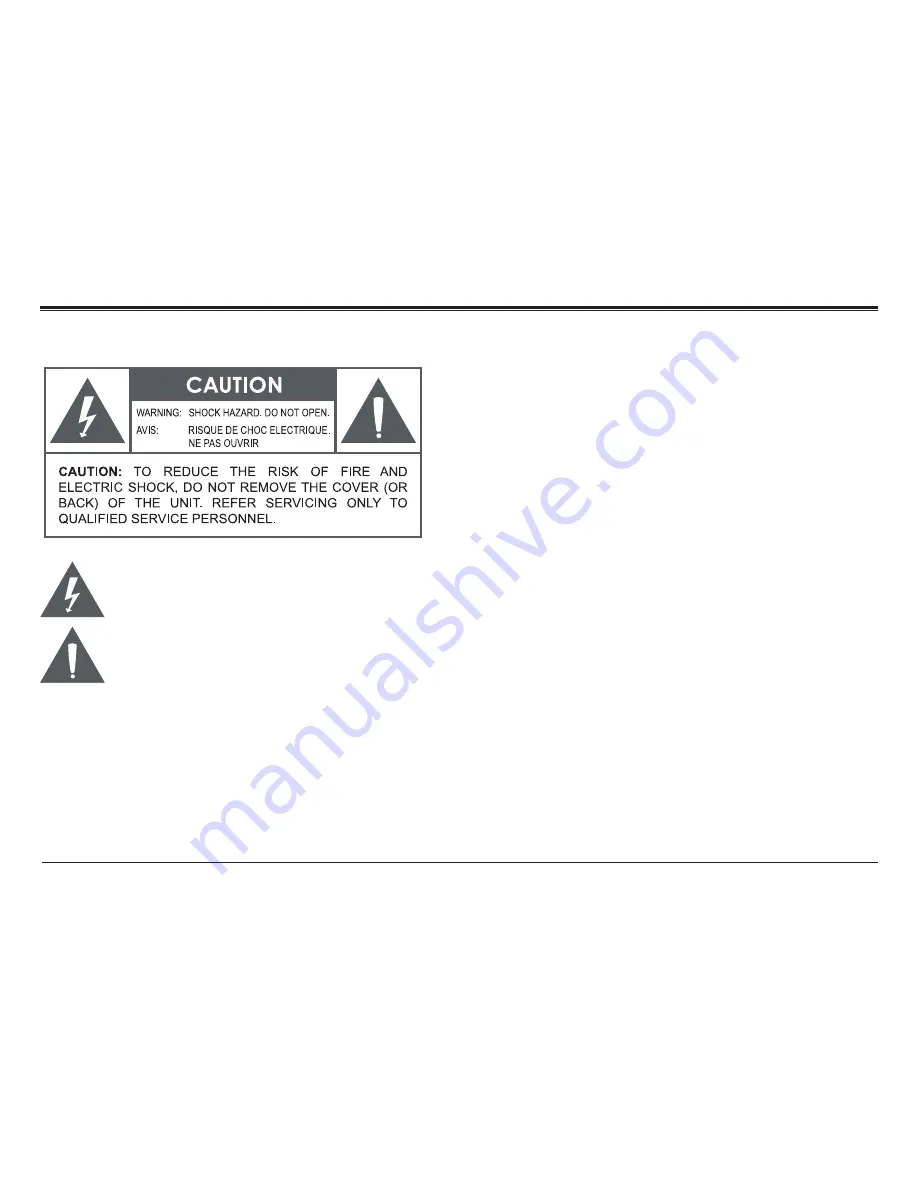
The lightning flash with arrowhead symbol within an equilateral 
triangle is intended to alert the user to the presence of unin-
sulated “dangerous voltage” within the product’s enclosure that 
may  be  of  significant  magnitude  to  constitute  risk  of  electric 
shock
The exclamation point within an equilateral triangle is intended 
to alert the user to the presence of important operation and ser-
vicing instructions in the literature accompanying the appliance.

CAUTION

•  Do not block the ventilation openings or holes.
•  Do not place any naked flames (such as lighted candles) on the ap-

paratus.

•  When discarding batteries, follow all local rules and laws governing the 

disposal of batteries. Consider the environmental impact of your actions!

•  To prevent fire or shock hazard, do not expose this appliance to rain 

or moisture.

Important Safety Information

1.  Read Instructions: All the safety and operating instructions should be 

read before the product is operated.

2.  Retain Instructions: The safety and operating instruction should be 

retained for future reference.

3.  Heed Warnings: All warnings on the product and in the operating in-

structions should be adhered to.

4.  Follow  Instructions: All  operating  and  usage  instructions  should  be 

followed.

5.  Cleaning: Unplug this product from the wall outlet before cleaning. 

Do not use liquid cleaners or aerosol cleaners. Use a damp cloth for 
cleaning.

6.  Attachments: Use only attachments recommended by the manufac-

turer. Use of other attachments may be hazardous.

7.  Water and Moisture: Do not use this product near water (e.g., near a 

bathtub, washbowl, kitchen sink, laundry tub, in wet basements, or 
near a swimming pool and the like).

8.  Power Sources: This product should be operated only from the type of 

power source indicated on the rating label. If you are not sure of the 
type of power supply to your home, consult your product dealer or 
local power company. For products intended to operate from battery 
power or other sources, refer to the operating instructions.

9.  Grounding or Polarization: This product may be equipped with a po-

larized alternating-current line plug that has one blade wider than 
the other. This plug will only fit into the power outlet in one direction. 
This is a safety feature. If you are unable to insert the plug fully into 
the outlet, try reversing the direction of the plug. If the plug should 

Summary of Contents for NSW-11

Page 1: ...LifeForce Fitness Watch NSW 11 Instruction Manual Please read carefully before use and keep for future reference ...

Page 2: ...What You ll Need 6 Charging the Module 6 Removing the Module from the Band 6 Use with an Android Device 7 Getting the Bluetooth Health Watch App 7 Bluetooth Health Watch App 9 Use with an iOS Device 13 Getting the Bluetooth Health Watch App 13 Bluetooth Health Watch App 14 Warnings and Precautions 17 Support 20 ...

Page 3: ...FAQ documentation and other product material at our website Come visit us on the web at www naxa com and see all that we have to offer In the Box Please take a moment to make sure that you have ev erything in the list below Although we make every ef fort to ensure that each Naxa device is securely packed and sealed we know a lot can happen in between us and you If anything is missing check back wi...

Page 4: ...r and calorie tracking helps you im prove your health with easy to reach goal and ac tivity monitoring Get energized Sleep monitoring helps you improve your sleep quality Includes two colorful durable and adjustable wristbands Bluetooth 4 0 low energy wireless sync Downloadable companion app for your iPhone or Android smartphone ...

Page 5: ...watch in Sleep mode before going to bed will result in more accurate sleep tracking Return the watch to Active mode when you wake 2 Display OLED display shows the time mode and power status L L The time will automatically be set when you sync data with the smartphone app 3 Reset Press to reset the band if it behaves abnormally 4 Micro USB charge port Connection for power Use the included USB cable...

Page 6: ... band 2 Connect the small end of the cable to the USB port of the module 3 Connect the larger end of the cable to a USB power source e g a powered computer or laptop a pow ered USB hub a USB power adapter 4 The display will show a little animation while it is charging L L To ensure optimal performance fully charge the battery the first time you use the band Removing the Module from the Band You wi...

Page 7: ...4 3 SAMSUNG GALAXY S3 Android 4 3 SAMSUNG GALAXY NOTE 2 Android 4 3 SAMSUNG GALAXY NOTE 10 1 Android 4 3 L L The fitness band may work with other devices that support Bluetooth 4 0 and Android 4 3 but compatibility cannot be guaranteed with all devices Getting the Bluetooth Health Watch App 1 Find and tap the Google Play store app on your device to launch it ...

Page 8: ...Page 8 Naxa Electronics 2 Tap the magnify ing glass at the top right corner 3 Type Bluetooth Health Watch into the search box In the list of search results below tap Bluetooth Health Watch ...

Page 9: ...axa com Page 9 4 Tap the green In stall button Fol low the on screen instructions to finish downloading and installing the app Bluetooth Health Watch App 1 Find and tap the BlueHealth icon to launch the app ...

Page 10: ...our start ing information The fitness band requires this info to accurately track your activity Tap Continue when you re finished entering your info 3 The Home screen gives you access to all of the app s functions You will first need to sync the data from the fitness band to the app Tap sync to begin ...

Page 11: ...www naxa com Page 11 4 The app will auto matically scan for the NSW 11 fitness watch 5 Once it finds the watch it will ap pear in the results list Tap Blue Health to finish the pairing bind ing process ...

Page 12: ...axa Electronics 6 After a successful pairing binding you will see the following screen Tap OK to continue on L L Tap the sync button every time you launch the app to make sure you have access to the latest data ...

Page 13: ...Apple iOS devices iPhone 4S iPhone 5 iPhone 5s iPhone 5c iPhone 6 iPhone 6 plus iPod touch 5th gen iPad 3 iPad Air iPad mini and newer iPads Getting the Bluetooth Health Watch App 1 Find and tap the App Store icon on your device to launch it 2 Tap the mag nifying glass at the top right corner ...

Page 14: ...Health Watch in the results panel Make sure you are searching for iPhone only apps 4 Tap the Get button and then the In stall button Follow the on screen instruc tions to finish downloading and installing the app Bluetooth Health Watch App 1 Find and tap the BlueHealth icon to launch the app ...

Page 15: ...r start ing information The fitness band requires this info to accurately track your activity Tap Continue when you re finished entering your info 3 The Home screen gives you access to all of the app s functions You will first need to sync the data from the fitness band to the app Tap sync to begin ...

Page 16: ...y scan for the NSW 11 fitness watch 5 Once it finds the watch it will ap pear in the results list Tap Blue Health to finish the pairing bind ing process L L Tap the sync button every time you launch the app to make sure you have access to the latest data ...

Page 17: ...ce 3 Heed Warnings All warnings on the product and in the operating in structions should be adhered to 4 Follow Instructions All operating and usage instructions should be followed 5 Cleaning Unplug this product from the wall outlet before cleaning Do not use liquid cleaners or aerosol cleaners Use a damp cloth for cleaning 6 Attachments Use only attachments recommended by the manufac turer Use of...

Page 18: ...t does not operate normally by following the operating instructions Adjust only those controls that are covered by the operating instructions as improper adjustment of other controls may result in damage and will often require extensive work by a qualified technician to restore the product to its normal operation e if the product has been dropped or damaged in any way f when the product exhibits a...

Page 19: ...relocate the receiving antenna Increase the separation between the equipment and receiver Connect the equipment into an outlet on a circuit different from that to which the receiver is connected Consult the dealer or an experienced radio TV technician for help CAUTION ON MODIFICATIONS Any changes or modifications not expressly approved by the grantee of this device may void the authority granted b...

Page 20: ...structions in this manual Please also visit us on the web at www naxa com to get up to the minute news alerts and documentation for your device For additional assistance please contact Naxa Technical Support NAXATechnical Support 2320 East 49th St Vernon CA 90058 http www naxa com naxa_support ...

Page 21: ...www naxa com Page 21 ...

Page 22: ......

Reviews: