background image

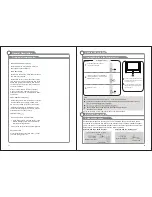
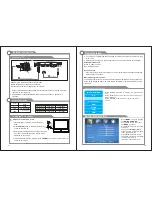
Turning the TV On and Off

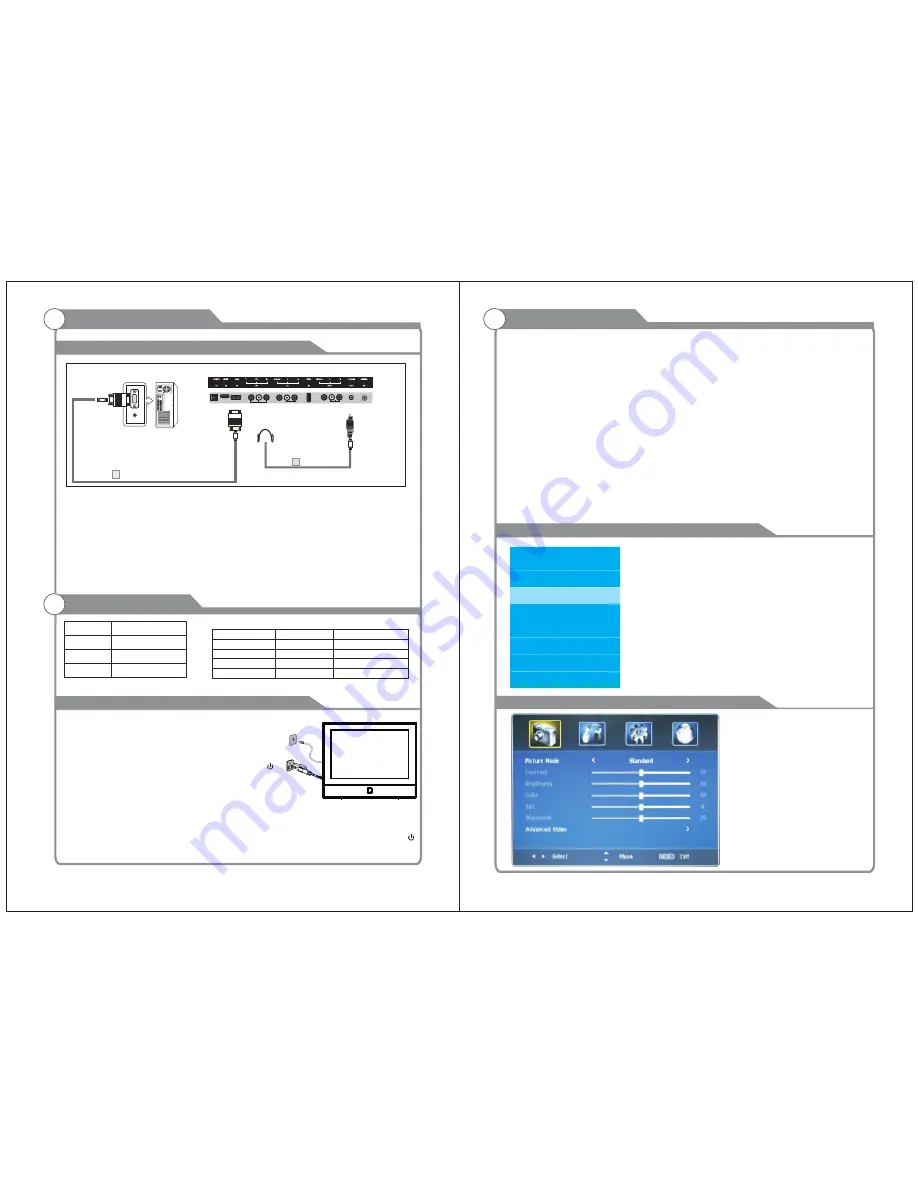
1. Insert the power cord plug into a polarized AC 

    outlet.

2. Press 

POWER

 button on the remote control or     

    button on the  LED TV. 

3. Normal picture will be displayed on the screen after 

    6 seconds. If no signal input, "No Signal" will be 

    displayed on the screen.

4. If temporary POWER off is required, press 

POWER

 button on the remote control or     

    button on the LED TV.

5. If you want to completely switch off the power for this unit, unplug the power cord plug 

    for this unit.

6. After switching off the unit, you should turn on the TV again at least 5 seconds later.

Status indication lamp

Green: In power on mode.

Red: In standby mode.

Auto power

-

off


If there is no signal input in any Mode, the TV will automatically accesses the standby 

    state in about 15 minutes.


Memory before turning TV off

The settings of picture and the preset channels will be memorized at turning off the unit.

When being started up again, the unit will work according to the mode set before being 

turned off.

1

How to turn the TV on or off

17

18

Basic Operation

Input

Mode

Air

Cable

8VSB

Free 64/256QAM

CVBS

NTSC 3.58

Supporting signals

Component

VGA/PC

480p/60Hz
720p/60Hz

1080i/60Hz

HDMI

640x480/60Hz
800x600/60Hz
1024x768/60Hz

480p/60Hz
720p/60Hz

1080i/60Hz

1360x768/60Hz

1080p/60Hz

1080p/60Hz

Connecting 


PC

 Each PC has a different back panel configuration.
 The HDMI jacks do not support PC connection.
 We recommend the use of cables with a Ferrite Core.

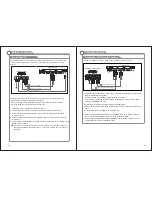
1. Connect a D-Sub Cable between RGB/PC IN connector on the TV and the PC output 
    connector on your computer. 

TV Rear Panel

D-Sub Cable (Not supplied)

PC

1

2.Plug PHONE out connector into PHONE out jack on the TV the TV speaker will

be muted.

2   Phone Out

External Connection

Press


SOURCE


button


to


display


the


input


source


list;
Press


▼/▲ 

button


to


select


the


input


source


you


want


to


watch;

Press


ENTER


or 


button


to


enter


the


input


source;


Adjust the OSD Screen

BASIC OPERATION

Press 

MENU

 button to display 

the 

MAIN OSD MENU.

Press 

 button to select 

the 

MENU

 you want.

Press 

 button to enter the 

sub menu.
You can use 

MENU

 or 

EXIT


button to save and return back 
to the previous menu.
Press 

 button to select 

the option and then press 


to adjust the value in 
the value in the sub menu.

◀/▶

▼/▲

▼/▲

◀/▶

INPUT SOURCE

TV

AV

HDMI 

VGA

C

omponnet

DVD

USB

Summary of Contents for NTD-1351

Page 1: ...MODEL NO NTD 1351 Instruction Manual PLEASE READ CAREFULLY BEFORE USE USER S MANUAL 13 3 WITH DVD PLAYER WIDESCREEN HD LED TV ...

Page 2: ...jury Caution To reduce the risk of electric shock do not remove cover or back No user serviceable parts inside Refer servicing to qualified service personnel Important Safety Precautions 2 12 Use only with the cart stand tripod bracket or table specified by the manufacturer or sold with the apparatus When a cart is used use caution when moving the cart apparatus combination to avoid injury from ti...

Page 3: ...view of remote control Installing batteries in the remote control External Connection Antenna connection Connecting VCR Connecting DVD Player Set Top Box Connecting DVD Player Set Top Box via HDMI Connecting a headphone Connecting Digital Audio system Supporting signals Turning the TV On and Off Menu operation Menu system introduction 5 6 7 7 9 12 12 13 14 15 15 16 17 18 19 19 20 21 Welcome you to...

Page 4: ...is user s manual or in packaging box are subject to change without notice 2 In case of any design change a notice will not be released Introduction W arnings Specifications Features Quick setup Guide Quick setup Guide Warranty Card Warranty Card Manual Instructions This product can play the following DVD formats disc Supporting DVD Format Adapter requirement In put Out put AC 100 240V 50 60Hz DC 1...

Page 5: ...the on screen menu use the VOL buttons as left right arrow buttons button Press button to toggle between and standby mode normal 9 10 10 SOUREC MENU SOURCE 9 HDMI Connect to the HDMI jack of a device with an HDMI output VGA PC IN Connect to the video output jack on your PC HEADPHONE COMPONENT Connect Component video COMPOSITE VIDEO Video input for external devices such as a camcorder or VCR COMPOS...

Page 6: ...s to select tracks in the menu If PBC is off you can select the tracks directly AUDIO BUTTON When play DVD by pressing this button you can change the audio language from the one selected at the initial settings to a different language available REPEAT BUTTON REP Press the REPEAT button one time it repeats the chapter Press it again and it repeats all chapters of the disc Press REPEAT button one mo...

Page 7: ...cover Battery Cover 2xsize AAA 1 5V Battery Cover The batteries shall not be exposed to excessive heat such as sunshine fire or the like 11 Overview of remote control General Description PLAY AND PAUSE BUTTON Press this button to start playback Press this button again to pause playback STOP BUTTON Press button once to stop Press button to resume from where you stopped Press button Twice to stop Pr...

Page 8: ...ables between the AUDIO OUT jacks on the VCR and the AUDIO L and AUDIO R jacks on the TV If you have a mono non stereo VCR use a Y connector not supplied to hook up to the right and left audio input jacks of the TV If your VCR is stereo you must connect two cables TV Rear Panel and the AUDIO OUT jacks on the DVD player the TV and the COMPONENT Y PB PR jacks on the DVD player The rear panel jacks o...

Page 9: ...ater Each external input source device has a different back panel configuration When connecting an external device match the color of the connection terminal to the cable We recommend the use of cables with a Ferrite Core 1 Connect Audio Cables between the AUDIO L and R OUT on the TV and AUDIO IN R AUDIO L on the Amplifier DVD Home Theater When an audio amplifier is connected to the AV OUT R AUDIO...

Page 10: ...Basic Operation Input Mode Air Cable 8VSB Free 64 256QAM CVBS NTSC 3 58 Supporting signals Component VGA PC 480p 60Hz 720p 60Hz 1080i 60Hz HDMI 640x480 60Hz 800x600 60Hz 1024x768 60Hz 480p 60Hz 720p 60Hz 1080i 60Hz 1360x768 60Hz 1080p 60Hz 1080p 60Hz Connecting PC Each PC has a different back panel configuration The HDMI jacks do not support PC connection We recommend the use of cables with a Ferr...

Page 11: ...onstrast Brigthness Color Tint Sharpness then press Press button to highlight Advanced Video then press the button to select Color Temp Aspect Ratio Noise Reduction Adaptive Contrast Auto Zoom Color Range Press button to select the option and then press to adjust the value in the sub menu NOTE Contrast This item can adjust the highlight intensity of the picture but the shadow of the picture is inv...

Page 12: ...ons on your remote to select Adjust the OSD Screen Press button to highlight Parental Controls then press the buttons to select Enter Password Press button to highlight Time then press the buttons to select Sleep Time Time Zone DST clock Press button to highlight Closed Caption then press buttons to enter sub menu Press button to highlight Menu Settings then press to adjust the value in the sub me...

Page 13: ...n to select the photo you want to watch and then press ENTER button to play Press button to play previous or next photo Press button to rotate the photo USB USB Operation Playing Music It is available to playback the music files in the formats MP3 from the USB device Press button to select the music you want to listen and then press ENTER button to play Press button to select menu in the botton yo...

Page 14: ...utput of various system including AUTO NTSC PAL PAL Choose this settings if your DVD player is connected to a PAL TV The default setting is PAL NTSC Choose this settings if your DVD player is conn ected to a NTSC TV AUTO Choose this settings if your DVD player is connected to a multi system TV For more information of output format refer to the instruction of your DVD player 2 Audio DVD built in di...

Page 15: ...27 28 8 Troubleshooting MUTE E E E E E ...

Page 16: ...29 Picture defects and the reason ...

Reviews: