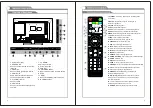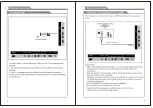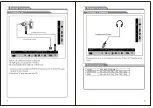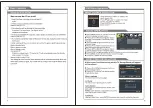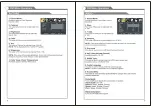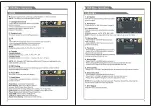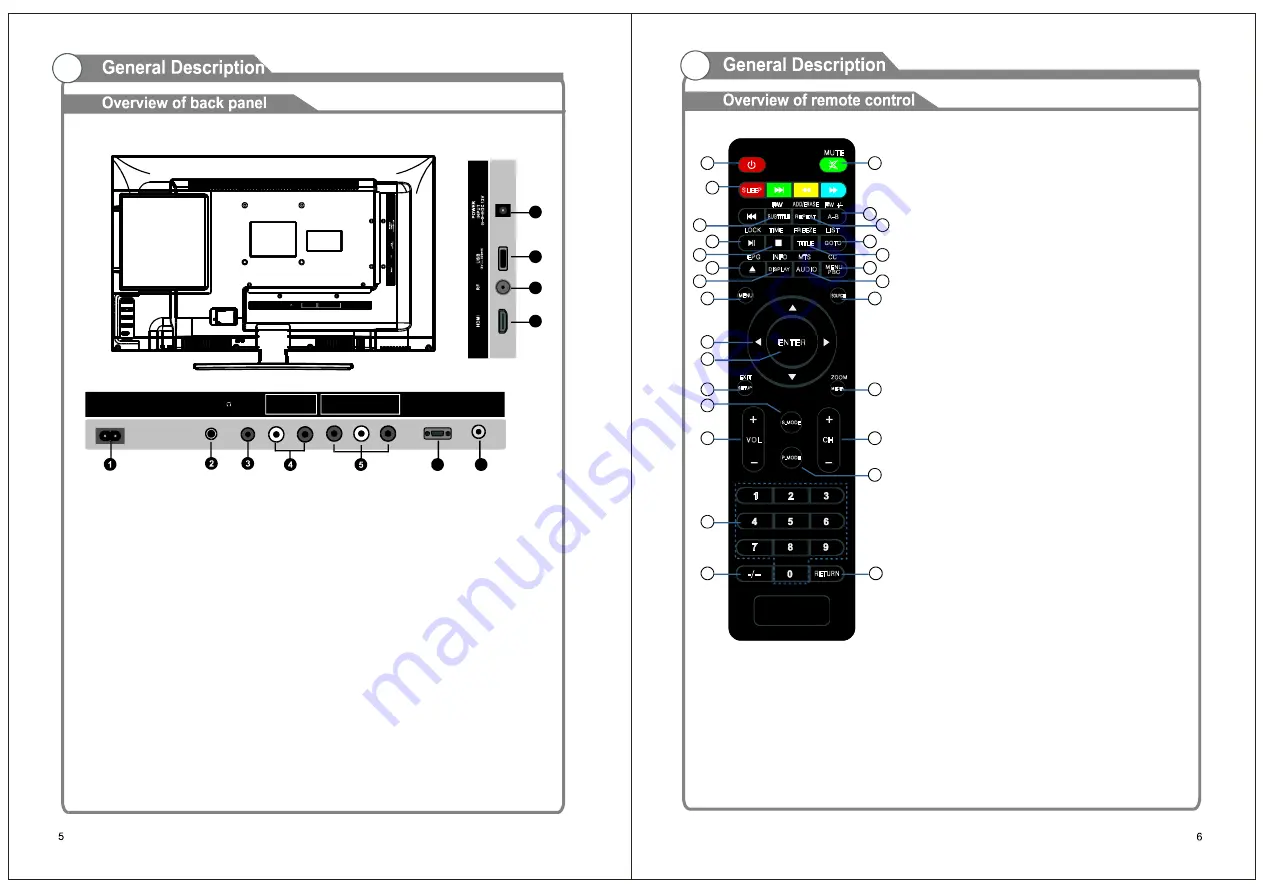
1. Power input (AC)
2. EARPHONE
Connect a set of phone for private
listening.
3. COAXIAL
Connect to a Digital Audio device.
4.
5. Y (CVBS) / Pb / Pr
6. VGA/PC IN
Connect to the video output jack on
your PC.
AUDIO L/R
Audio input for external devices,
such as a camcorder or VCR.
Connect video.
7. PC AUDIO
Audio input for PC.
8. Power input (DC)
9. USB (TV)
10. ANTENNA INPUT
Connect to an antenna or cable NTSC
& ATSC.
11. HDMI
Connect to the HDMI jack of a device
with a HDMI output.
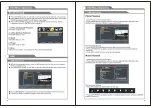
1. STANDBY:
2. MUTE:
3
. Number key (0-9):
26. -/--:
27. RETURN:
Switch on a LED TV when at standby mode
or vice versa.
Press to mute the sound. Press again or
press VOL+ to unmute.
Press 0-9 to select a TV channel
directly when you are watching TV. The channel change
after several seconds.
Press this button to enter a program number for
multiple program channel such as 2-1, etc.
Return to the previous channel viewed.
. SLEEP:
4. FAV:
5. FAV +/-:
6. ADD:
ERASE:
7. LOCK:
8. TIME:
9. LIST:
10. FREEZE:
11. EPG:
12. INFO:
13. CC:
14. MTS:
15. MENU:
16. SOURCE:
17. ARROW BUTTONS:
18. ENTER:
19. EXIT:
20. ZOOM:
21. S.MODE:
22. VOL +/-:
23. CH +/-:
24. P.MODE:
25
Set the sleep timer.
Select favorite channels.
Press this /- the favorite program list.
Add this program to the favorite channels list.
Delete this program from the favorite channels list.
Press to display the Lock menu.
Press to display current time.
Press to display the TV program list.
Press to freeze the screen.
Press to display the EPG menu.
Displays the channel information.
Press to display the closed caption.
Press to select the audio channels.
TV system setup.
Press to change input source.
Use to move cursor up/down/left/right.
Validation key.
Press to exit all menu.
Press to change the screen scale.
Press to cycle through the different sound settings.
Press to increase/descrease the sound level.
Press to scan through channels.
Press repeatedly to cycle through the
available video picture mode.
+
0
MUTE
L OCK
INFO
MTS
SLEEP
ADD/ERASE
CC
FREEZE
TIME
LI S T
EPG
FAV
FAV +/-
ENTER
EXIT
R ETUR N
V OL
CH
MENU
SOURCE
S.MODE
-/--
ZOOM
STANDBY
FAV
FAV
P.MODE
MEDIA
S ET UP
SUBT IT LE
R EP E AT
A-B
TITLE
GOTO
DIS P LAY
AUDIO
ME NU
P BC
1
3
4
7
8
11
12
15
17
18
19
21
22
25
26
2
5
6
9
10
13
14
16
20
24
23
27
9
8
7
10
11
6
VGA
PC AUDIO
EARPHONE
CVBS/Y
Pb
Pr
IN
AC 100-240V~
50/60Hz
L
R
IN
COAX
OUT
VG A
PC AUDIO
EARPHO NE
CVBS /Y
Pb
P r
IN
AC 10 0-2 40 V~
50 /60 Hz
L
R
IN
COAX
OUT
Summary of Contents for NTD-1955A
Page 1: ...MODEL NO NTD 1955A WIDE SCREEN HD LED TV WITH DVD PLAYER 19...
Page 2: ......
Page 3: ......
Page 4: ...One HDMI input HDMI input Connecting DVD Player Set Top Box One YPbPr input...
Page 7: ......
Page 12: ...INPUT SOURCE TV AV YPbPr HDMI VGA USB DVD...
Page 13: ......
Page 15: ...CHANNEL...
Page 16: ......
Page 18: ......

