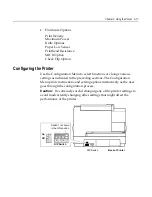
3-6
Chapter 3: Using the Printer
1.
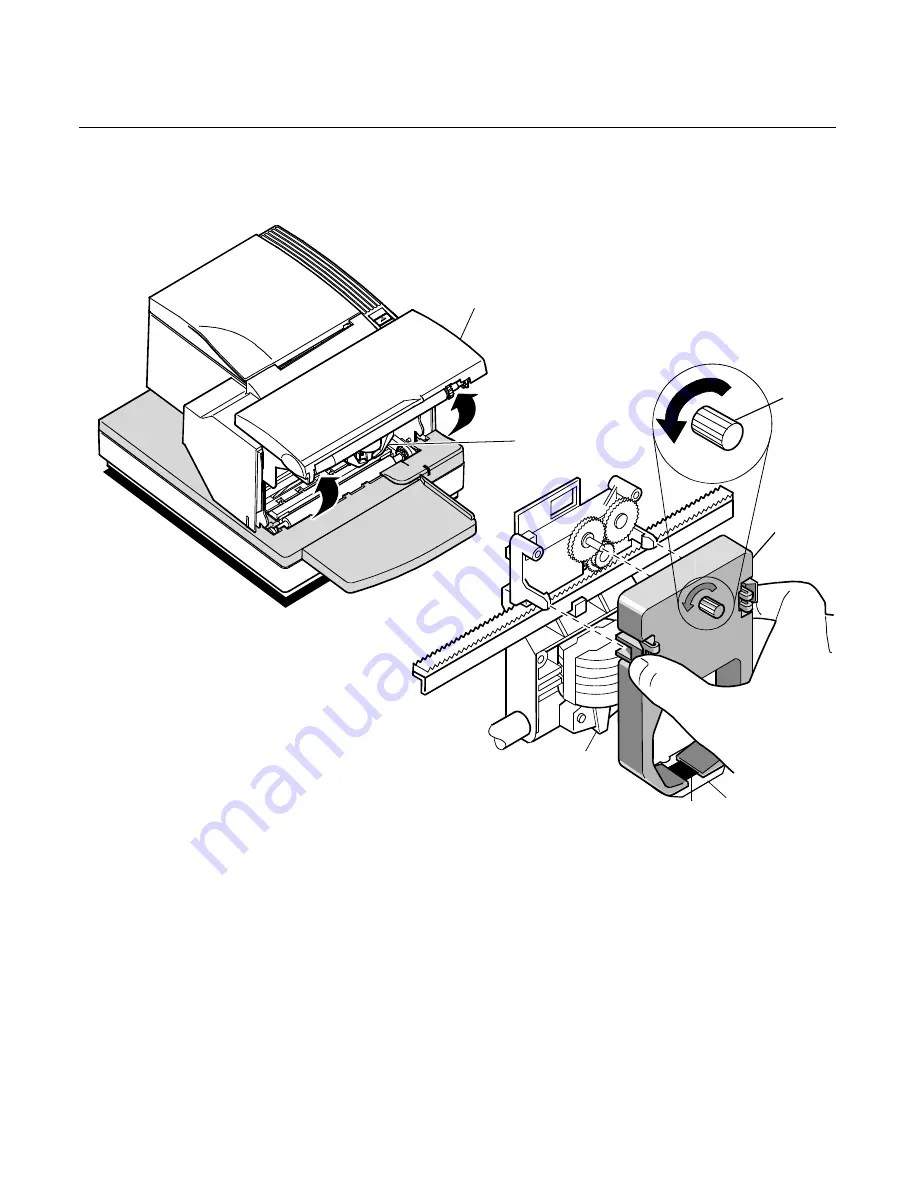
Open the printer’s front cover and pinch the tabs of the old ribbon
cassette to remove it.
Ribbon
Cassette
Knob
Mylar
Shield
Front
Cover
Ribbon
Cassette
(Shown in
Position)
Printhead
2.
Unwrap and tighten the new ribbon by turning the knob on the
cassette in the direction of the arrow.
Caution:
Do not
remove the Mylar shield.
3.
Position the new ribbon cassette onto the carriage, making sure the
ribbon is underneath the printhead.
4.
Snap the cassette into place and close the front cover.
Summary of Contents for 7158
Page 1: ...NCR 7158 Thermal Receipt and Impact Printer Release 1 0 Owner s Guide B005 0000 1112 Issue D...
Page 26: ...1 8 Chapter 1 About the Printer...
Page 50: ...3 12 Chapter 3 Using the Printer Clearing Check Flip Paper Jams Check Check Flip Window Door...
Page 110: ...5 28 Chapter 5 Technical Specifications Code Page 437...
Page 111: ...Chapter 5 Technical Specifications 5 29 Code Page 850...
Page 112: ...5 30 Chapter 5 Technical Specifications Code Page 852...
Page 113: ...Chapter 5 Technical Specifications 5 31 Code Page 858...
Page 114: ...5 32 Chapter 5 Technical Specifications Code Page 860...
Page 115: ...Chapter 5 Technical Specifications 5 33 Code Page 863...
Page 116: ...5 34 Chapter 5 Technical Specifications Code Page 865...
Page 117: ...Chapter 5 Technical Specifications 5 35 Code Page 866...
Page 128: ...6 10 Chapter 6 Communication Interface...
Page 286: ...7 158 Chapter 7 Programming Guide...
Page 314: ...Index 8 W Weight of printer 5 36 X XON XOFF protocol 6 6...


