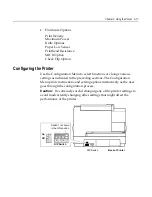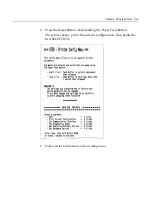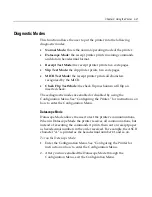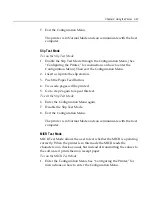
Chapter 3: Using the Printer
3-9
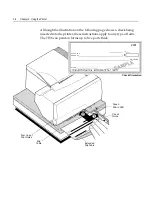
To print on a form or check:
1.
Insert the form or check (check shown in the illustration) from the
front and place it on the Slip Table with the print side up. If the
form is extra long, you may need to insert it from the side. A slight
resistance may be felt when the form comes in contact with the
Form Stop.
2.
Slide the form or check to the right until it aligns against the Check
Guide.
3.
Slide a short form or check toward the back of the printer until it
contacts the Form Stop (it won't be able to go any further).
For a long form, position it appropriately using the First Line of
Print Guide.
The green Slip-in LED on the Slip Table turns on when the form or
check is properly inserted (the form has to cover two sensors on the
Slip Table).
4.
Follow the instructions from the host computer. The printer begins
printing.
5.
Remove the form or check after it has been fed back out.
6.
Follow the instructions from the host computer to finish the
transaction.
Summary of Contents for 7158
Page 1: ...NCR 7158 Thermal Receipt and Impact Printer Release 1 0 Owner s Guide B005 0000 1112 Issue D...
Page 26: ...1 8 Chapter 1 About the Printer...
Page 50: ...3 12 Chapter 3 Using the Printer Clearing Check Flip Paper Jams Check Check Flip Window Door...
Page 110: ...5 28 Chapter 5 Technical Specifications Code Page 437...
Page 111: ...Chapter 5 Technical Specifications 5 29 Code Page 850...
Page 112: ...5 30 Chapter 5 Technical Specifications Code Page 852...
Page 113: ...Chapter 5 Technical Specifications 5 31 Code Page 858...
Page 114: ...5 32 Chapter 5 Technical Specifications Code Page 860...
Page 115: ...Chapter 5 Technical Specifications 5 33 Code Page 863...
Page 116: ...5 34 Chapter 5 Technical Specifications Code Page 865...
Page 117: ...Chapter 5 Technical Specifications 5 35 Code Page 866...
Page 128: ...6 10 Chapter 6 Communication Interface...
Page 286: ...7 158 Chapter 7 Programming Guide...
Page 314: ...Index 8 W Weight of printer 5 36 X XON XOFF protocol 6 6...


