Kit Instructions
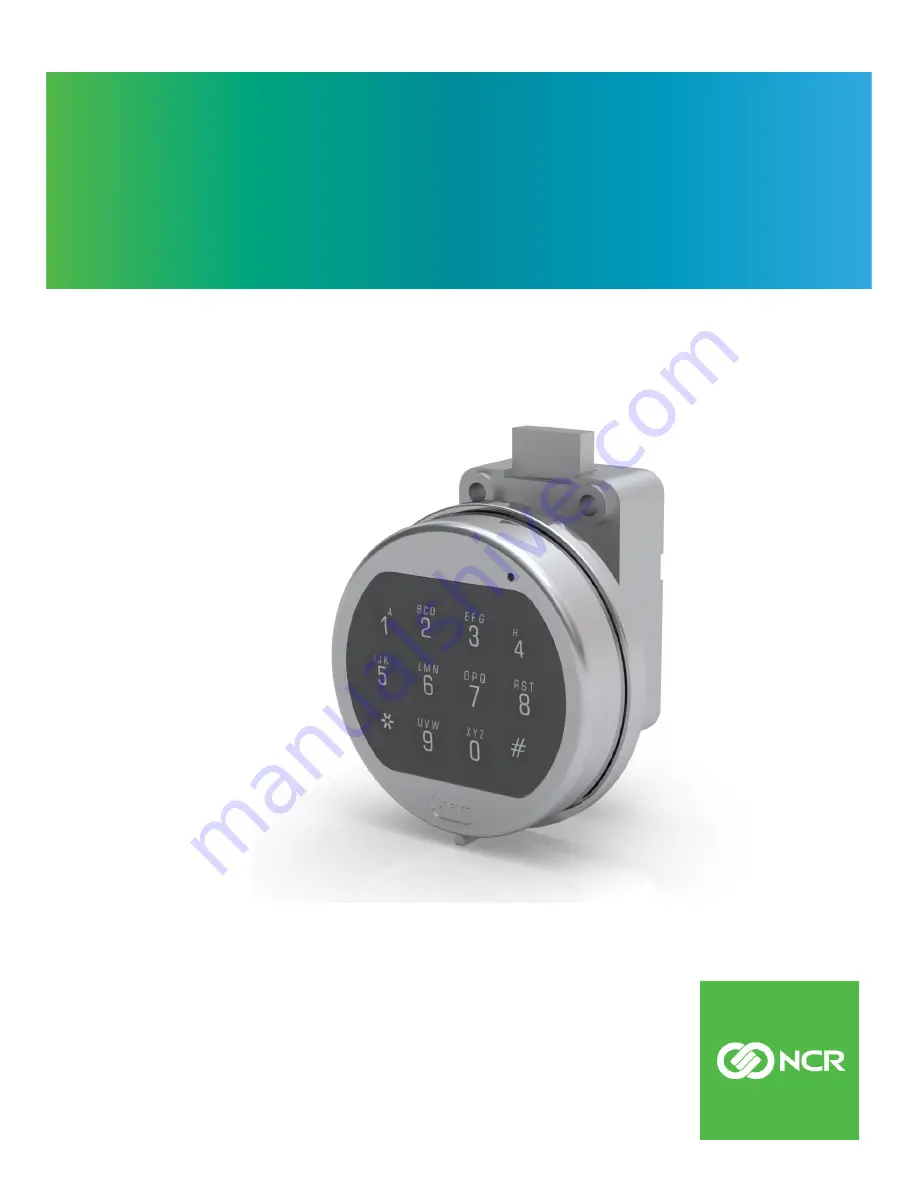
Security Door Electronic Lock
7360-K051Issue A
Page 1: ...Kit Instructions Security Door Electronic Lock 7360 K051 Issue A...
Page 2: ...s and conditions of an agreement you have with NCR NCR s copyright notice must be included It is the policy of NCR Corporation NCR to improve products as new technology components software and firmwar...
Page 3: ...iii Revision Record Issue Date Remarks A Sep 2020 First Issue...
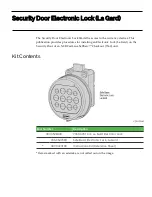
Page 4: ...for installing an Electronic Lock La Gard on the Security Door of an NCR FastLane SelfServ Checkout 7360 unit Kit Contents Part Number Description 497 0528448 7360 K051 Kit La Gard Electronic Lock 006...
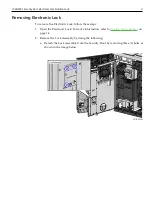
Page 5: ...Security Door Lock Depending on the type of Lock refer to either of the following procedures Removing Electronic Lock on the facing page Removing Keylock on page 6 2 Install the Electronic Lock La Gar...
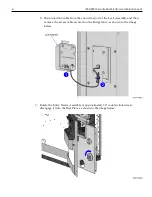
Page 6: ...e the Electronic Lock follow these steps 1 Open the Electronic Lock For more information refer to Opening Electronic Lock on page 14 2 Remove the Lock Assembly by doing the following a Detach the Lock...
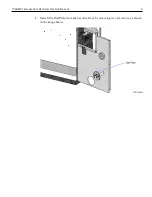
Page 7: ...ble from the connector port of the Lock Assembly and then remove the excess cable secured on the bridge lance as shown in the image below 3 Rotate the Entry Device Assembly at approximately 30 counter...
Page 8: ...7360 K051 Security Door Electronic Combination Lock 5 4 Detach the Dial Plate from the Security Door by removing two 2 screws as shown in the image below...
Page 9: ...ck Removing Keylock To remove the Keylock follow these steps 1 Open the Keylock For more information refer to Opening Keylock on page 16 2 Detach the Escutcheon Cover from the Security Door by removin...
Page 10: ...7360 K051 Security Door Electronic Combination Lock 7 3 Detach the Lock Assembly from the Security Door by removing three 3 bolts as shown in the image below...
Page 11: ...necessary Depending on the type of Lock refer to either of the following procedures Removing Electronic Lock on page 3 Removing Keylock on page 6 2 Align the Dial Plate to the Spindle hole of the Secu...
Page 12: ...Lock 9 3 Assemble the Entry Device Assembly by doing the following a Insert the Spindle into the Entry Device and ensure that it is fully seated in the slot b Route the Entry Device cable in the groo...
Page 13: ...Electronic Combination Lock c Slide the Bearing Plate over the cable and spindle and then press onto the fasteners of the Entry Device 4 Feed the Entry Device Assembly cable through the Spindle hole a...
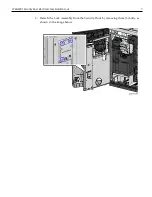
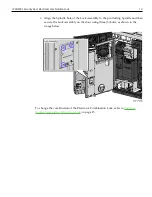
Page 14: ...mbly to the Dial Plate on Security Door by doing the following a Rotate the Entry Device approximately 30 counterclockwise to engage its bushings into the large openings of the Dial Plate as shown in...
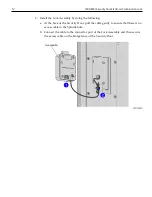
Page 15: ...ly by doing the following a At the back of the Security Door pull the cable gently to ensure that there is no excess cable in the Spindle hole b Connect the cable to the connector port of the Lock Ass...
Page 16: ...hole of the Lock Assembly to the protruding Spindle and then secure the Lock Assembly on the door using three 3 bolts as shown in the image below To change the combination of the Electronic Combinati...
Page 17: ...y Door Electronic Combination Lock Opening Electronic Lock To open the Electronic Lock follow these steps 1 Access the Security Door by using a key to unlock and open the NCR FastLane SelfServ Checkou...
Page 18: ...the Combination Lock LED flashes three times and beeps three times Entering four consecutive invalid combination starts a five minute delay period during which the Lock LED flashes red at ten second i...
Page 19: ...Security Door Electronic Combination Lock Opening Keylock To open the Keylock follow these steps 1 Access the Security Door by using a key to unlock and open the NCR FastLane SelfServ Checkout 7360 C...
Page 20: ...key into the lock to avoid causing permanent damage to the Lock or the Key Do not apply inward or outward axial force to the Key once it is inserted to avoid causing the Lock from opening incorrectly...
Page 21: ...ow and needs to be replaced It is recommended to replace the battery at least once per year Replacing the Electronic Lock battery involves the following procedures Removing Electronic Lock Battery on...
Page 22: ...open the battery is low and needs to be replaced It is recommended to replace the battery at least once per year Note This procedure assumes that the battery is depleted and the lock cannot be opened...
Page 23: ...51 Security Door Electronic Combination Lock 2 Allow the battery and its attached leads to drop down and out of the battery compartment If the battery does not drop gently pull on the battery until it...
Page 24: ...7360 K051 Security Door Electronic Combination Lock 21 3 Unsnap the battery terminals from the battery clip...
Page 25: ...ced It is recommended to replace the battery at least once per year Note Use one 1 9 Volt alkaline battery only Use of a high quality name brand battery Energizer or Duracell is recommended To install...
Page 26: ...1 Security Door Electronic Combination Lock 23 3 Press and hold the zero 0 key for ten 10 seconds before installing the new battery 4 Gently push the battery and leads completely into the battery comp...
Page 27: ...24 7360 K051 Security Door Electronic Combination Lock 5 Install the battery cover by placing one side of the cover in positon first and then gently pressing the other side into place...
Page 28: ...o times Note If the combination is invalid the Combination Lock LED flashes three times and beeps three times 3 Enter the new six digit combination twice Note If the Combination Lock LED flashes three...
Page 29: ...26...