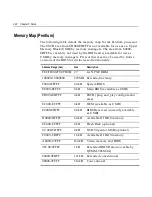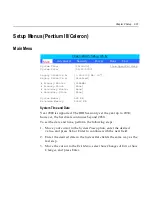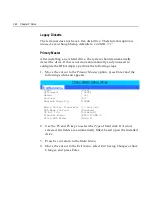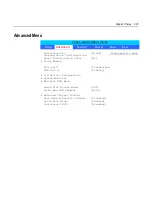
3-38
Chapter 3: Setup
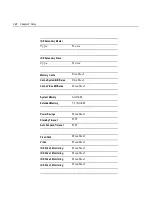
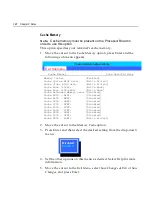
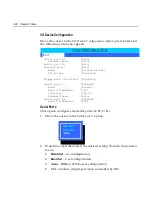
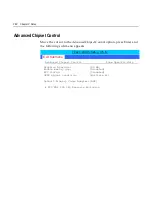
I/O Device Configuration
Move the cursor to the I/O Device Configuration option, press Enter and
the following sub-menu appears.
I/O Device Configuration
Item Specific Help
Serial port A:
[Auto]
Scanner Power:
[Auto]
Serial port B:
[Auto]
Parallel port:
[Auto]
Mode:
[Bi-directional]
Fdc On Lpt:
[Disabled]
Floppy disk controller:
[Disabled]
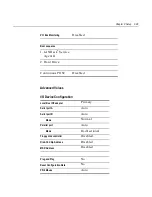
Serial port C:
[Enabled]
Mode:
[Normal]
Base I/O Address:
[220]
Interrupt:
[IRQ 11]
Scanner Power:
[Auto]
Serial port D:
[Enabled]
Base I/O Address:
[228]
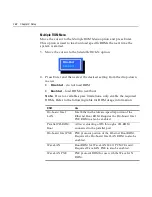
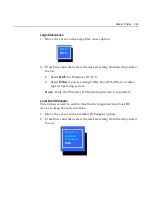
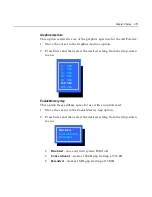
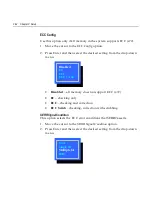
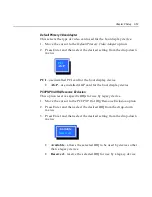
Serial Port x
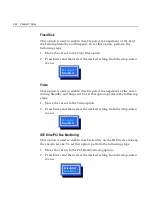
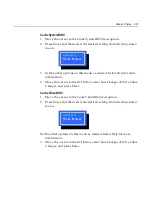
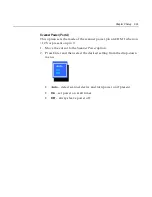
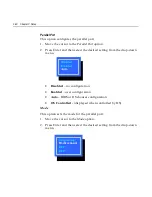
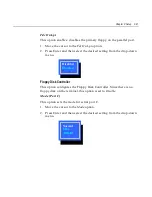
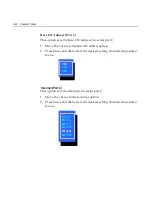
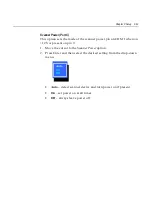
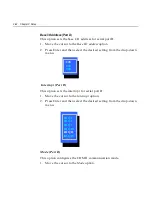
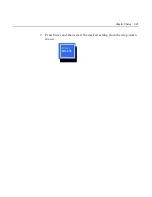
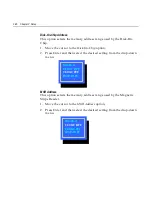
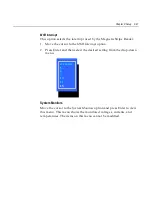
This option configures the serial ports (A/B/C/D).
1.
Move the cursor to the Serial port x: option.
2.
Press Enter and then select the desired setting from the drop-down
menu.
•
Disabled
– no configuration
•
Enabled
– User configuration
•
Auto
– BIOS or OS chooses configuration
•
OS Controlled - (displayed when controlled by OS)
Main
Exit
3KRHQL[%,26 6HWXS 8WLOLW\
Disabled
Enabled
Auto
Summary of Contents for 7401 Web Kiosk
Page 1: ...NCR 7401 Web Kiosk Release 2 3 Hardware User s Guide 16436 NCR B005 0000 1254 Issue D...
Page 80: ...Chapter 2 Hardware Installation 2 21 2 Remove the Core Module from the Fixed Angle Mount 16397...
Page 183: ...3 74 Chapter 3 Setup...
Page 263: ...Appendix B Feature Kits B 55 11 Route the cables in the Wall Bracket as shown below 17359...
Page 302: ...B 94 Appendix B Feature Kits 17729 Pole Mount Wall Mount...
Page 326: ...B 118 Appendix B Feature Kits 2 Insert the end of the paper into the Paper Guide 16731...
Page 328: ...B 120 Appendix B Feature Kits 4 Remove the cut paper waste from the Presenter 16965...
Page 334: ...B 126 Appendix B Feature Kits 19050...
Page 367: ...Index 159...
Page 368: ...B005 0000 1254 September 2001 Printed on recycled paper...

