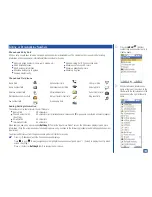
Delete All Phone Entries
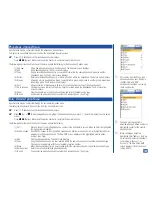
The deletion of all phone entries is not applicable to the SIM, FDN, and Complete phonebooks. Only the phone memory is allowed to
have all phone entries deleted. To delete all the phone memory entries:
*
Press
(Phonebook) until the preferred phonebook displays.
Press
MENU
(Options Menu)
, 4,
and
2
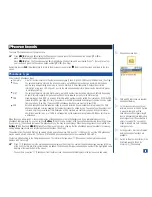
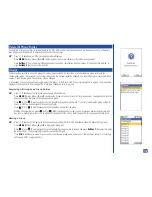
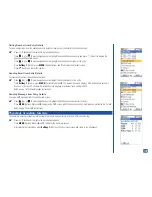
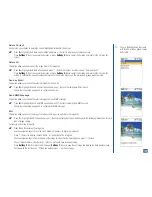
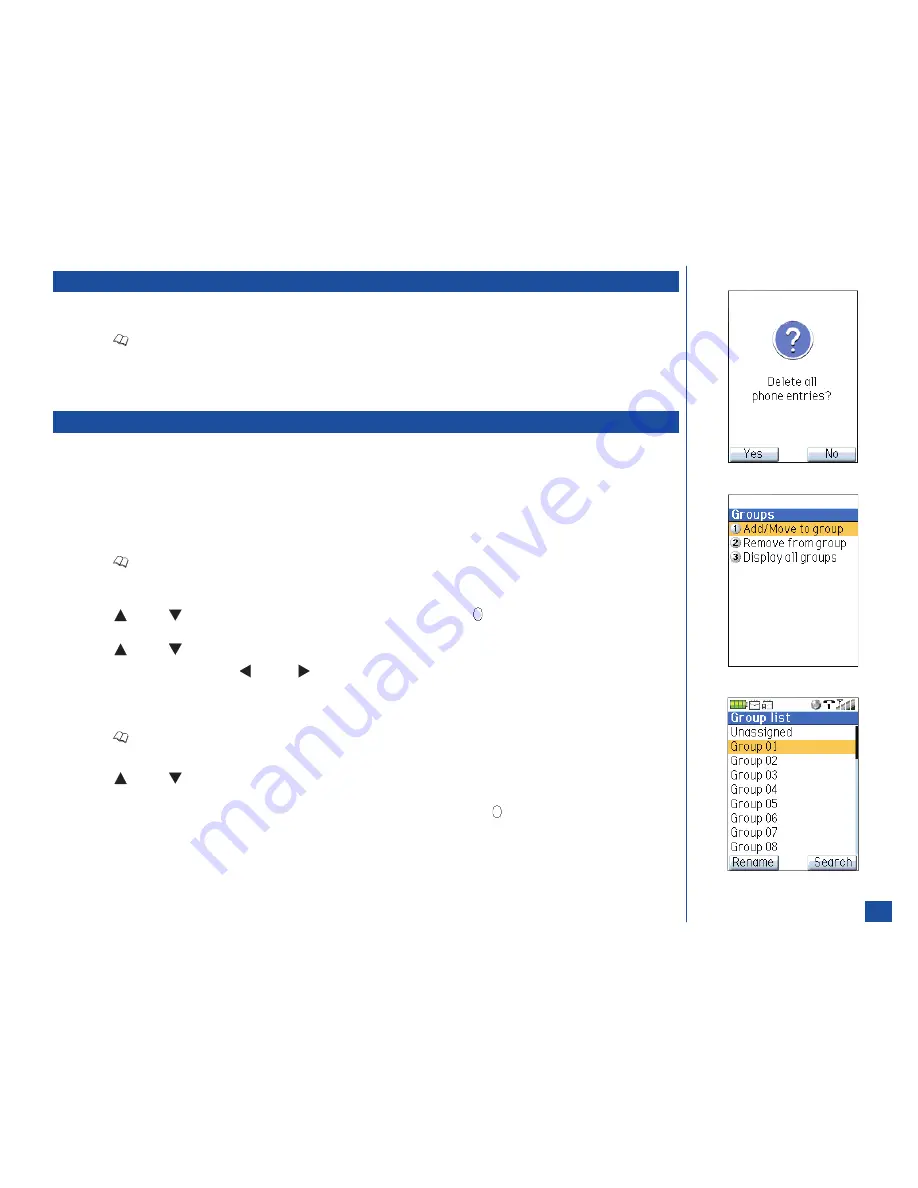
to display a decision screen statement, “Delete all phone entries?”
Press
Softkey 1
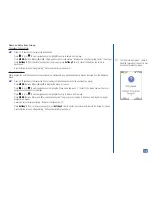
(Yes) to delete all the phonebook entries and a confirmation screen displays, “All phone entries deleted” or
press
Softkey 2
(No) to cancel the deletion.
Groups
Entries may be allocated to one of 35 groups for easier search methods. An entry that is not allocated to a group is listed in the
“Unassigned” group. “Unassigned” is the first group name in the list and cannot be changed. The other 34 groups are identified with a
number 1 to 34 beside group. These names may be changed.
A phonebook entry not assigned to a group displays “No Group” in the Group field. If the entry is assigned to a group, the group name
displays in the Group field. Refer to page 104 to assign a phonebook entry to a group.
Displaying All Groups and Group Entries
*
Press
(Phonebook) to display the phonebook in phone memory.
Press
MENU
(Options Menu)
, 5,
and
3
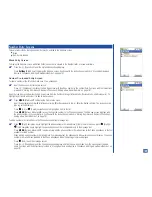
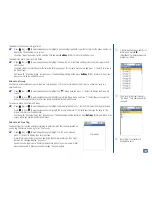
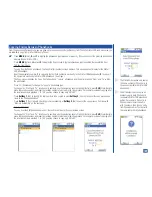
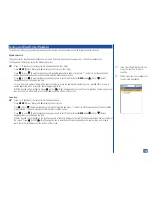
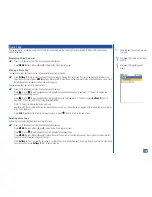
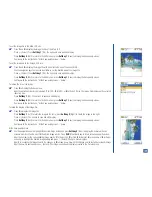
to display the Group list screen (a list of all the group names). Unassigned contains the
phonebook entries that have not been assigned to a group.
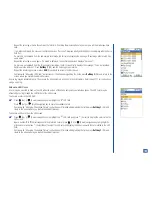
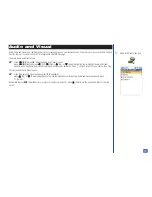
Press
(Up) or
(Down) navigation key to highlight the group name and press
(Select) to display the group entries list
screen (a list of entries allocated to the selected group).
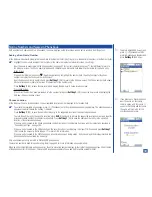
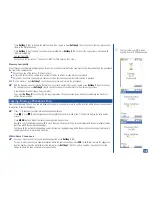
Press
(Up) or
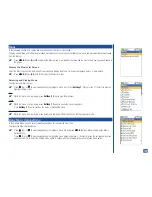
(Down) navigation key to highlight an entry within the group.
With the entry highlighted, press
(Left) or
(Right) navigation key to view the next or previous number and number type
icon (home, mobile, work, etc) or Email address at the bottom of the screen. Refer to page 103 for the phonebook field icons.
Naming a Group
*
Press
(Phonebook) to display the Phone phonebook (entries in SIM or FDN phonebook cannot be allocated to a group).
Press
MENU
(Options Menu)
, 5,
and
3
to display the Group List.
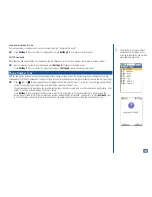
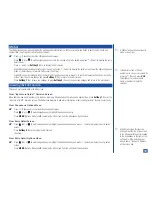
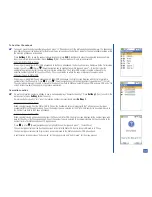
Press
(Up) or
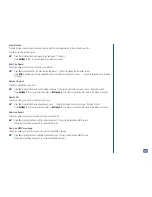
(Down) navigation key to highlight the group number to rename and press
Softkey 1
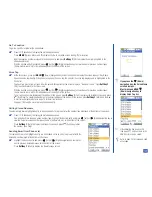
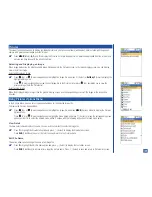
(Rename) to display
the editor screen. The Unassigned group name cannot be changed.
Press
CLR
(Clear/Back) to erase the group name, input the new group name, and press
(Select/Save) to return to the Group
list screen with the new group name.
113

