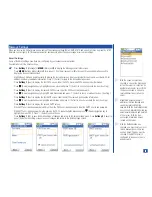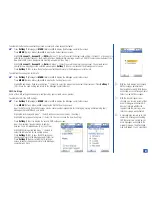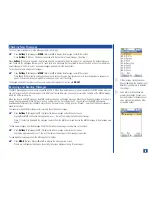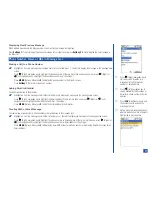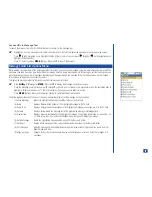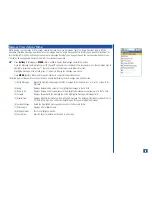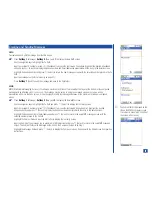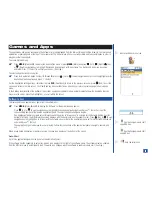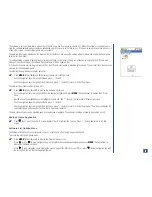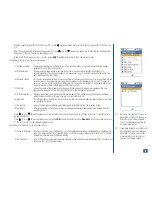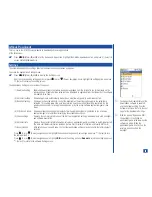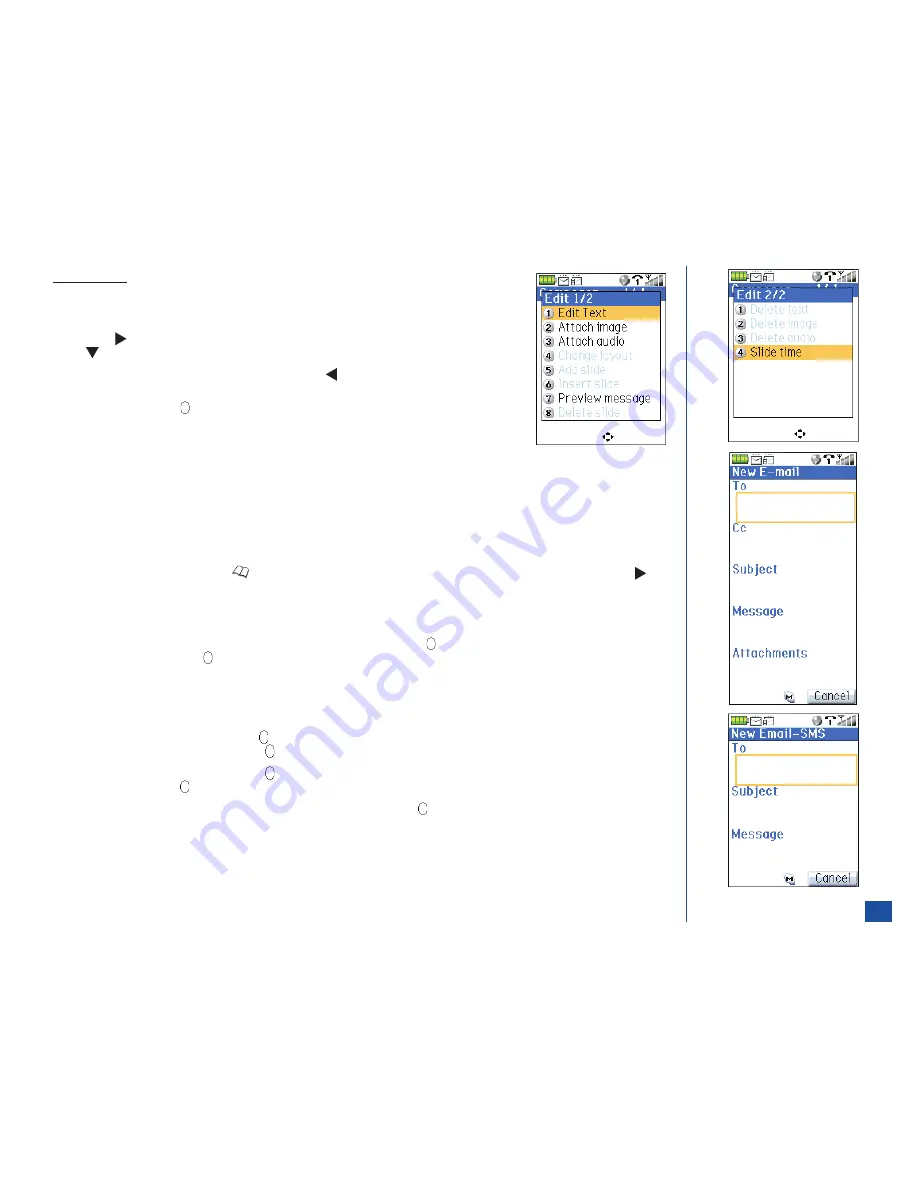
MMS Edit Menu
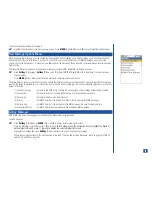
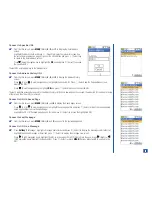
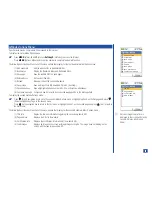
The Edit options contains two screens. To display the Edit menu from the Composer screen:
*
Press
MENU
(Options Menu) to display the first page of the Edit menu (½).
Press
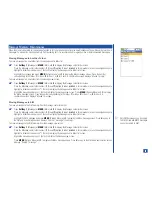
(Right) navigation key to display the second page of the Edit menu (2/2) or press
(Down) navigation key with the last option item on the first page highlighted.
With the second page of the Edit menu (2/2), press
(Left) navigation key to return to the
first page of the Edit menu.
Highlight and press
(Select) to complete the desired Edit option or press the number key
of the desired Edit option. When at a Edit menu screen (½ or 2/2), press
CLR
(Clear/Back)
to return to the Composer screen.
Email Message
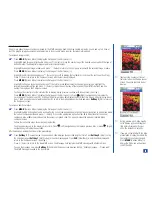
An Email can be sent as an Email or SMS. When the Email is sent as a SMS, the Cc field and any attachments are removed. To create
an Email from the Idle screen:
*
Press
Softkey 1
(Message),
Softkey 2
(New), and
4
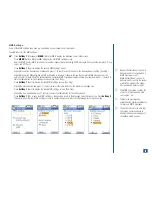
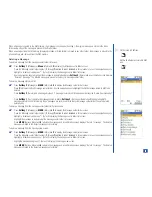
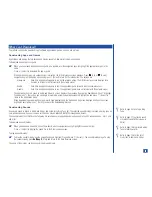
to display the New Email or New Email-SMS screen. If the default send
setting is Account 1 or Account 2, the New Email screen displays when creating a new Email. If the default send setting is SMS,
the New Email-SMS screen displays when creating a new Email.
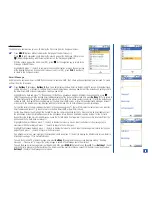
Highlight the To field and press
(Phonebook) till the Phone phonebook displays. Highlight the desired entry, press
(Right) navigation key until the desired Email address displays at the bottom of the screen, and press
Softkey 1
(To) to return to
the Email screen with the selected Email address placed in the To field. If a phone number is selected, (1) with the default send
setting as SMS, the New SMS screen displays, not the New Email-SMS screen or (2) with the default send setting as Account 1
or Account 2, the New Email screen displays with the To field blank. The To field allows only one Email address.
To input the recipient’s Email address that is not in the phonebook, press
(Select) to display the text entry screen. Input the
Email address and press
(Select) to return to the New Email-SMS or New Email screen.
For the New Email screen, highlight the Cc field. Follow the same instructions for the To field to obtain an Email address from
the phonebook or input Email addresses not in the phonebook. More than one Email address may be input for the Cc field.
Repeat this step to add more Email addresses. Leave the Cc field blank if not required. If a phone number is selected from the
phonebook, the Cc field does not accept it.
Highlight the Subject field and press
(Select) to display the text entry screen. Input the Subject of the message (up to
maximum of 90 characters) and press
(Select) to return to the Email screen.
Highlight the Message field and press
(Select) to display the text entry screen. Input the message text (refer to text entry on
page 57) and press
(Select) to return to the Email screen.
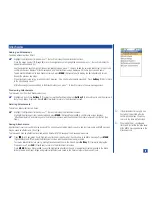
If an attachment is to be sent, highlight the Attachments field and press
(Select) to display the Attachments screen. Refer to
Attachments on page 77 for more information.
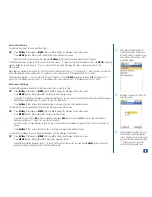
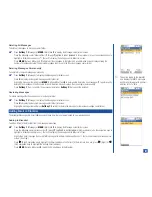
To send the Email-SMS or Email message now, press
Softkey 1
(Send) and the busy screen displays stating, “Sending
message. . . Please wait.” A copy of the sent message is saved in the Message center Sent folder.
To send the New Email message later (not New Email-SMS), press
MENU
(Options Menu)
, 2,
and
2
. Press
Softkey 1
(Send)
and the Email is placed in the Outbox folder. The Email is sent the next time that you connect to the Email server by pressing
Softkey 1
(Check) at the Message center screen.
76

