Section 4: Optional Equipment
Aspila EX Hardware Manual
Section 4: Optional Equipment
4-5
4
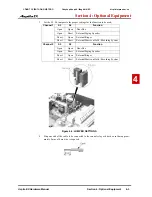
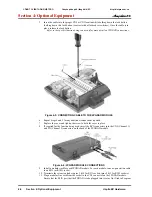
10-03. The PGDAD will then automatically configure when plugged in.
12. After plugging in the PGDAD confirm with Program 10-03 that the mode of each circuit cor-
responds to the setting of the jumpers S3-S6
13.
Optional:
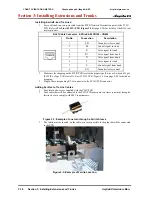
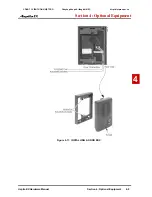
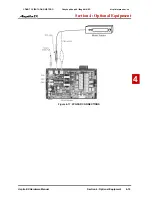
To wall mount the 2PGDAD module, insert two wood screws 100mm apart. Leave 3mm of
the screw exposed. The screws can be installed either vertical or horizontal, depending on
which position fits best for your location.
Figure 4-7: INSTALLING THE SCREWS
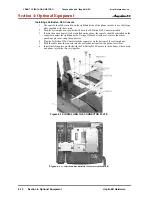
14. The back of the 2PGDAD module has two key-hole type openings. Place the 2PGDAD mod-
ule over the two screws and slide it down or over (depending on the positioning) to lock it in
place.
Figure 4-8: WALL MOUNTING THE 2PGDAD MODULE
CÔNG TY VIỄN THÔNG VIỆT PRO
Chuyên phân phối tổng đài NEC
http://vietpro.com.vn


