Upgrading Your System 4-27
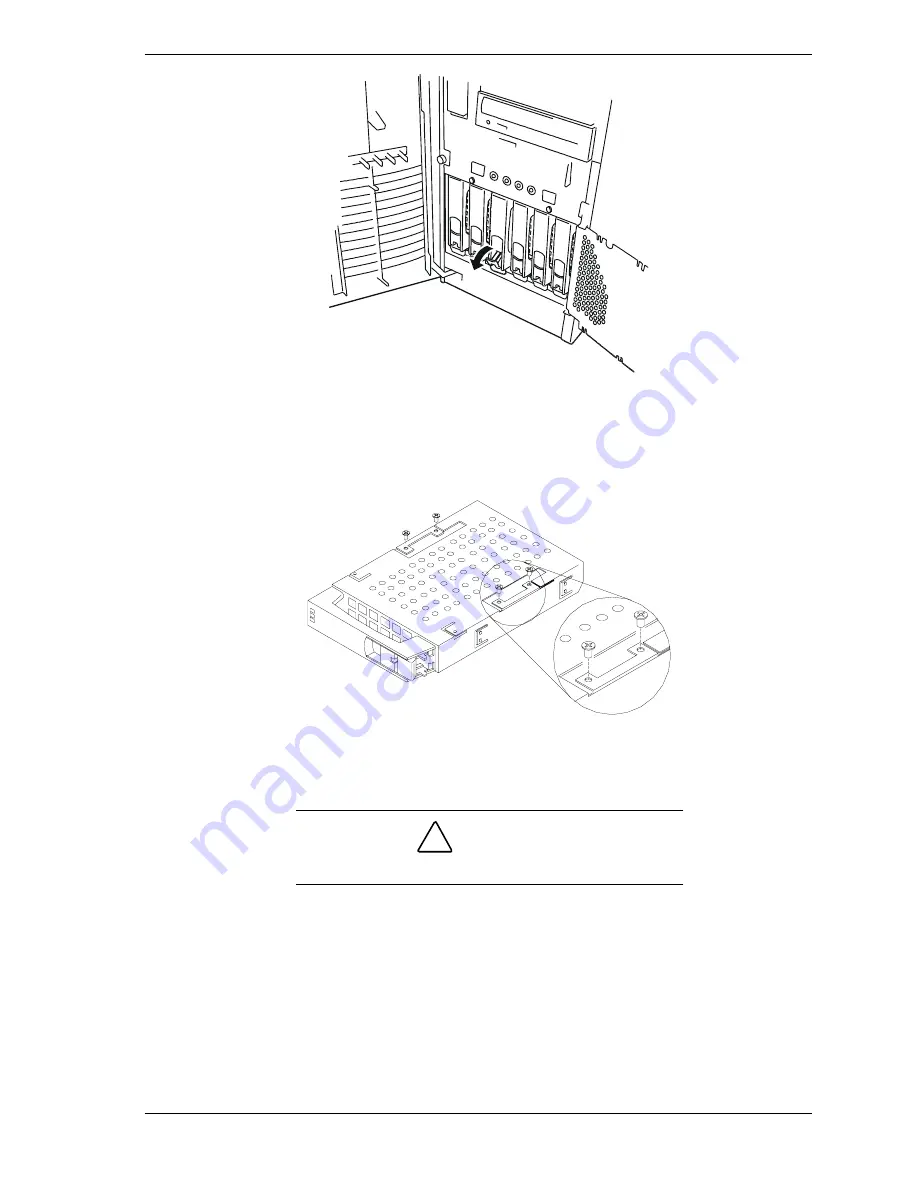
Figure 4-24. Removing a Hard Disk Drive and Carrier
4.
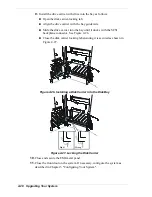
Place the drive carrier on an antistatic surface with the four mounting
screws facing up.
5.
Remove the hard disk drive from the disk carrier. See Figure 4-25.
Figure 4-25. Removing/Installing a Hard Disk Drive to the Carrier
6.
Remove the new drive from its protective wrapper, and place on an
antistatic surface.
!
CAUTION
Observe static precautions. Use an antistatic wrist strap.
7.
Record the drive model and serial numbers in the equipment log.
8.
Install the replacement drive onto the drive carrier.
!
Place the drive on the carrier, with its connector facing the rear of the
carrier.
!
Turn the drive and carrier over and secure the drive in the carrier with
the four screws supplied with the disk drive. See Figure 4-25.
Summary of Contents for EXPRESS5800/120Le
Page 1: ... U s e r s G u i d e EXPRESS5800 120Le ...
Page 2: ...xxx ...
Page 3: ... U s e r s G u i d e EXPRESS5800 120Le ...
Page 30: ......
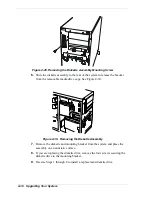
Page 47: ...Setting Up the System 2 17 Figure 2 13 Attaching Cables to the Cable Arm Assembly ...
Page 56: ......
Page 80: ......
Page 140: ...5 22 Problem Solving ...
Page 146: ......
Page 156: ...10 Glossary ...
Page 161: ...xx ...
Page 162: ... 456 01551 N00 ...


