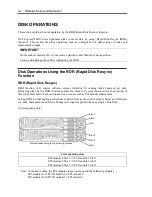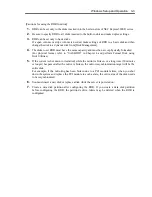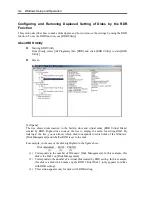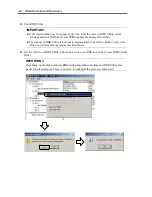
2-32 General Description
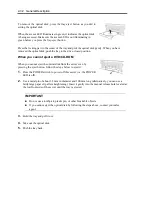
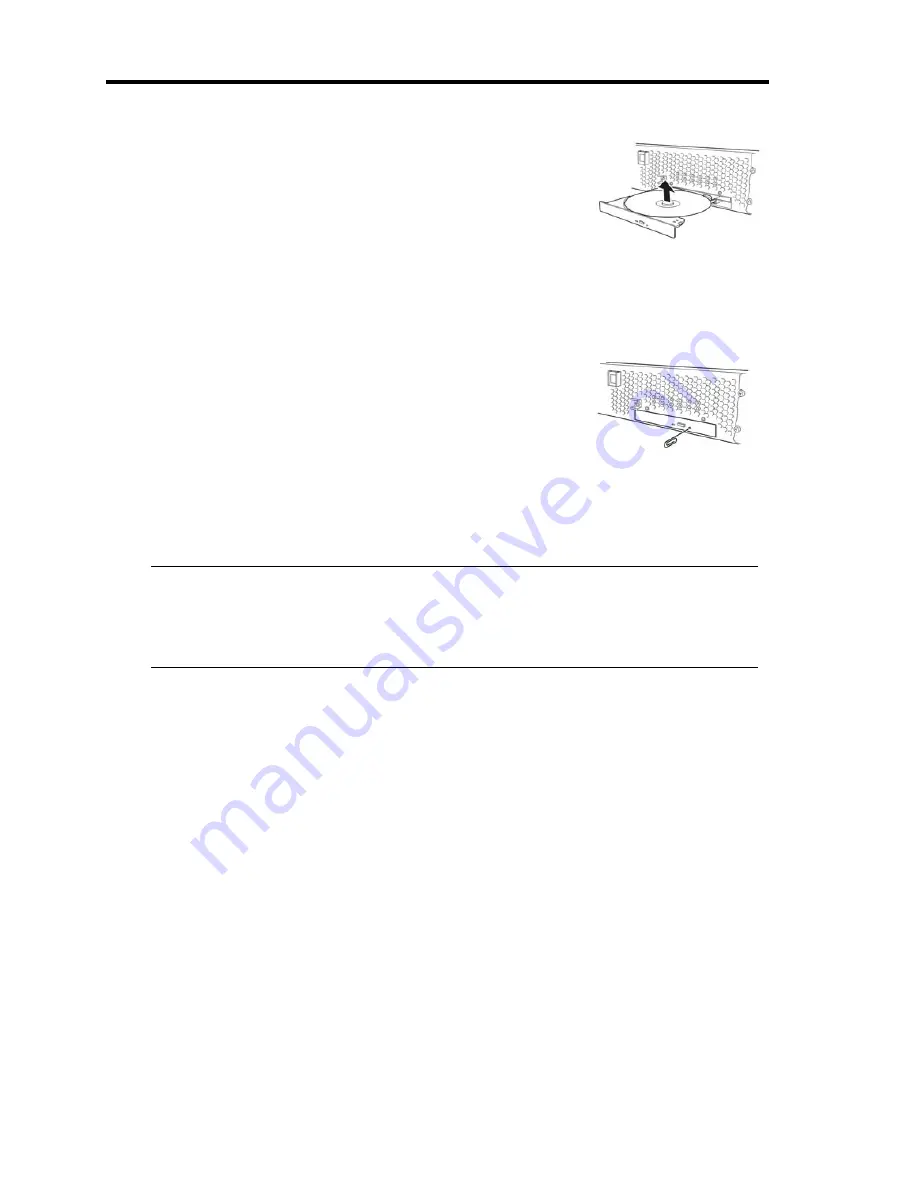
To remove the optical disk, press the tray-eject button as you did in
setting the optical disk.
When the access LED illuminates in green, it indicates the optical disk
is being accessed. Make sure the access LED is not illuminating in
green before you press the tray-eject button.
Press the locking part in the center of the tray and pick the optical disk gently. When you have
removed the optical disk, push the tray to the drive-closed position.
When you cannot eject a DVD/CD-ROM
When you cannot eject the optical disk from the server even by
pressing the eject button, follow the steps below to eject it:
1.
Press the POWER switch to power off this server (i.e. the POWER
LED is off).
2.
Use a metal pin of about 1.2 mm in diameter and 100 mm long (alternatively, you can use a
fairly large paper clip after straightening). Insert it gently into the manual release hole located at
the low front side of the server until the tray is ejected.
IMPORTANT:
Do not use a toothpick, plastic pin, or other breakable objects.
If you cannot eject the optical disk by following the steps above, contact your sales
agent.
3.
Hold the tray and pull it out.
4.
Take out the optical disk.
5.
Push the tray back.
Summary of Contents for Express5800/320Fd-MR
Page 13: ...v Appendix B I O Port Addresses This appendix lists factory assigned I O port addresses...
Page 19: ...xi THIS PAGE IS INTENTIONALLY LEFT BLANK...
Page 43: ...2 10 General Description Rear View...
Page 47: ...2 14 General Description CPU IO Module CPU IO module...
Page 67: ...2 34 General Description This page is intentionally left blank...
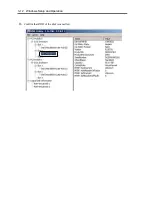
Page 79: ...3 12 Windows Setup and Operation 3 Confirm that RDR of the disk is cancelled...
Page 106: ...Windows Setup and Operation 3 39 This page is intentionally left blank...
Page 198: ...4 92 System Configuration This page is intentionally left blank...
Page 370: ......
Page 371: ...This page is intentionally left blank...
Page 389: ...6 18 Maintenance 3 Stop of PCI module 1 4 Start of PCI module 1...
Page 391: ...6 20 Maintenance This page is intentionally left blank...
Page 465: ...System Upgrade 8 31 board must not be mixed with N8804 005 or N8803 035...
Page 480: ......
Page 483: ......

