3-30 Setup
9.
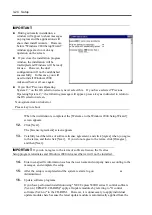
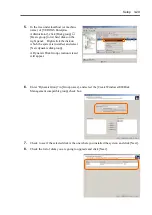
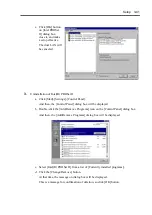
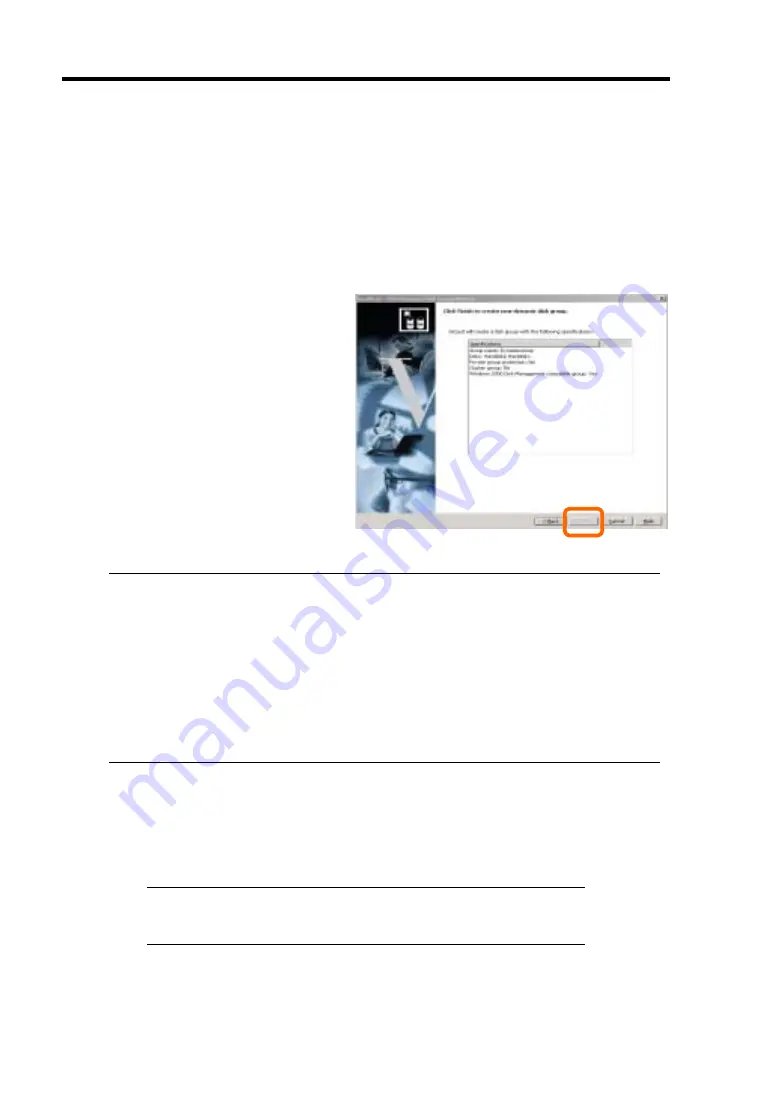
Click [Finish] to upgrade the disk to a dynamic disk.
If the selected disk contains a system partition, you will have to restart the computer to
complete the upgrade of the disk. The message also states that file systems on any of the
disks to be upgrade will be forcedly dismounted. This means if any file systems are in use
at the time of upgrade, they will be dismounted, so that the upgrade can continue.
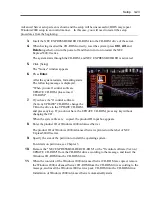
Before restarting the server, check if the PCI module has a dual configuration.
IMPORTANT:
Note the following when restarting the machine for dual disk settings:
For the upgrade to the dynamic disk in which the system is installed, machine restarting
may be requested several times. Always restart the machine after confirming the PCI
module duplication. When the machine is restarted before the PCI module duplication,
the dual LAN may become invalid If the dual LAN becomes invalid, make the settings
of dual Lan again.
Check the PCI module duplication as follows:
The PCI module duplication is valid if both the status LED of PCI module #1 and that
of PCI module #2 are lit green. See "PCI Module Status LED 1/2" for details.
10.
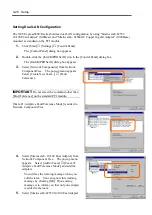
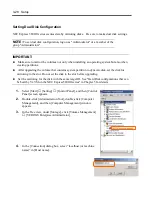
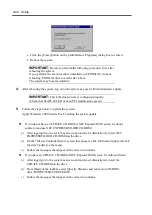
After reboot, when [VERITAS Volume Manager] appears, make settings of the disk to
mirror volumes.
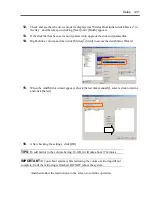
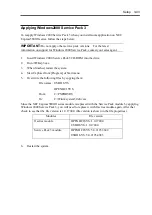
When [Disk Upgrade and Signature] wizard appears, perform a disk upgrade and
signature.
IMPORTANT:
A disk for mirroring should be placed in its
corresponding slot.
See "3.5-inch Hard Disk Drive" in Chapter 8 for details.
11.
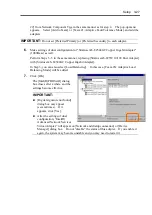
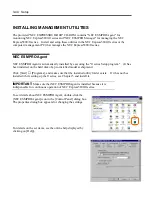
Choose "Display a list of the known drivers for this device so that I can choose a specific
driver", click [Next].
Summary of Contents for Express5800/320Lb FT Linux
Page 10: ...iv This page is intentionally left blank ...
Page 16: ...x This page is intentionally left blank ...
Page 19: ...Precautions for Use 1 3 Label A Label B Label C Label E Label D ...
Page 20: ...1 4 Precautions for Use Rack mount model Label B Label A Label C Label D ...
Page 21: ...Precautions for Use 1 5 Label D Label C Label B Label A ...
Page 22: ...1 6 Precautions for Use PCI CPU Modules PCI Module CPU Module Label A Label A Label A ...
Page 36: ...1 20 Precautions for Use This page is intentionally left blank ...
Page 44: ...2 8 General Description Front View inside Tower model Rack mount model ...
Page 70: ...2 34 General Description This page is intentionally left blank ...
Page 118: ...3 48 Setup This page is intentionally left blank ...
Page 162: ...4 44 System Configuration This page is intentionally left blank ...
Page 294: ...6 14 Maintenance This page is intentionally left blank ...
Page 336: ...7 42 Troubleshooting This page is intentionally left blank ...
Page 355: ...System Upgrade 8 19 15 Check the disk you selected and click Next 16 Click Complete ...
Page 399: ...System Upgrade 8 63 Cable ties included with cabinet ...
Page 410: ...8 74 System Upgrade This page is intentionally left blank ...
Page 412: ...A 2 Specifications This page is intentionally left blank ...

