3-34 Setup
5.
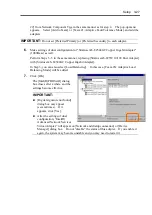
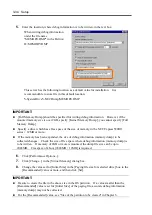
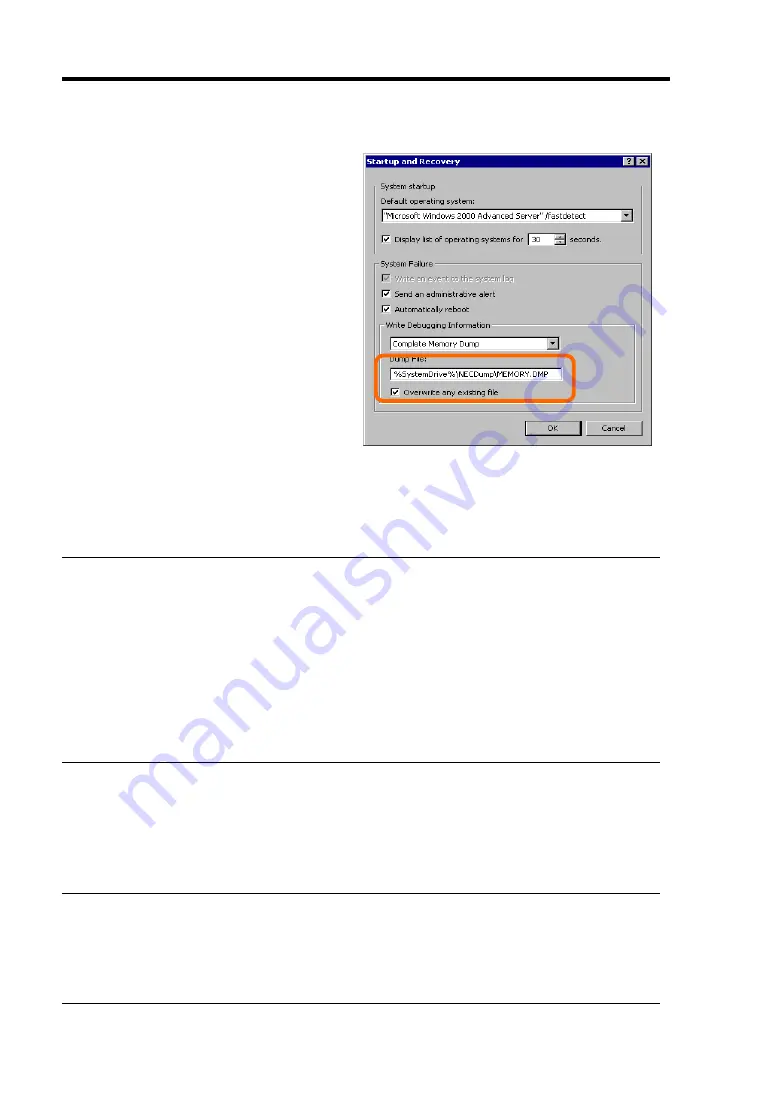
Enter the location, where debug information is to be written, in the text box.
When writing debug information
under the file name
"MEMORY.DMP" in the D drive:
D:\MEMORY.DMP
This server has the following location as a default value for installation. It is
recommendable to store file in this default location.
%SystemDrive%\NECDump\MEMORY.DMP
IMPORTANT:
[Full Memory Dump] should be specified for writing debug information. However, if the
mounted memory size is over 2GB, specify [Kernel Memory Dump]; you cannot specify [Full
Memory Dump]
Specify a drive which has a free space of the size of memory in the NEC Express5800/ft
12MB or more.
If the memory has been expanded, the size of debug information (memory dump) to be
collected changes. Check the size of free space where debug information (memory dump) is
to be written. If memory of 2GB or more is mounted, the dump file size can be up to
2048MB. Free space of about [ 12MB] is required.
6.
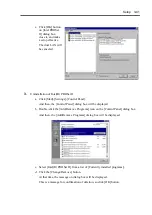
Click [Performance Options...].
7.
Click [Change...] in the [Virtual Memory] dialog box.
8.
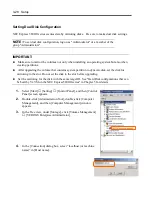
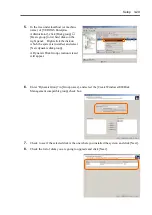
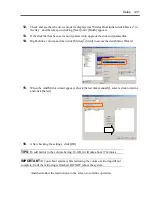
Change the value set for [Initial Size] in the [Paging file size for selected drive] box to the
[Recommended] value or more, and then click [Set].
IMPORTANT:
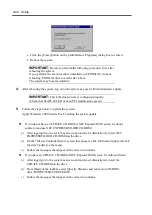
Be sure to create the file in the above size in the OS partition. If a value smaller than the
[Recommended] value is set for [Initial Size] of the paging file, accurate debug information
(memory dump) may not be collected.
For the [Recommended] value, see "Size of the partition to be created" in Chapter 3.
Summary of Contents for Express5800/320Lb FT Linux
Page 10: ...iv This page is intentionally left blank ...
Page 16: ...x This page is intentionally left blank ...
Page 19: ...Precautions for Use 1 3 Label A Label B Label C Label E Label D ...
Page 20: ...1 4 Precautions for Use Rack mount model Label B Label A Label C Label D ...
Page 21: ...Precautions for Use 1 5 Label D Label C Label B Label A ...
Page 22: ...1 6 Precautions for Use PCI CPU Modules PCI Module CPU Module Label A Label A Label A ...
Page 36: ...1 20 Precautions for Use This page is intentionally left blank ...
Page 44: ...2 8 General Description Front View inside Tower model Rack mount model ...
Page 70: ...2 34 General Description This page is intentionally left blank ...
Page 118: ...3 48 Setup This page is intentionally left blank ...
Page 162: ...4 44 System Configuration This page is intentionally left blank ...
Page 294: ...6 14 Maintenance This page is intentionally left blank ...
Page 336: ...7 42 Troubleshooting This page is intentionally left blank ...
Page 355: ...System Upgrade 8 19 15 Check the disk you selected and click Next 16 Click Complete ...
Page 399: ...System Upgrade 8 63 Cable ties included with cabinet ...
Page 410: ...8 74 System Upgrade This page is intentionally left blank ...
Page 412: ...A 2 Specifications This page is intentionally left blank ...


