5-4 Installing and Using Utilities
NEC EXPRESSBUILDER Top Menu
The NEC EXPRESSBUILDER top menu is used for the setup of hardware and the setup and
installation of OS.
Start
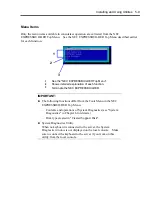
Start the NEC EXPRESSBUILDER top menu following the procedure below:
1.
Turn on the powers of peripherals and the power of the server in this order.
2.
Insert the NEC EXPRESSBUILDER CD-ROM into the CD-ROM drive of the server.
3.
After the CD-ROM is inserted, reset the system (by pressing
Ctrl
+
Alt
+
Delete
) or turn
off the power and then on again to restart the server.
The system is activated from the CD-ROM to start the NEC EXPRESSBUILDER.
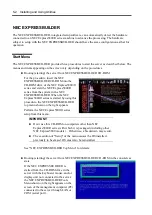
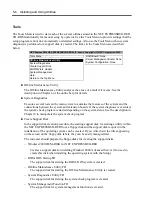
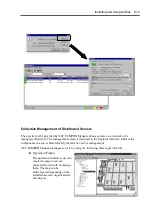
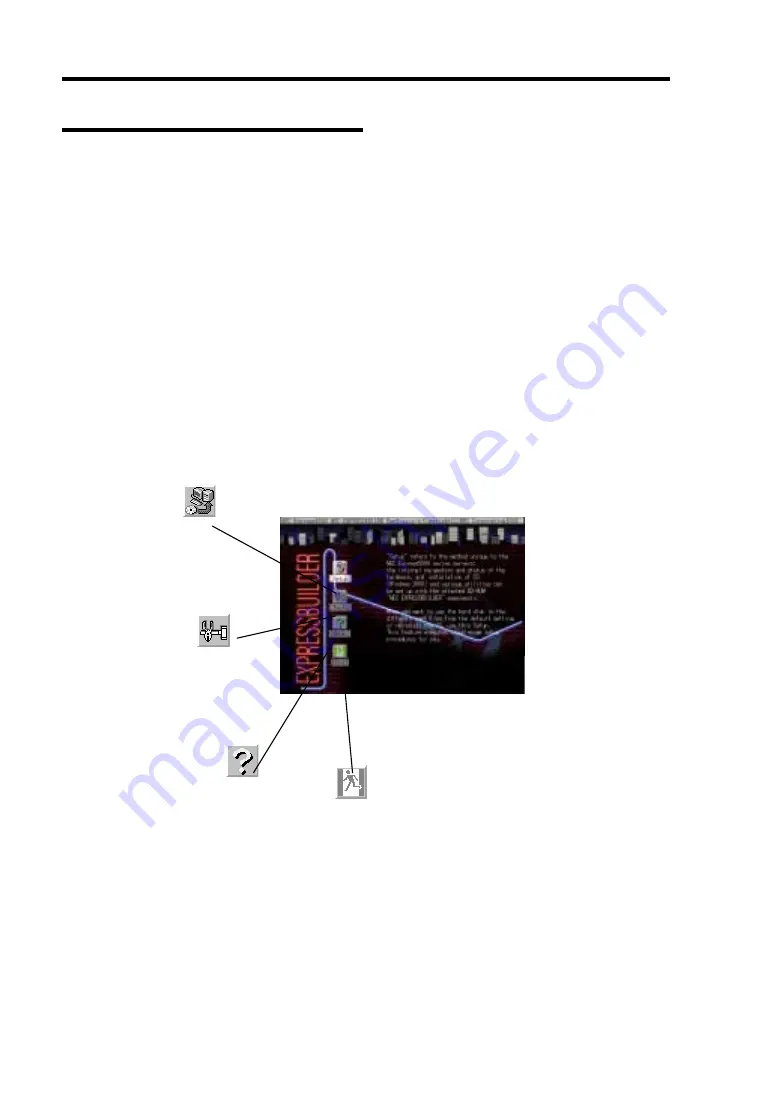
After the NEC EXPRESSBUILDER is started, the NEC EXPRESSBUILDER top menu shown
below appears.
A Setup
Performs various automatic setup operations including settings of internal parameters and
states of hardware and installations of Windows 2000 Advanced Server and several
utilities. Select this setup procedure if hard disks are used in a partition different from that
defined at the purchase, or if OS is reinstalled.
B Tool
Starts each of the utilities stored in the NEC EXPRESSBUILDER individually to allow the
operator to provide setup. Enables the setup without influence of installed OS.
C Help
Describes the NEC EXPRESSBUILDER. We recommend you to read through the help
1
B
C
D
A
Summary of Contents for Express5800/320Lb FT Linux
Page 10: ...iv This page is intentionally left blank ...
Page 16: ...x This page is intentionally left blank ...
Page 19: ...Precautions for Use 1 3 Label A Label B Label C Label E Label D ...
Page 20: ...1 4 Precautions for Use Rack mount model Label B Label A Label C Label D ...
Page 21: ...Precautions for Use 1 5 Label D Label C Label B Label A ...
Page 22: ...1 6 Precautions for Use PCI CPU Modules PCI Module CPU Module Label A Label A Label A ...
Page 36: ...1 20 Precautions for Use This page is intentionally left blank ...
Page 44: ...2 8 General Description Front View inside Tower model Rack mount model ...
Page 70: ...2 34 General Description This page is intentionally left blank ...
Page 118: ...3 48 Setup This page is intentionally left blank ...
Page 162: ...4 44 System Configuration This page is intentionally left blank ...
Page 294: ...6 14 Maintenance This page is intentionally left blank ...
Page 336: ...7 42 Troubleshooting This page is intentionally left blank ...
Page 355: ...System Upgrade 8 19 15 Check the disk you selected and click Next 16 Click Complete ...
Page 399: ...System Upgrade 8 63 Cable ties included with cabinet ...
Page 410: ...8 74 System Upgrade This page is intentionally left blank ...
Page 412: ...A 2 Specifications This page is intentionally left blank ...


