5-22 Installing and Using Utilities
6.
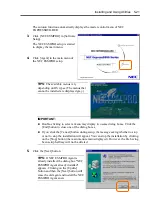
Select a machine to install from the list.
TIPS:
If the setup program succeeds in the definition of the machine
type, the operation is advanced to the next step without displaying the
dialog box for selecting the machine type.
7.
Enter the path in which NEC ESMPRO Agent is installed and click the [Next] button.
The NEC ESMPRO Agent module is installed below the \ESM directory of the root
partition in default. If no problem is found, click the [Next] button without any
modification.
To change the installation directory, click the [Reference] button, specify the desired
installation directory with the full path including the drive name, and click the [Next]
button.
8.
Enter the path in which DMI is installed and click the [Next] button.
The DMI module is installed in the \DMI\WIN32 directory of the root partition as default.
If DMI2.0 SP is already installed, the path will be the default installation path.
To change the installation directory, click the [Reference] button, specify the desired
installation directory with the full path including the drive name, and click the [Next]
button.
The setup of the file copy and NEC ESMPRO Agent operation environments is started.
9.
When the installation end window appears, click the [OK] button.
The installed is complete. The functions of installed NEC ESMPRO Agent will be enabled
after the system is restarted.
IMPORTANT:
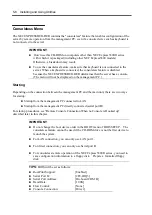
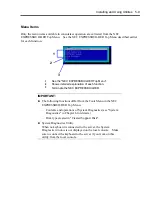
If the installation of NEC ESMPRO is completed, the
main menu for the NEC ESMPRO setup remains displayed. Note that
the main menu may be hidden by another dialog box. To terminate the
NEC ESMPRO setup, click [End] in the main
menu.
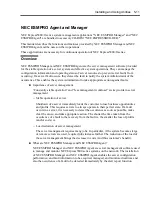
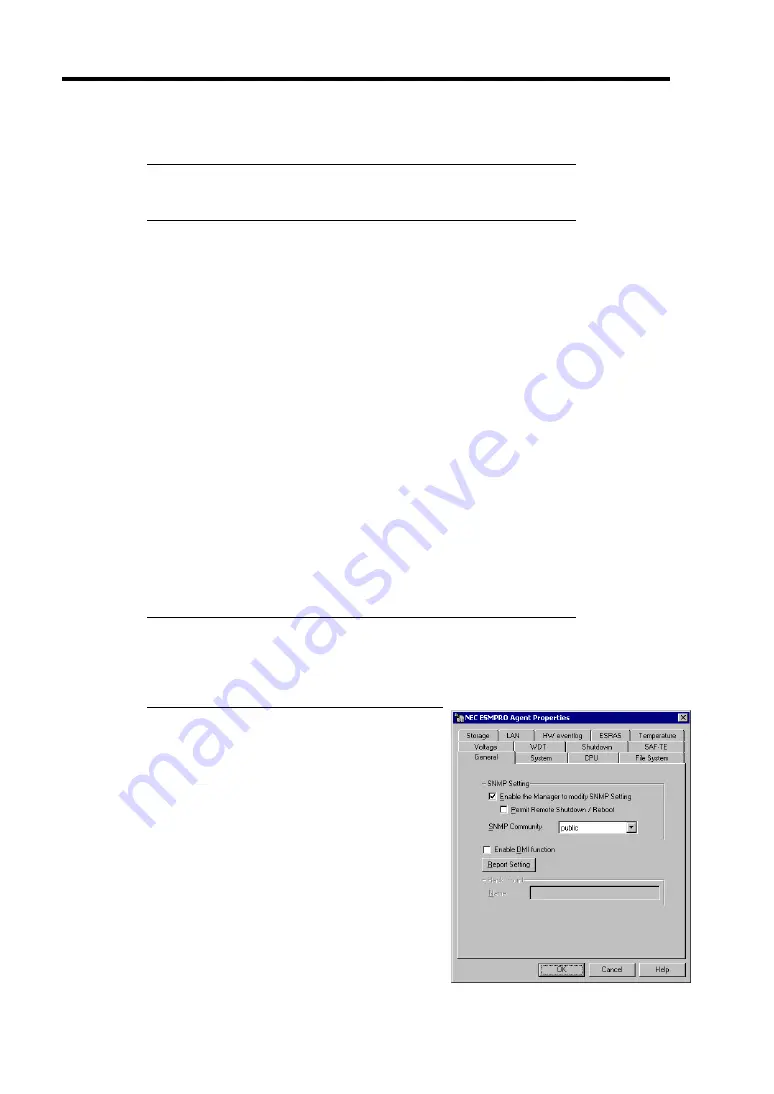
Setup of NEC ESMPRO Agent
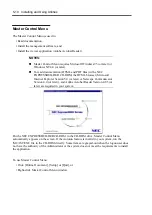
The settings of installed NEC ESMPRO Agent remain
unchanged from those at shipment. Click the [Start] button,
[Setting], and [Control Panel] sequentially to open the
[Control Panel].
If you double-click the [NEC ESMPRO Agent] icon in
[Control Panel], the property dialog box will appear. Modify
the setting of each sheet in the dialog box to be fit to the used
environment. The notes on setup and the necessary
information will be explained in "Supplement" described
below. See the supplement for setup or suspicion of
malfunction.
Summary of Contents for Express5800/320Lb FT Linux
Page 10: ...iv This page is intentionally left blank ...
Page 16: ...x This page is intentionally left blank ...
Page 19: ...Precautions for Use 1 3 Label A Label B Label C Label E Label D ...
Page 20: ...1 4 Precautions for Use Rack mount model Label B Label A Label C Label D ...
Page 21: ...Precautions for Use 1 5 Label D Label C Label B Label A ...
Page 22: ...1 6 Precautions for Use PCI CPU Modules PCI Module CPU Module Label A Label A Label A ...
Page 36: ...1 20 Precautions for Use This page is intentionally left blank ...
Page 44: ...2 8 General Description Front View inside Tower model Rack mount model ...
Page 70: ...2 34 General Description This page is intentionally left blank ...
Page 118: ...3 48 Setup This page is intentionally left blank ...
Page 162: ...4 44 System Configuration This page is intentionally left blank ...
Page 294: ...6 14 Maintenance This page is intentionally left blank ...
Page 336: ...7 42 Troubleshooting This page is intentionally left blank ...
Page 355: ...System Upgrade 8 19 15 Check the disk you selected and click Next 16 Click Complete ...
Page 399: ...System Upgrade 8 63 Cable ties included with cabinet ...
Page 410: ...8 74 System Upgrade This page is intentionally left blank ...
Page 412: ...A 2 Specifications This page is intentionally left blank ...

