5-36 Installing and Using Utilities
NEC ESMPRO Manager
To monitor and manage a computer, on which NEC ESMPRO Agent is installed, with a
management PC online, use NEC ESMPRO Manager that is bundled with the product.
For detailed procedures of installation and setting, see online documents or NEC ESMPRO Online
Help.
TIPS:
Online documents provide cautions and information for using
NEC ESMPRO Manager. See
NEC ESMPRO Ver. 4.0 User’s Guide
in
the NEC EXPRESSBUILDER CD-ROM.
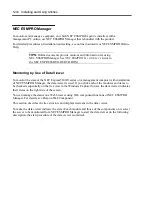
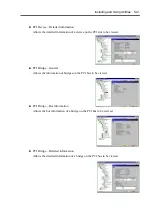
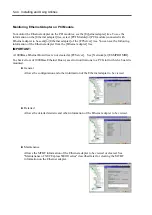
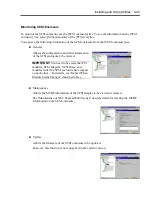
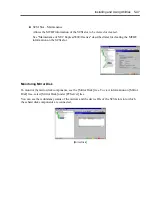
Monitoring by Use of Data Viewer
To monitor the state of the NEC Express5800/ft series on a management computer with installation
of NEC ESMPRO Manager, the data viewer is used. If you click each of the modules and items to
be checked sequentially on the tree view in the Windows Explorer format, the data viewer indicates
their states on the right side of the screen.
You can manage the status on a Web browser using Web component functions of NEC ESMPRO
Manager. For details, see Help on Web Component.
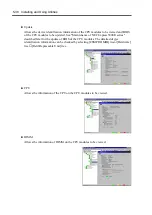
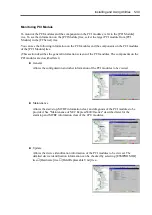
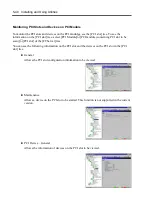
This section describes the tree structure and displayed screens in the data viewer.
To make the data viewer indicate the state of each module and those of the components on it, select
the server to be monitored from NEC ESMPRO Manager to start the data viewer (in the following
description, the start procedure of the data viewer is omitted).
Summary of Contents for Express5800/320Lb FT Linux
Page 10: ...iv This page is intentionally left blank ...
Page 16: ...x This page is intentionally left blank ...
Page 19: ...Precautions for Use 1 3 Label A Label B Label C Label E Label D ...
Page 20: ...1 4 Precautions for Use Rack mount model Label B Label A Label C Label D ...
Page 21: ...Precautions for Use 1 5 Label D Label C Label B Label A ...
Page 22: ...1 6 Precautions for Use PCI CPU Modules PCI Module CPU Module Label A Label A Label A ...
Page 36: ...1 20 Precautions for Use This page is intentionally left blank ...
Page 44: ...2 8 General Description Front View inside Tower model Rack mount model ...
Page 70: ...2 34 General Description This page is intentionally left blank ...
Page 118: ...3 48 Setup This page is intentionally left blank ...
Page 162: ...4 44 System Configuration This page is intentionally left blank ...
Page 294: ...6 14 Maintenance This page is intentionally left blank ...
Page 336: ...7 42 Troubleshooting This page is intentionally left blank ...
Page 355: ...System Upgrade 8 19 15 Check the disk you selected and click Next 16 Click Complete ...
Page 399: ...System Upgrade 8 63 Cable ties included with cabinet ...
Page 410: ...8 74 System Upgrade This page is intentionally left blank ...
Page 412: ...A 2 Specifications This page is intentionally left blank ...

