5-56 Installing and Using Utilities
Maintenance of NEC Express5800/ft series
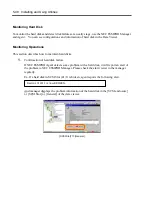
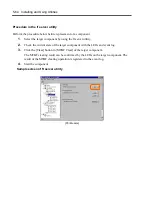
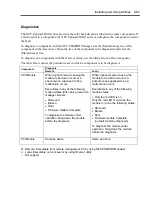
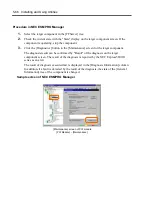
NEC Express5800/ft series maintenance can be done in two ways; one is to use NEC ESMPRO
Manager for remote maintenance and the other is to use the NEC ESMPRO Agent ft server utility
on the NEC Express5800/ft series for local maintenance.
TIPS:
To start the NEC ESMPRO Agent ft server utility installed in
the NEC Express5800/ft series, select the items as follows:
Start Menu
→
[Programs]
→
[NEC ESMPRO Agent]
→
[ft server utility]
The maintenance functions that can be executed from NEC ESMPRO include three types, those
common to all components, those specific to particular components, and general system settings.
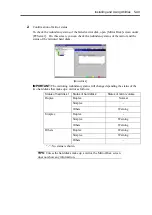
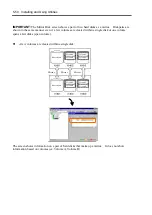
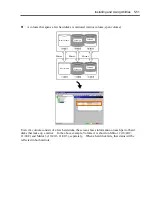
The maintenance functions common to all components are operated in the same way basically (the
operation procedure and typical examples of screen images are described below).
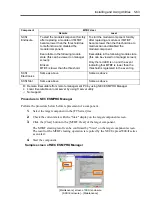
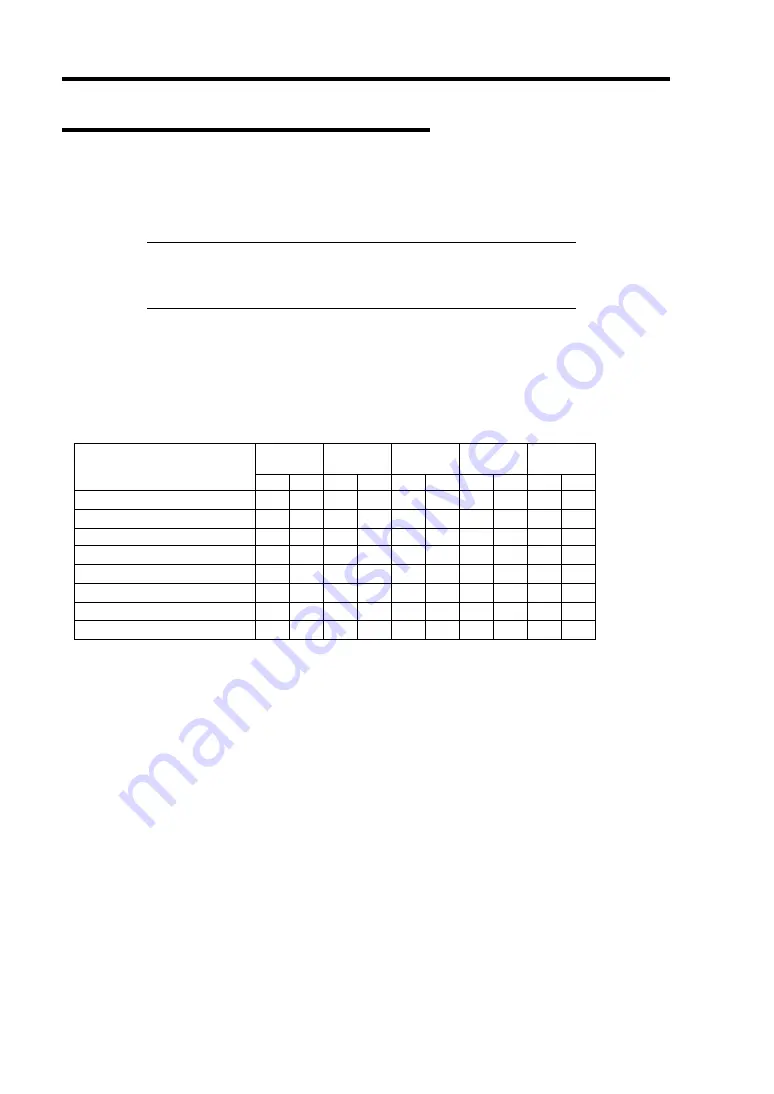
The table below lists the maintenance functions common to all components.
Start Stop
MTBF
clear
Diag-
nosis
F/W
update
Component
R
L
R
L
R
L
R
L
R
L
CPU module
√
√
√
√
√
√
√
√
√
√
PCI module
√
√
√
√
√
√
√
√
–
–
PCI slot
–
–
–
–
–
–
–
–
–
–
Ethernet adapter
–
–
–
–
√
√
–
–
–
–
SCSI adapter
–
–
–
–
√
√
–
–
–
–
SCSI enclosure
–
–
–
–
√
√
–
–
–
–
SCSI electronics
–
–
–
–
√
√
–
–
–
–
SCSI slot
–
–
–
–
√
√
–
–
–
–
R:
Remote. Executable from remote management PC by using NEC ESMPRO Manager
L:
Local. Executable on local server by using ft server utility
√
: Support
–: Not
support
Summary of Contents for Express5800/320Lb FT Linux
Page 10: ...iv This page is intentionally left blank ...
Page 16: ...x This page is intentionally left blank ...
Page 19: ...Precautions for Use 1 3 Label A Label B Label C Label E Label D ...
Page 20: ...1 4 Precautions for Use Rack mount model Label B Label A Label C Label D ...
Page 21: ...Precautions for Use 1 5 Label D Label C Label B Label A ...
Page 22: ...1 6 Precautions for Use PCI CPU Modules PCI Module CPU Module Label A Label A Label A ...
Page 36: ...1 20 Precautions for Use This page is intentionally left blank ...
Page 44: ...2 8 General Description Front View inside Tower model Rack mount model ...
Page 70: ...2 34 General Description This page is intentionally left blank ...
Page 118: ...3 48 Setup This page is intentionally left blank ...
Page 162: ...4 44 System Configuration This page is intentionally left blank ...
Page 294: ...6 14 Maintenance This page is intentionally left blank ...
Page 336: ...7 42 Troubleshooting This page is intentionally left blank ...
Page 355: ...System Upgrade 8 19 15 Check the disk you selected and click Next 16 Click Complete ...
Page 399: ...System Upgrade 8 63 Cable ties included with cabinet ...
Page 410: ...8 74 System Upgrade This page is intentionally left blank ...
Page 412: ...A 2 Specifications This page is intentionally left blank ...


