Maintenance 6-13
RELOCATING/STORING THE NEC Express5800/ft series
Follow the procedure below to relocate or store the server. (Users should not attempt to remove
the rack-mountable server from the rack assembly.)
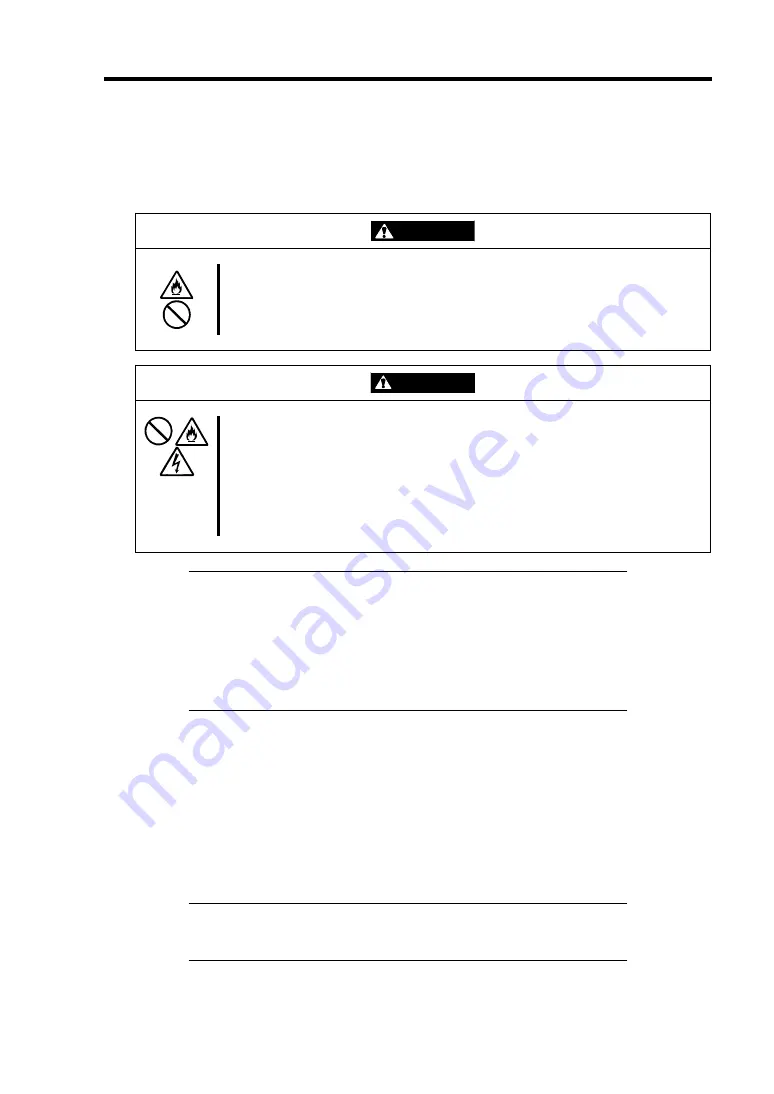
WARNING
Do not attempt to remove the server.
To avoid the risk of personal injury, users should not attempt to remove the
server from the rack assembly. Removal of the server from the rack assembly
should be performed by suitably trained maintenance personnel.
CAUTION
Observe the following instructions to use the server safely. Failure to follow
these instructions may cause a fire, personal injury, or property damage. See
safety precautions in Chapter 1 for details.
•
Never attempt to lift the server only by yourself.
•
Do not install the server in any place other than specified.
•
Do not connect/disconnect any interface cable with the power cord of the
server plugged to a power source.
IMPORTANT:
If the server needs to be relocated/stored due to a change in the floor
layout to a great extent, contact the sales agent.
Make sure to make a backup copy of your valuable data in the hard
disk, if any.
When moving the server with hard disks, make sure not to give a
shock to the hard disks .
1.
Take a floppy disk and a CD-ROM out of the server, if any.
2.
Power off the server (the POWER LED goes off).
3.
Unplug the power cord of the server from a power outlet.
4.
Remove all the cables from the server.
5.
Remove the server from the rack cabinet.
6.
Hold the server by its bottom with at least four persons to carry the server.
IMPORTANT:
Do not hold the front bezel to lift the server. The
front bezel may get detached and fall off from the server, causing
damage to the server.
7.
Protect the server with the shock-absorbing materials, and pack it securely.
Summary of Contents for Express5800/320Lb FT Linux
Page 10: ...iv This page is intentionally left blank ...
Page 16: ...x This page is intentionally left blank ...
Page 19: ...Precautions for Use 1 3 Label A Label B Label C Label E Label D ...
Page 20: ...1 4 Precautions for Use Rack mount model Label B Label A Label C Label D ...
Page 21: ...Precautions for Use 1 5 Label D Label C Label B Label A ...
Page 22: ...1 6 Precautions for Use PCI CPU Modules PCI Module CPU Module Label A Label A Label A ...
Page 36: ...1 20 Precautions for Use This page is intentionally left blank ...
Page 44: ...2 8 General Description Front View inside Tower model Rack mount model ...
Page 70: ...2 34 General Description This page is intentionally left blank ...
Page 118: ...3 48 Setup This page is intentionally left blank ...
Page 162: ...4 44 System Configuration This page is intentionally left blank ...
Page 294: ...6 14 Maintenance This page is intentionally left blank ...
Page 336: ...7 42 Troubleshooting This page is intentionally left blank ...
Page 355: ...System Upgrade 8 19 15 Check the disk you selected and click Next 16 Click Complete ...
Page 399: ...System Upgrade 8 63 Cable ties included with cabinet ...
Page 410: ...8 74 System Upgrade This page is intentionally left blank ...
Page 412: ...A 2 Specifications This page is intentionally left blank ...

