Troubleshooting 7-21
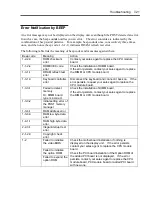
Error Notification by BEEP
An error message may not be displayed on the display unit even though the POST detected an error.
In such a case, the beep sounds notifies you an error. The error contents are indicated by the
combination of beep sound patterns. For example, beep sounds once, consecutively three times,
once, and then once (beep code: 1-3-1-1) indicates DRAM refresh test error.
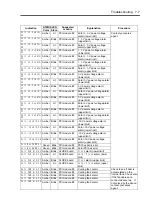
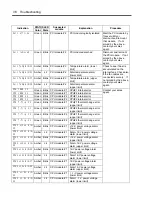
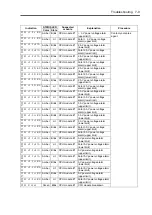
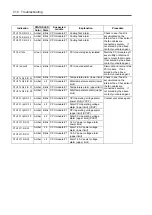
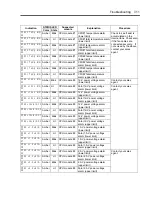
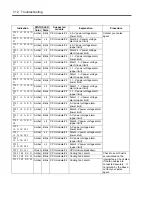
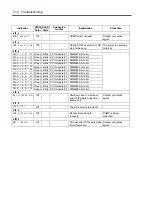
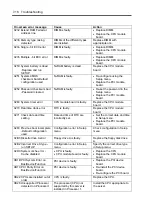
The following table lists the meaning of beep codes and measures against them.
Beep code
Meaning
Action
1-2-2-3
ROM checksum
error
Contact your sales agent to replace the CPU module
board.
1-1-2-4
ROMEXEC code
error
1-3-1-1
DRAM refresh test
error
Check the installation of DIMM board.
If the error persists, contact your sales agent to replace
the DIMM or CPU module board.
1-3-1-3
Keyboard controller
error
Disconnect the keyboard and connect it back on. If the
error persists, request your sales agent to replace the
CPU module board.
1-3-3-1
Failed to detect
memory.
Or, DIMM board
type is incorrect.
1-3-3-2
Initial setting error of
the POST memory
manager
1-3-4-1
RAM address error
1-3-4-3
RAM low byte data
error
1-4-1-1
RAM high byte data
error
Check the installation of DIMM board.
If the error persists, contact your sales agent to replace
the DIMM or CPU module board.
2-2-3-1
Illegal interrupt test
error
2-1-2-3
Copyright check
error
Failed to initialize
the video BIOS
Failed to initialize
the option ROM
1-2
Failed to expand the
option ROM
Check the motherboard installation if nothing is
displayed on the display unit. If the error persists,
contact your sales agent to replace the CPU module
board.
Check the PCI board installation if the Option ROM of
the added PCI board is not displayed. If the error
persists, contact your sales agent to replace the CPU
module board, PCI module board or added PCI board
with new one.
Summary of Contents for Express5800/320Lb FT Linux
Page 10: ...iv This page is intentionally left blank ...
Page 16: ...x This page is intentionally left blank ...
Page 19: ...Precautions for Use 1 3 Label A Label B Label C Label E Label D ...
Page 20: ...1 4 Precautions for Use Rack mount model Label B Label A Label C Label D ...
Page 21: ...Precautions for Use 1 5 Label D Label C Label B Label A ...
Page 22: ...1 6 Precautions for Use PCI CPU Modules PCI Module CPU Module Label A Label A Label A ...
Page 36: ...1 20 Precautions for Use This page is intentionally left blank ...
Page 44: ...2 8 General Description Front View inside Tower model Rack mount model ...
Page 70: ...2 34 General Description This page is intentionally left blank ...
Page 118: ...3 48 Setup This page is intentionally left blank ...
Page 162: ...4 44 System Configuration This page is intentionally left blank ...
Page 294: ...6 14 Maintenance This page is intentionally left blank ...
Page 336: ...7 42 Troubleshooting This page is intentionally left blank ...
Page 355: ...System Upgrade 8 19 15 Check the disk you selected and click Next 16 Click Complete ...
Page 399: ...System Upgrade 8 63 Cable ties included with cabinet ...
Page 410: ...8 74 System Upgrade This page is intentionally left blank ...
Page 412: ...A 2 Specifications This page is intentionally left blank ...

