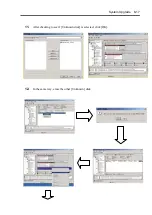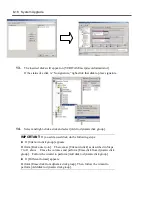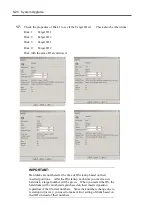
8-10 System Upgrade
Replacing 3.5-inch Hard Disk Drive
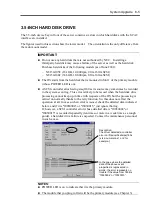
Follow the procedure below to remove the failed hard disk. If the hard disk fails, it should be
replaced with new device with the server powered-on.
IMPORTANT:
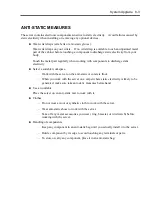
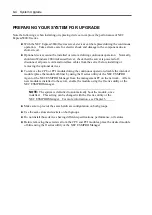
Make sure to read "Anti-static Measures" and
"Preparing Your System for Upgrade" before starting installing or
removing options. You can replace disks during continuous operation.
Replacing the Hard Disk Drive
1.
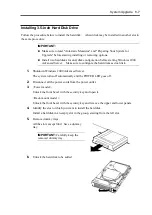
Locate the failed hard disk of which DISK Error LED on the handle of the hard disk drive
is lit in amber.
The DISK Power/Access LED also lights in amber.
NOTE:
Even if a hard disk is faulty, the DISK LED may not illuminate
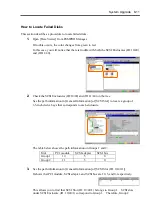
in amber. See “How to Locate Failed Disks” on the next section to
identify failed disks.
2.
Referencing the steps in "Removing the hard disk", remove the failed hard disk.
No need to shutdown Windows 2000 Advanced Server.
3.
Refer to the steps in "Installing the hard disk" to install a new hard disk.
NOTE:
The hard disk to be installed for replacement must have the same
specifications as its mirroring hard disk.
Use an unsigned hard disk to replace the failed one. If you use a
signed disk, you need to restore the redundant configuration in the
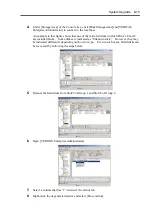
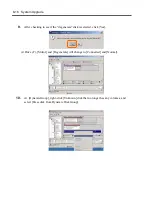
procedure of “How to Restore Redundant Configuration Manually”
below.
4.
The system will automatically restore its redundant configuration.
Since the redundant configuration is restored automatically, you do not need to use
VERITAS Volume Manager to restore it.
IMPORTANT:
The redundant configuration is not restored
automatically in the following cases:
If you use a signed hard disk.
If you replace a disk that is connected to a fibre channel.
If you replace a disk that has partitions or volumes.
If you replace a disk while the system is shut down.
Summary of Contents for Express5800/320Lb FT Linux
Page 10: ...iv This page is intentionally left blank ...
Page 16: ...x This page is intentionally left blank ...
Page 19: ...Precautions for Use 1 3 Label A Label B Label C Label E Label D ...
Page 20: ...1 4 Precautions for Use Rack mount model Label B Label A Label C Label D ...
Page 21: ...Precautions for Use 1 5 Label D Label C Label B Label A ...
Page 22: ...1 6 Precautions for Use PCI CPU Modules PCI Module CPU Module Label A Label A Label A ...
Page 36: ...1 20 Precautions for Use This page is intentionally left blank ...
Page 44: ...2 8 General Description Front View inside Tower model Rack mount model ...
Page 70: ...2 34 General Description This page is intentionally left blank ...
Page 118: ...3 48 Setup This page is intentionally left blank ...
Page 162: ...4 44 System Configuration This page is intentionally left blank ...
Page 294: ...6 14 Maintenance This page is intentionally left blank ...
Page 336: ...7 42 Troubleshooting This page is intentionally left blank ...
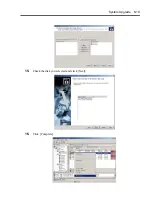
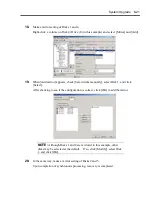
Page 355: ...System Upgrade 8 19 15 Check the disk you selected and click Next 16 Click Complete ...
Page 399: ...System Upgrade 8 63 Cable ties included with cabinet ...
Page 410: ...8 74 System Upgrade This page is intentionally left blank ...
Page 412: ...A 2 Specifications This page is intentionally left blank ...

