8-26 System Upgrade
5.
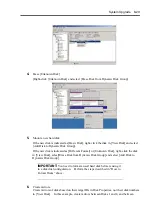
Mount a new hard disk.
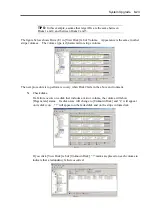
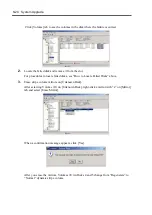
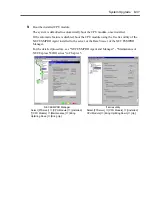
If the new disk is indicated as [Basic Disk], right-click the disk in [View Disk] and select
[Add Disk to Dynamic Disk Group].
If the new disk is indicated as [Different Format] or [Unknown Disk], right-click the disk
in [View Disk], select [Erase Disk from Dynamic Disk Group] and select [Add Disk to
Dynamic Disk Group].
IMPORTANT:
You need to format a used hard disk before reusing it
in a disk dual configuration. Perform the steps described in “How to
Format Disks” above.
6.
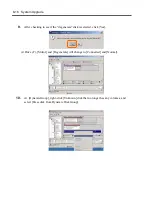
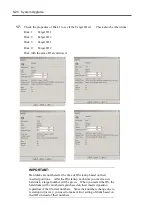
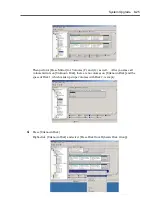
Create mirrors for each stripe volumes.
Create mirrors of disks based on their target IDs in Disk Properties, not their disk numbers
in [View Disk]. In this example, create mirrors between Disks 1 and 4, and between
Disks 2 and 5. For details of disk combination, see Step 17 of “In the Case of Simple
Volume Mirror” above.
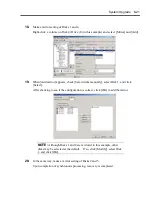
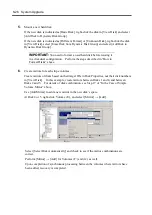
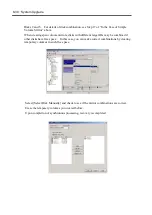
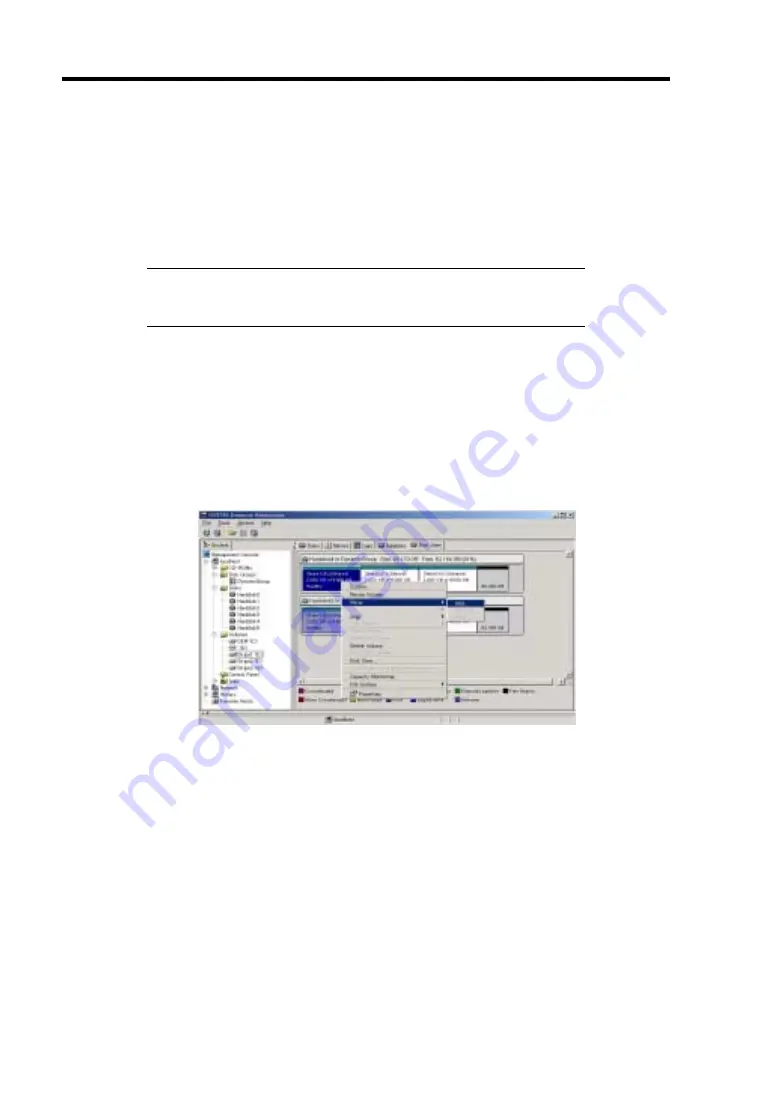
Use [Add Mirror] to add a new mirror in the new disk’s space.
At Disk 4 or 5, right-click Volume (E:), and select [Mirror]
→
[Add].
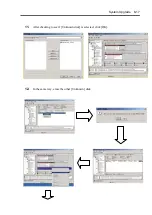
Select [Select Disk Automatically] and check to see if the mirror combinations are
correct.
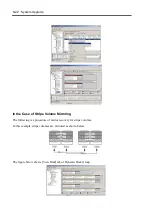
Perform [Mirror]
→
[Add] for Volumes (F:) and (G:) as well.
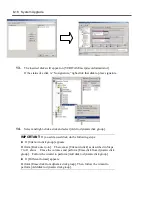
Upon completion of synchronous processing between the volumes where mirrors have
been added, recovery is completed.
Summary of Contents for Express5800/320Lb FT Linux
Page 10: ...iv This page is intentionally left blank ...
Page 16: ...x This page is intentionally left blank ...
Page 19: ...Precautions for Use 1 3 Label A Label B Label C Label E Label D ...
Page 20: ...1 4 Precautions for Use Rack mount model Label B Label A Label C Label D ...
Page 21: ...Precautions for Use 1 5 Label D Label C Label B Label A ...
Page 22: ...1 6 Precautions for Use PCI CPU Modules PCI Module CPU Module Label A Label A Label A ...
Page 36: ...1 20 Precautions for Use This page is intentionally left blank ...
Page 44: ...2 8 General Description Front View inside Tower model Rack mount model ...
Page 70: ...2 34 General Description This page is intentionally left blank ...
Page 118: ...3 48 Setup This page is intentionally left blank ...
Page 162: ...4 44 System Configuration This page is intentionally left blank ...
Page 294: ...6 14 Maintenance This page is intentionally left blank ...
Page 336: ...7 42 Troubleshooting This page is intentionally left blank ...
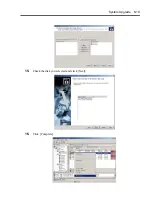
Page 355: ...System Upgrade 8 19 15 Check the disk you selected and click Next 16 Click Complete ...
Page 399: ...System Upgrade 8 63 Cable ties included with cabinet ...
Page 410: ...8 74 System Upgrade This page is intentionally left blank ...
Page 412: ...A 2 Specifications This page is intentionally left blank ...


