System Upgrade 8-59
Installing PCI Board
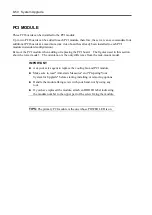
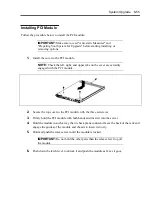
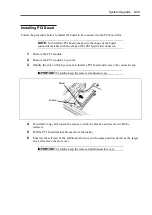
Follow the procedure below to install the board to be connected to the PCI board slot.
NOTE:
To install the PCI board, make sure the shape of the board
connector matches with the shape of the PCI board slot connector.
1.
Remove the PCI module.
2.
Remove the PCI module’s top cover.
3.
Identify the slot to which you want to install a PCI board and remove the connector cap.
IMPORTANT:
Carefully keep the removed connector cap.
4.
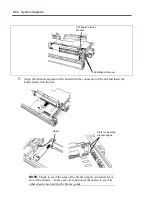
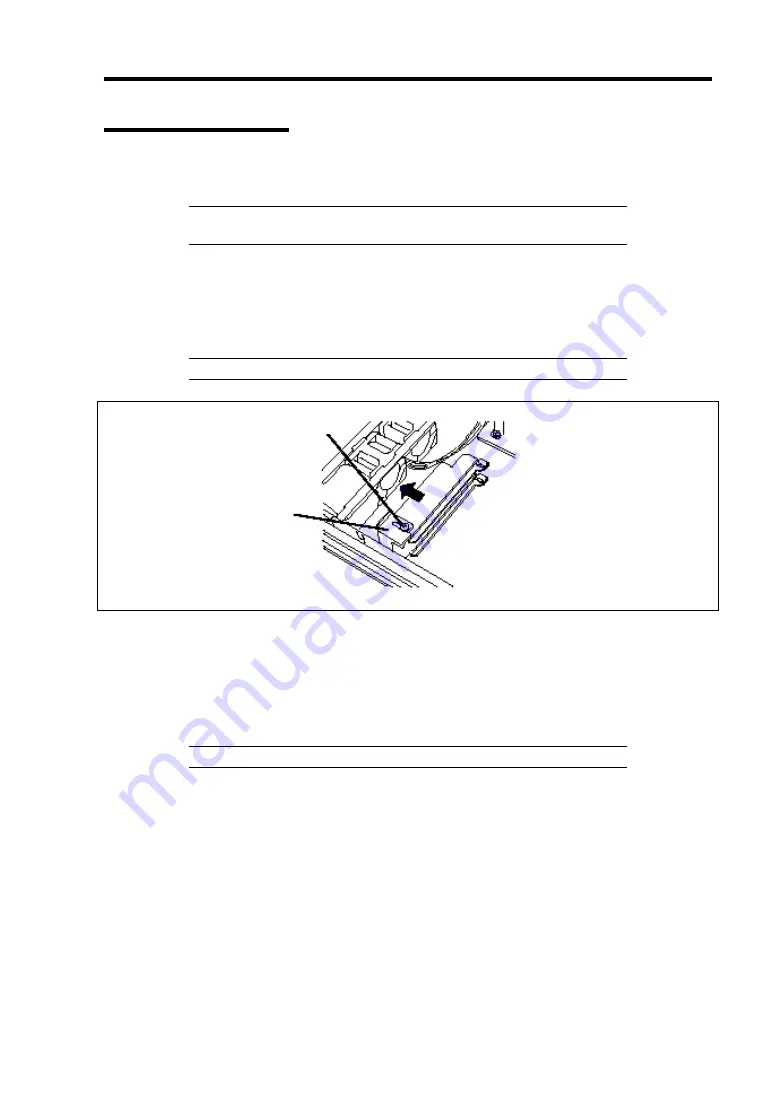
To install a long card, loosen the setscrew, slide the bracket, and secure it with the
setscrew.
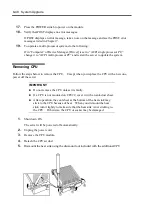
5.
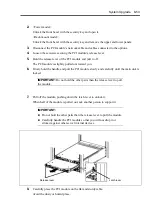
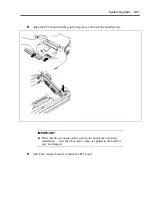
Pull the PCI board retainer bracket from the inside.
6.
Unscrew the setscrew of the additional slot cover at the same position (level) as the target
slot, and remove the slot cover.
IMPORTANT:
Carefully keep the removed additional slot cover.
Screw
Bracket
Summary of Contents for Express5800/320Lb FT Linux
Page 10: ...iv This page is intentionally left blank ...
Page 16: ...x This page is intentionally left blank ...
Page 19: ...Precautions for Use 1 3 Label A Label B Label C Label E Label D ...
Page 20: ...1 4 Precautions for Use Rack mount model Label B Label A Label C Label D ...
Page 21: ...Precautions for Use 1 5 Label D Label C Label B Label A ...
Page 22: ...1 6 Precautions for Use PCI CPU Modules PCI Module CPU Module Label A Label A Label A ...
Page 36: ...1 20 Precautions for Use This page is intentionally left blank ...
Page 44: ...2 8 General Description Front View inside Tower model Rack mount model ...
Page 70: ...2 34 General Description This page is intentionally left blank ...
Page 118: ...3 48 Setup This page is intentionally left blank ...
Page 162: ...4 44 System Configuration This page is intentionally left blank ...
Page 294: ...6 14 Maintenance This page is intentionally left blank ...
Page 336: ...7 42 Troubleshooting This page is intentionally left blank ...
Page 355: ...System Upgrade 8 19 15 Check the disk you selected and click Next 16 Click Complete ...
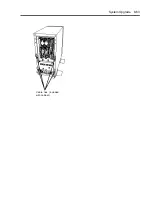
Page 399: ...System Upgrade 8 63 Cable ties included with cabinet ...
Page 410: ...8 74 System Upgrade This page is intentionally left blank ...
Page 412: ...A 2 Specifications This page is intentionally left blank ...

