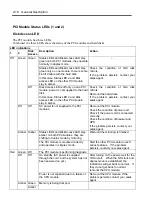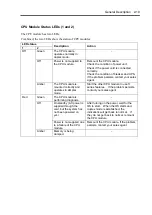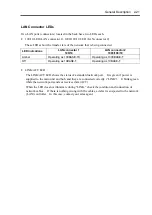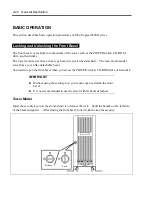
General Description 2-9
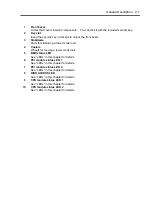
1
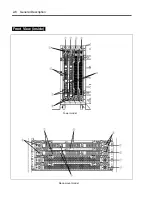
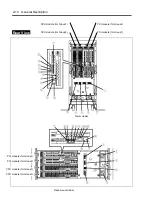
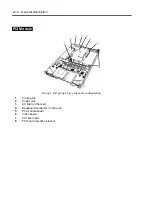
PCI module (for group 1)
A module that includes a PCI board and LAN controller.
2
PCI module (for group 2)
A module that includes a PCI board and LAN controller.
3
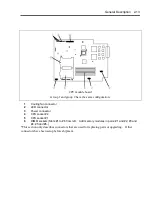
CPU module (for group 1)
A module that includes a CPU (processor) and memory (DIMM).
4
CPU module (for group 2)
A module that includes a CPU (processor) and memory (DIMM).
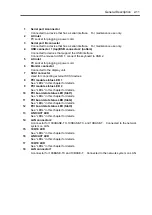
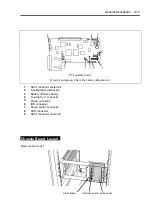
5 POWER
switch
A switch for turning on/off power to the system. The POWER switch on the primary PCI
module will be lit. Press it once to turn on power. Press it again to turn off power.
Depress the switch for more than four seconds to force the system to power down. The
POWER switch on the secondary PCI module will be unlit and will not respond until a failure
in the primary PCI module causes the secondary PCI module to assume primary
functionality.
6 CD-ROM
drive
Used for reading data from CD-ROMs.
Although there are two CD-ROM drives, only the one on the active primary PCI module can
be used (the module with the lit POWER Switch LED).
7 3.5-inch
disk
bay
Slots for adding hard disks. On a tower model, they are called Slots 1, 2, and 3 from the
bottom. On a rack-mount model, they are called Slots 1, 2, and 3 from the left. Slots of
the same number are mirrored between the groups 1 and 2.
8 DUMP
switch
A switch for outputting a memory image from the kernel to a file.
9
DISK LED (green/amber)
An LED that blinks in green while the hard disk is accessed. When operating in simplex
mode or the hard disk fails, it will turn amber.
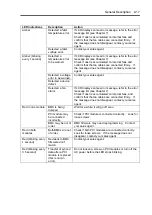
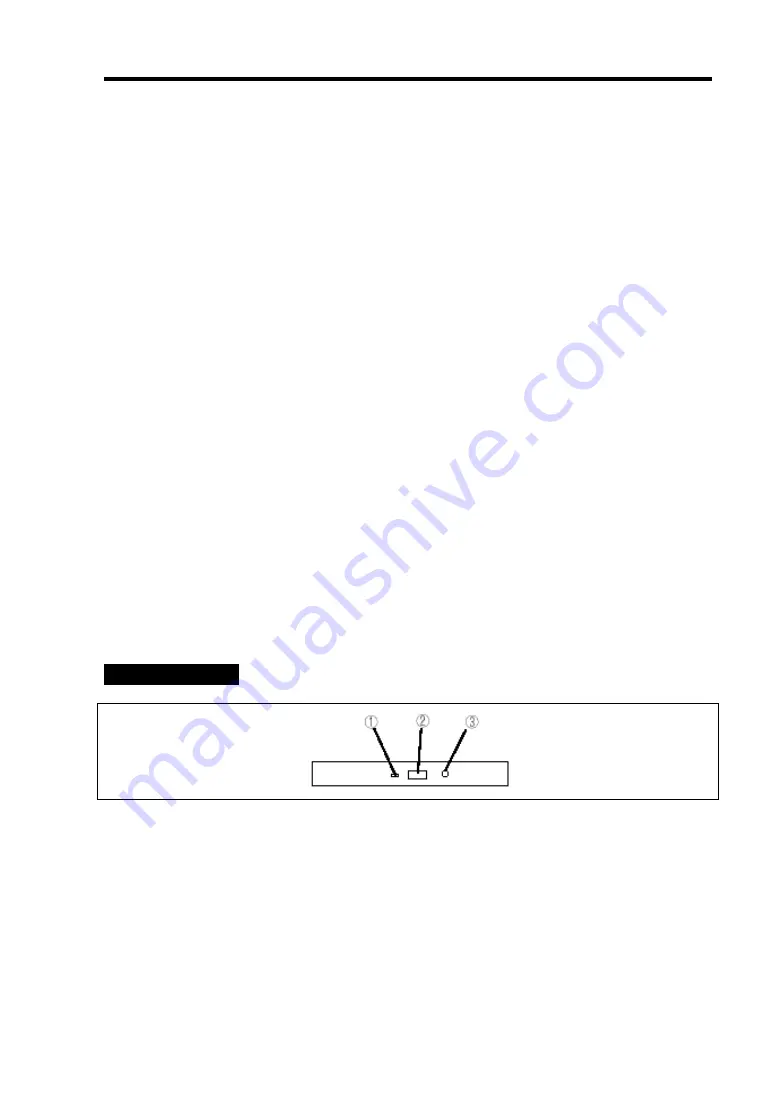
CD- ROM Drive
1 Status
LED
An LED that stays on while the loaded CD-ROM is accessed.
2
CD tray eject button
A button for ejecting the CD tray.
3
Manual release hole
When the eject button does not work, insert a metal pin into this hole to forcefully eject the CD
tray.
Summary of Contents for Express5800/320Lb FT Linux
Page 10: ...iv This page is intentionally left blank ...
Page 16: ...x This page is intentionally left blank ...
Page 19: ...Precautions for Use 1 3 Label A Label B Label C Label E Label D ...
Page 20: ...1 4 Precautions for Use Rack mount model Label B Label A Label C Label D ...
Page 21: ...Precautions for Use 1 5 Label D Label C Label B Label A ...
Page 22: ...1 6 Precautions for Use PCI CPU Modules PCI Module CPU Module Label A Label A Label A ...
Page 36: ...1 20 Precautions for Use This page is intentionally left blank ...
Page 44: ...2 8 General Description Front View inside Tower model Rack mount model ...
Page 70: ...2 34 General Description This page is intentionally left blank ...
Page 118: ...3 48 Setup This page is intentionally left blank ...
Page 162: ...4 44 System Configuration This page is intentionally left blank ...
Page 294: ...6 14 Maintenance This page is intentionally left blank ...
Page 336: ...7 42 Troubleshooting This page is intentionally left blank ...
Page 355: ...System Upgrade 8 19 15 Check the disk you selected and click Next 16 Click Complete ...
Page 399: ...System Upgrade 8 63 Cable ties included with cabinet ...
Page 410: ...8 74 System Upgrade This page is intentionally left blank ...
Page 412: ...A 2 Specifications This page is intentionally left blank ...


